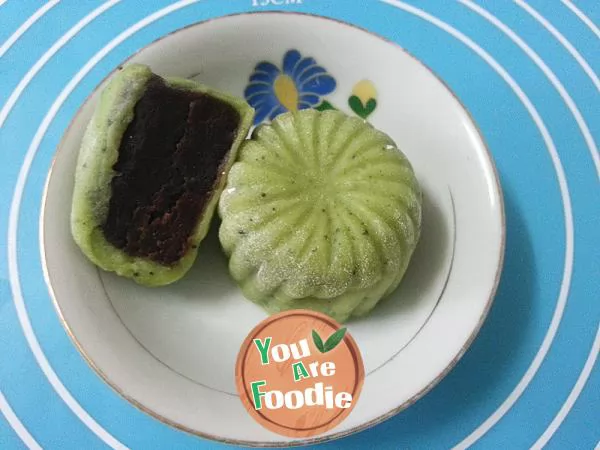
Home made ice moon cakes
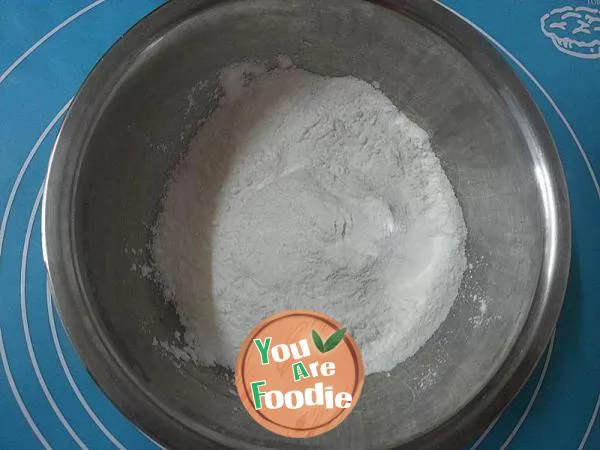
Step 1 . Pour the ice crust moon cake powder into a stainless steel pot.
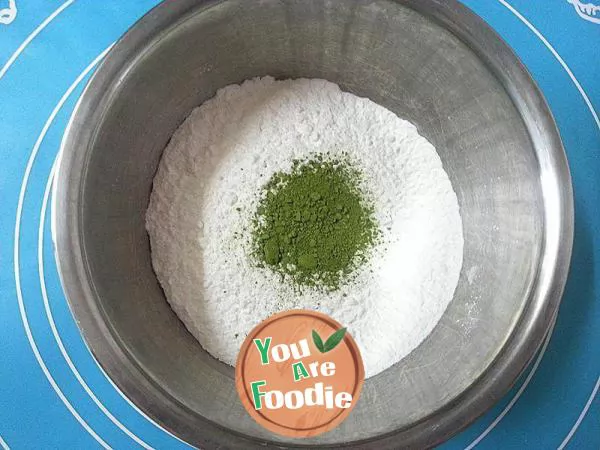
Step 2 . For better color and different taste, I also added matcha powder or cocoa powder.
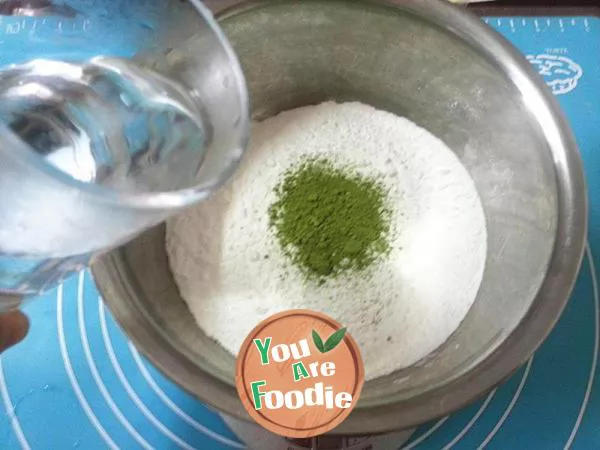
Step 3 . Add 96g boiling water and stir it quickly with chopsticks while pouring water.
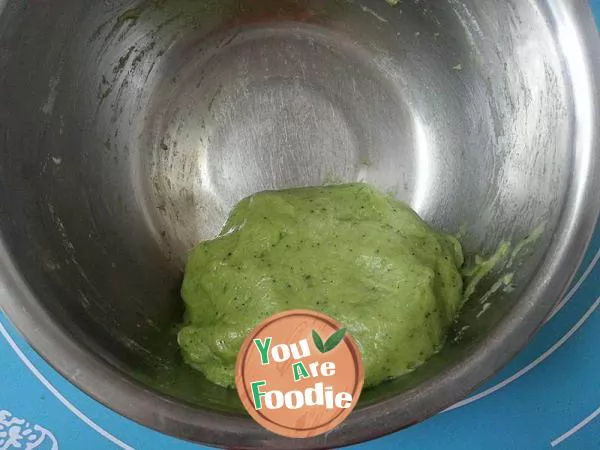
Step 4 . Knead into a dough of uniform color.
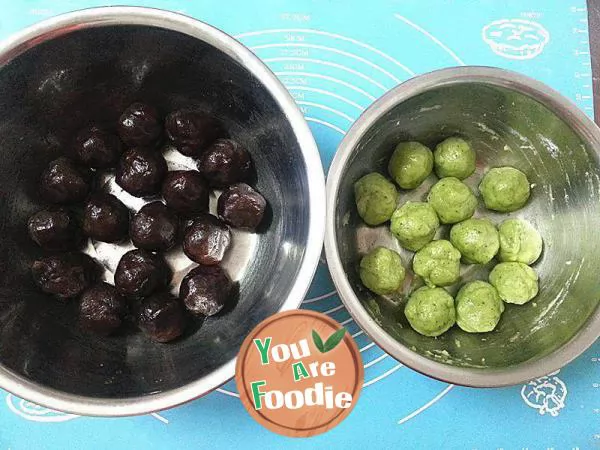
Step 5 . Divide into several small balls according to the proportion of 30g skin, 20g filling or 20g skin, 30g filling.
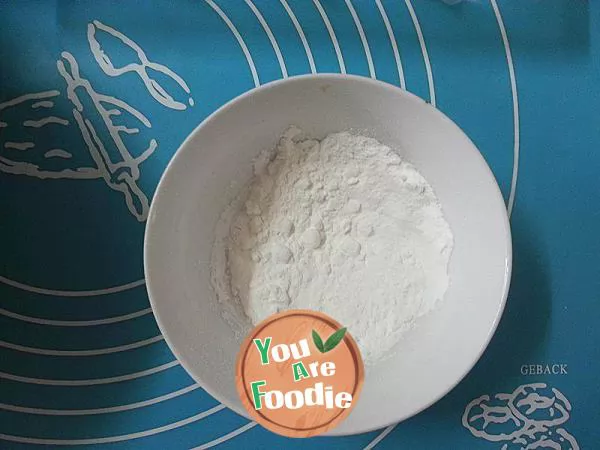
Step 6 . Prepare a bowl of hand flour to prevent sticking (put the glutinous rice flour into the oven and heat it for a few minutes before use)
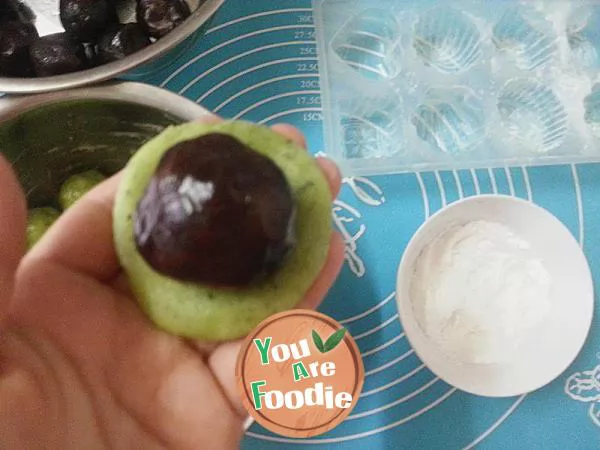
Step 7 . Dip some hand powder in your hand, press a skin round ball into a round piece, and then take a filling round ball and place it on the skin round piece.
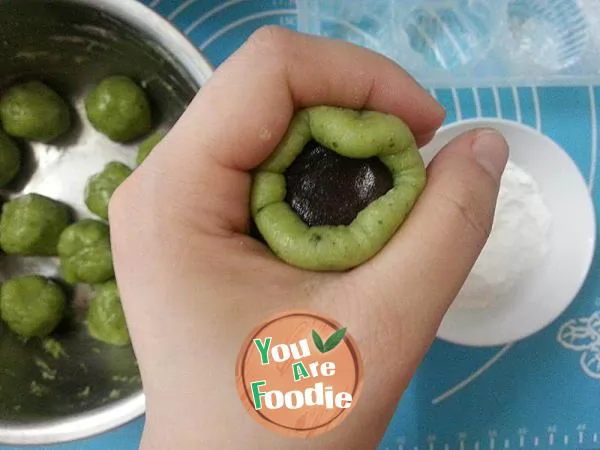
Step 8 . Wrap the outer skin over the inner nest, and slowly wrap the filling. Pay attention to the packaging method should be light, so that the filling cannot leak out. You can also dip some hand powder in the process of packaging, so that it is easier to wrap. Finally, when you close your mouth, pinch it tightly.
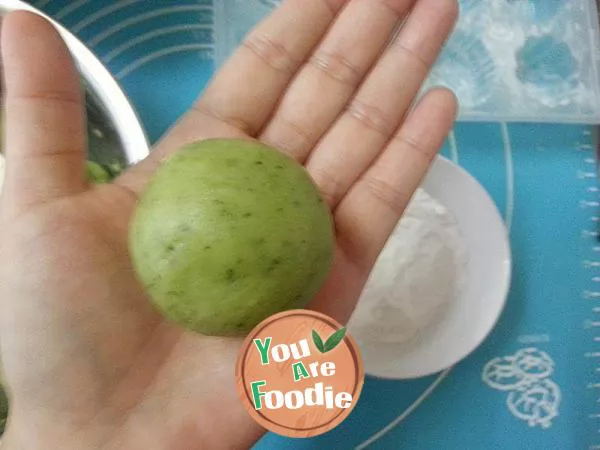
Step 9 . Re round.
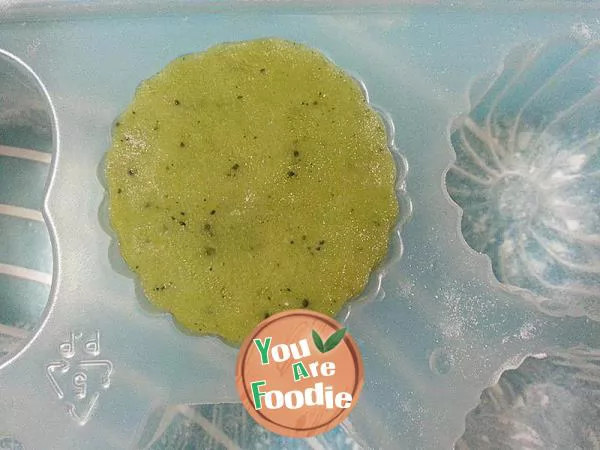
Step 10 . Dip some hand powder on the ball and gently put it into the mold to press.
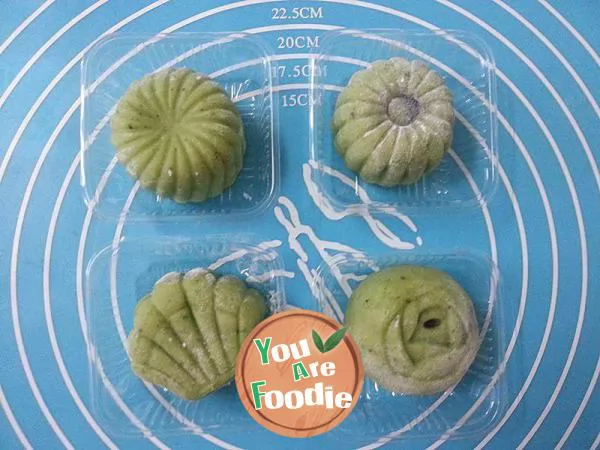
Step 11 . Then turn the mold upside down and knock it gently on the table, and a finished moon cake will come out.
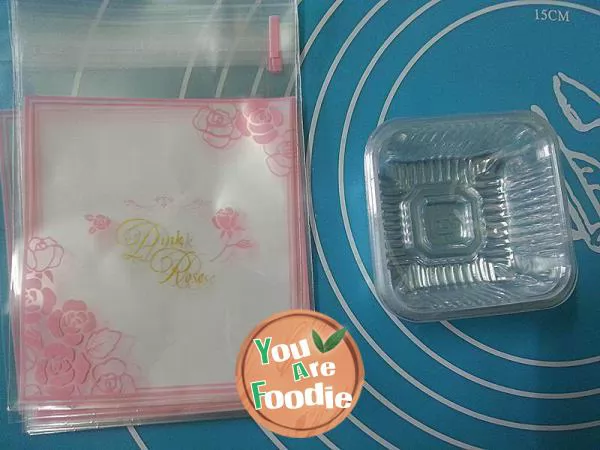
Step 12 . After the ice crust moon cake is prepared, if you want to send it to someone, you can buy a special moon cake packaging box and put it in the refrigerator to refrigerate for several hours. It tastes better.
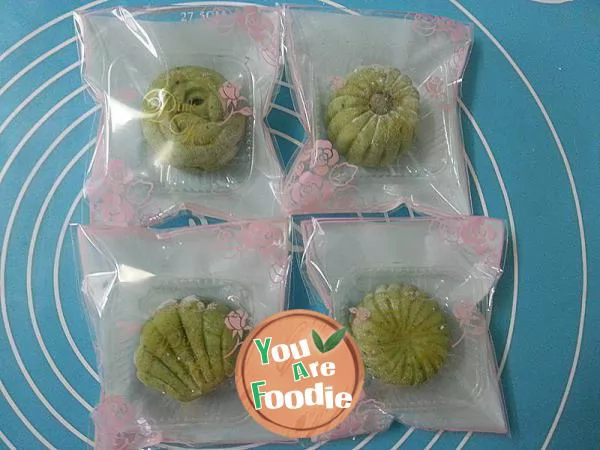
Step 13 . Finally, it should be noted that the storage time of ice crust moon cakes should not be too long. It is better to eat as much as you like, otherwise the skin will dry and crack and affect the taste.
* Information is provided from the Internet, If there is a copyright infringement, Please contact administratoryouarefoodie.com, We will deal with as soon as possible, Thank you!


![[meat floss] - bread machine version of meat floss](/update/images/foods/54/6954/96954/1653375093_898568.jpg_s.jpg.webp)
![[cream bun]](/update/images/foods/40/1340/91340/1653390590_531872.jpg_s.jpg.webp)