
Mickey Salad Bread
Our children have a rather tricky taste, so I often make them something different. I tried this one today. It's very amazing!Each person has a different oven temperature, for reference only. I remember that the 20g rim must be tightened, because I had no experience in it for the first time, so after it came out of the furnace, some of it spread out.
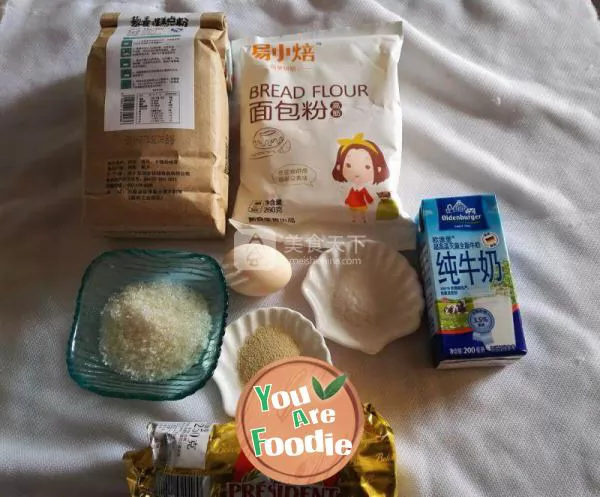
Step 1 . Prepare all raw materials.
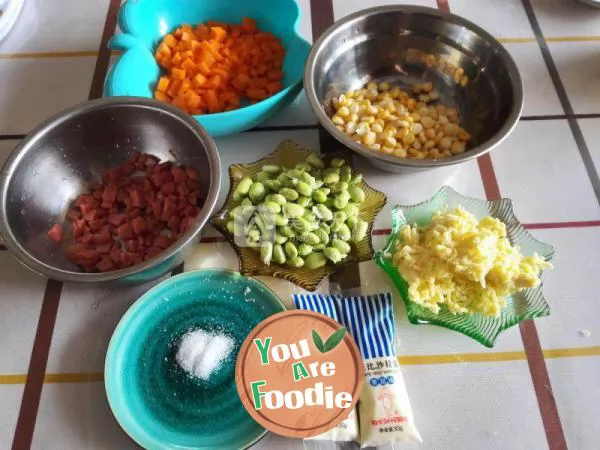
Step 2 . Accessories are also ready.
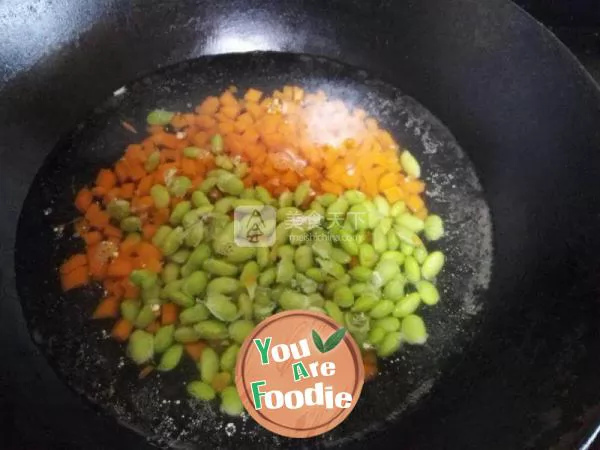
Step 3 . Blanch carrots and green beans in a pot.
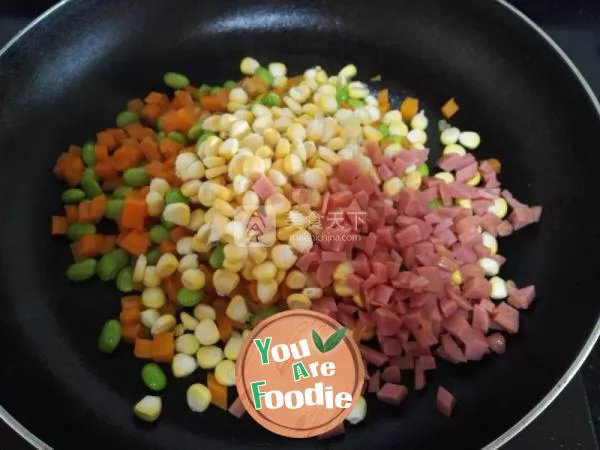
Step 4 . Then stir fry in a nonstick pan.
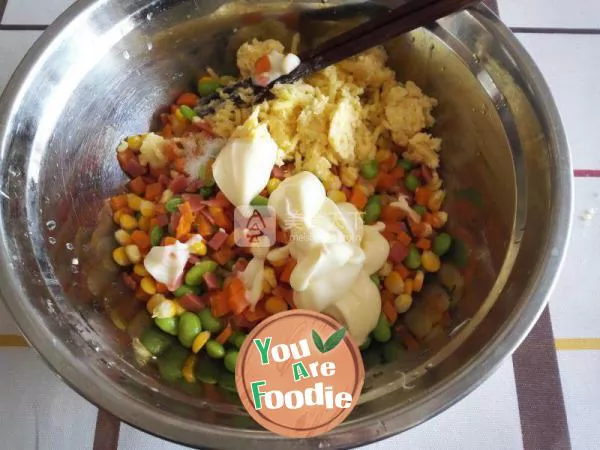
Step 5 . Then add mozzarella, salt and salad dressing, and stir well.
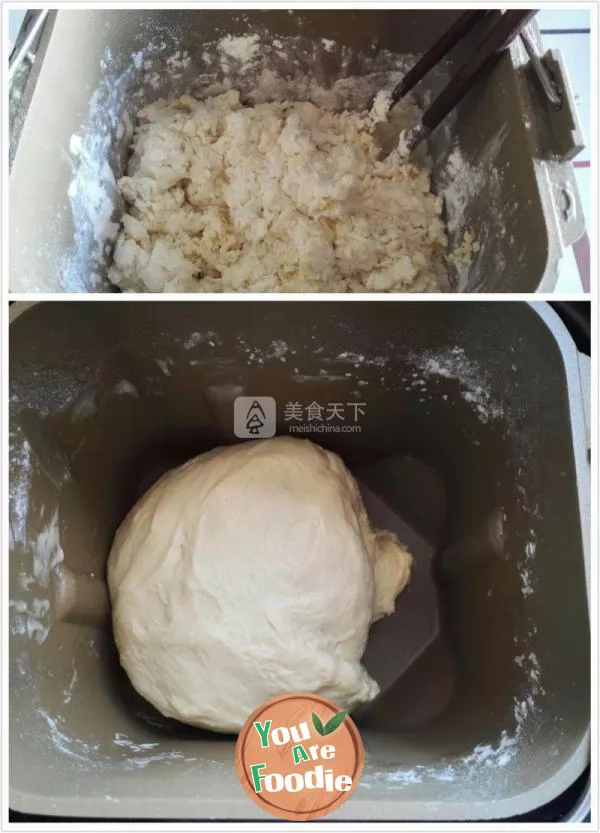
Step 6 . Put all the ingredients except yeast, salt and butter in the main ingredients into the toaster, stir them with chopsticks, and knead them for 20 minutes.
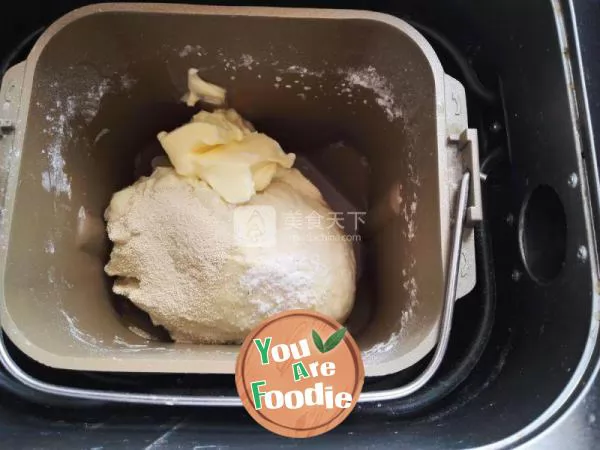
Step 7 . Then add yeast, salt and butter and knead for another 15 minutes.

Step 8 . Directly use the toaster to ferment to 2 ~ 2.5 times the size, and use chopsticks to poke a hole in the middle without springback.
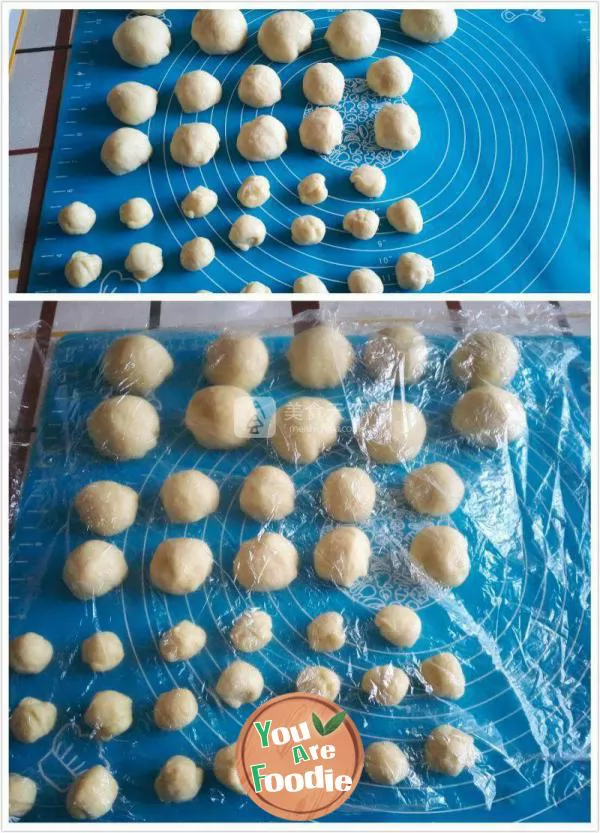
Step 9 . The dough is divided into 10 pieces of 40 grams, 10 pieces of 20 grams, and 20 pieces of 5 grams. Respectively round, cover with plastic wrap and relax for 10 minutes.
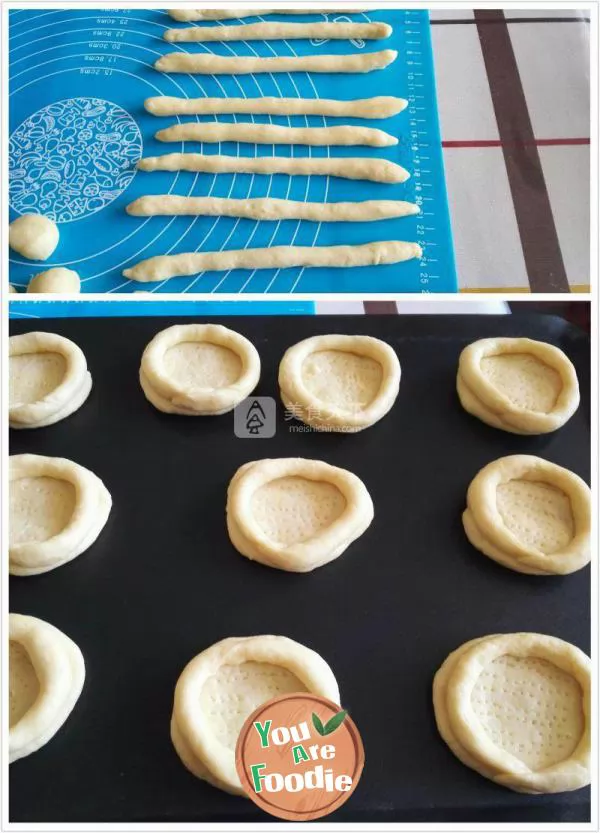
Step 10 . Roll out 40 grams of dough, press it flat, poke the hole with a fork, and brush a little egg liquid on the surface. Then use 20g dough, knead it into long strips, and surround it. Remember to pinch it tightly!
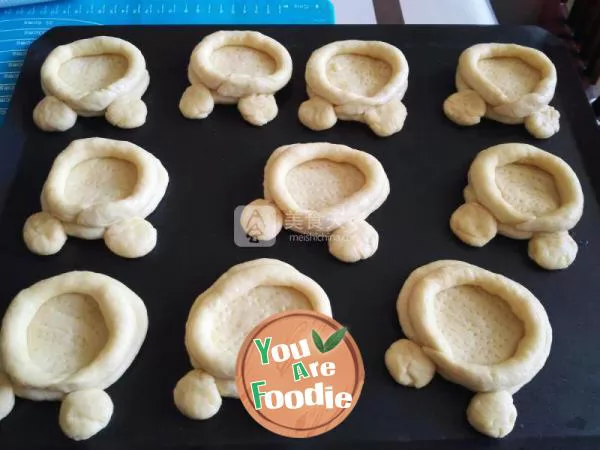
Step 11 . Then each dough is equipped with two small ears, which should be pressed slightly!

Step 12 . Put the fried excipients into the dough.

Step 13 . Preheat the oven at 200 ℃ for 10 minutes, then bake at 200 ℃ for 13 ~ 15 minutes, and then color it.

Step 14 . After coming out of the oven, put the baking net to cool, put it in fresh-keeping bags when it is slightly hot, and store it at room temperature for about 3 days.

Step 15 . Is the color attractive.

Step 16 . Meimeida!

Step 17 . Meimeida!
* Information is provided from the Internet, If there is a copyright infringement, Please contact administratoryouarefoodie.com, We will deal with as soon as possible, Thank you!


![[meat floss] - bread machine version of meat floss](/update/images/foods/54/6954/96954/1653375093_898568.jpg_s.jpg.webp)

![[cream bun]](/update/images/foods/40/1340/91340/1653390590_531872.jpg_s.jpg.webp)