
Cream Strawberry Cake
Strawberry cream cake is one of my son's favorite desserts. The cake that melts in the mouth, together with the creamy light cream and the sweet and sour strawberries, is so delicious!The cake body is made by baking in a hollow mold using the Qi Feng cake making method. Qifeng cake is simple to make, with sufficient egg flavor and instant melting in the mouth. It is delicious with cream and strawberries. The more you eat, the more you like it ~It takes about 2 hours from the beginning of preparation of food materials to the completion of cake cooling, including about 10 minutes for cake preparation, about 30 minutes for baking, about 1 hour for cooling, and about 10 minutes for decoration. If you don't have time, you can bake the cake after dinner and decorate it in the morning. You can operate flexibly according to your own time.The weather is getting warmer and warmer. We also start picking strawberries here. Yesterday, we went to pick a large box with our son ~ the little guy said he would eat strawberry cake at home ~ just a few days ago, we started a small Toshiba oven with small and exquisite appearance, large capacity and multiple functions. Let's try baking a cake ~After baking, the cake is evenly colored, the oven temperature is accurate, the baking time can be timed, the cake organization is fine and soft, and the whole kitchen is full of cake flavor ~Friends who like strawberry cake, let's see how to make this cake1. this cake is made with Toshiba small oven. Toshiba small oven has uniform color, accurate temperature and fast baking time. Let's try it together if you like.2. the specific temperature and baking time shall be adjusted according to the oven.3. sealed and refrigerated.

Step 1 . Prepare the necessary ingredients and wash the fruit for use.
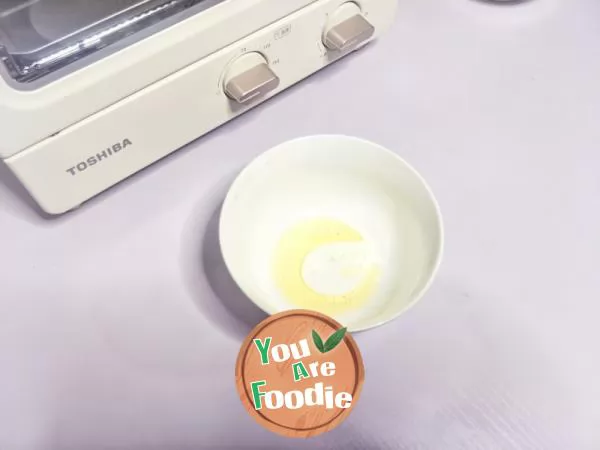
Step 2 . First, make the egg yolk and put the corn oil and milk in a bowl.
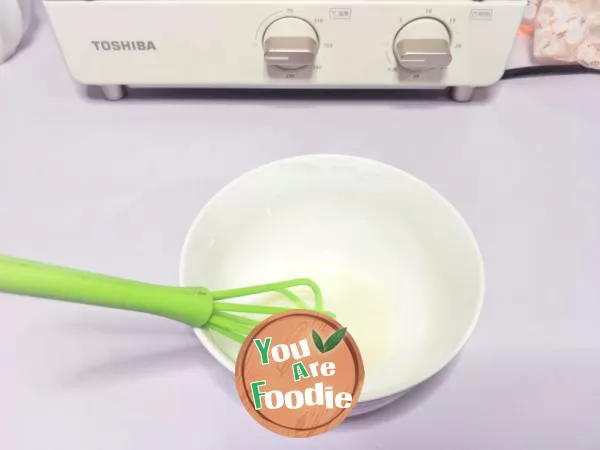
Step 3 . Use a hand-held blender to stir until the milk and corn oil are completely mixed, and there is no emulsification state of oil spray floating.

Step 4 . Sift and add low gluten flour. Stir evenly by drawing Z.

Step 5 . Egg yolk and egg white are separated. Put the egg white in another oil-free and water-free basin for use, and add the egg yolk to the freshly stirred batter.

Step 6 . Continue to use the method of drawing Z to stir evenly. The egg yolk is finished and put aside for use.

Step 7 . Next, start to make the egg white part, add lemon juice to the egg white, add white granulated sugar three times, and use the hand-held electric egg beater to beat it first at high speed and then at low speed until the protein volume expands and there are obvious lines, and the egg beater can lift the protein in a small, straight and sharp state.

Step 8 . Take 1/3 egg white and add it to the egg yolk paste. Mix it evenly. Remember not to stir it in circles.

Step 9 . Pour the egg yolk paste back into the protein bowl, and continue to stir it evenly by turning and cutting. Similarly, circle mixing is not allowed.

Step 10 . The evenly stirred cake paste is poured into a four inch hollow mold from a height of 15cm. The vibrating mold shakes out the bubbles in the cake paste.

Step 11 . Put the cake into the oven preheated in advance and heat it up and down for 150 ° for about 30 minutes.

Step 12 . The volume of the cake expands in the middle of baking, and the color becomes golden. If the color of the middle coat is too dark, remember to cover it with tin foil. After the cake comes out of the oven, gently shake the mold and let it cool.

Step 13 . The cake after the middle beam can be demoulded. A soft golden cake embryo is ready!

Step 14 . Next, make the decorative part, add powdered sugar to the light cream, and beat it with a hand-held electric egg beater at low speed until the cream is half flowing.

Step 15 . Put the whipped light cream into a decorative bag and squeeze it on the top of the cake for a circle. The cream will naturally flow down to form a beautiful pattern..

Step 16 . Cut strawberries and put them on the light cream. I also put some blueberries as decorations.

Step 17 . Finished product drawing.

Step 18 . Finished product drawing.

Step 19 . Finished product drawing.

Step 20 . Finished product drawing.
* Information is provided from the Internet, If there is a copyright infringement, Please contact administratoryouarefoodie.com, We will deal with as soon as possible, Thank you!
![[Cantonese cuisine] soup of cold melon, soybean and pork bones](/update/images/foods/60/7560/97560/1653360787_645608.jpg_s.jpg.webp)
![[Suzhou cuisine]: yongheyuan assorted jelly](/update/images/foods/26/4526/74526/1653358591_697463.jpg_s.jpg.webp)