

Mint biscuit
The mint on the balcony is growing well. We must do something to cooperate! Thought of making some mint cookies!The baking time still depends on the size and thickness of the biscuits. It took me only 15 minutes to bake them. It's almost enough to see the yellow edges!
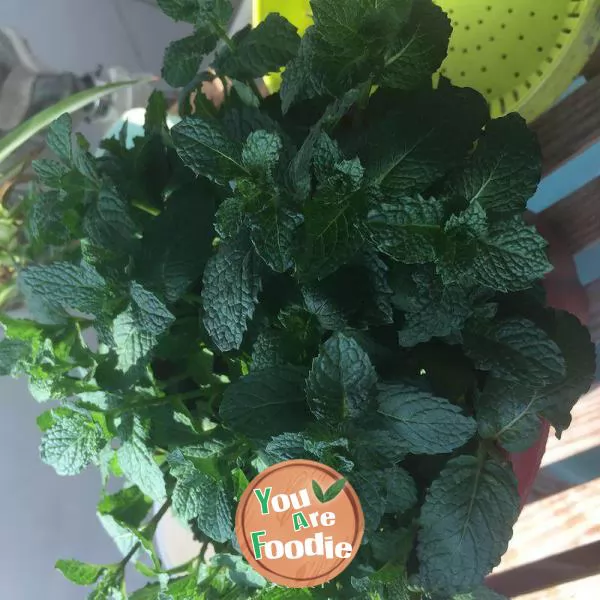
Step 1 . Mint on the balcony
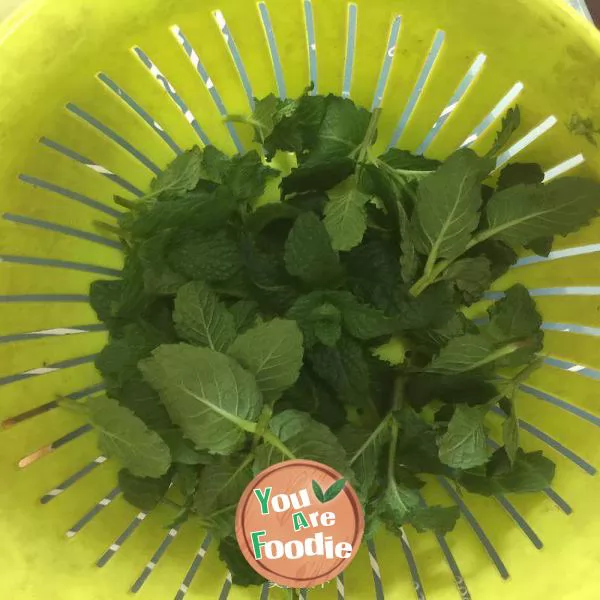
Step 2 . Picked 10 grams of fresh mint leaves
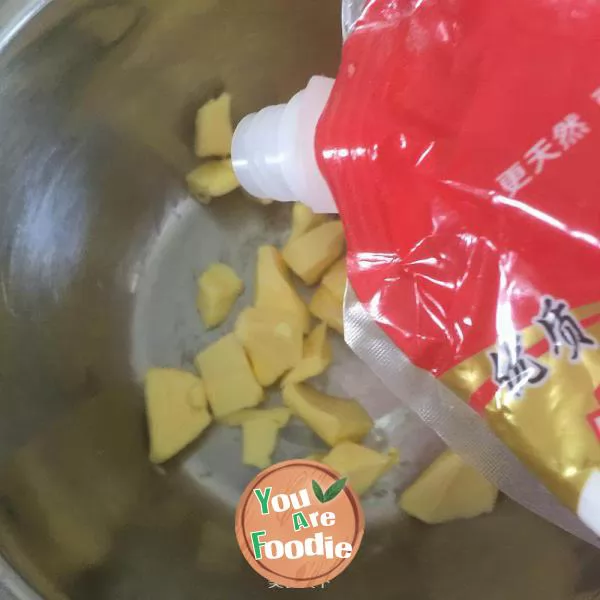
Step 3 . Add the butter and powdered sugar, mix well, and beat it with an egg beater to make it fluffy

Step 4 . Add the whole egg liquid in 3 times and mix well
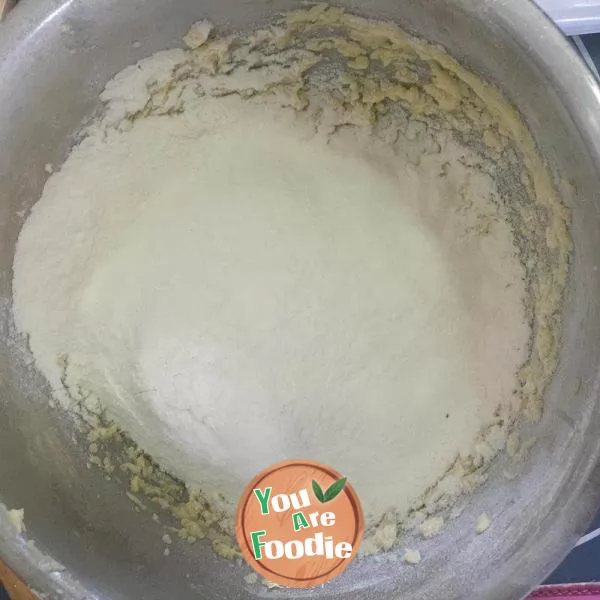
Step 5 . Sift in low powder and milk powder and stir well
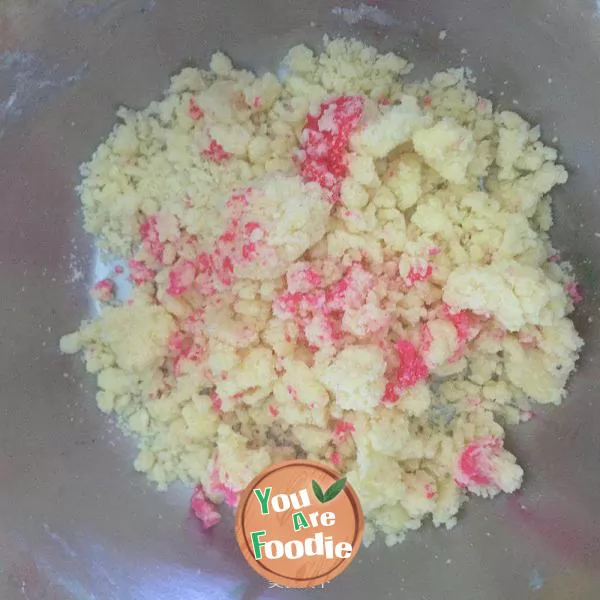
Step 6 . I added a few drops of rose essence to mix the roses
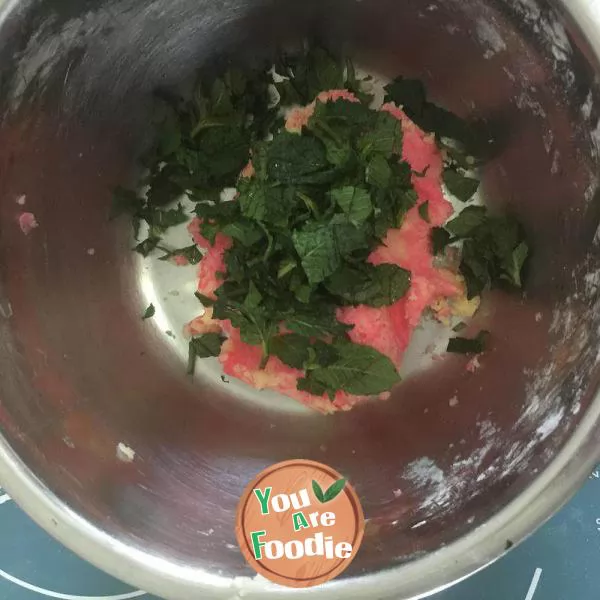
Step 7 . Add chopped fresh mint leaves and knead evenly
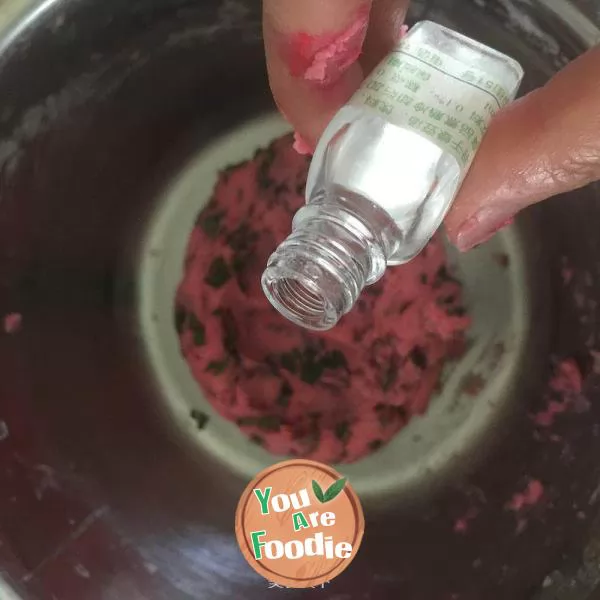
Step 8 . I also added some mint essence
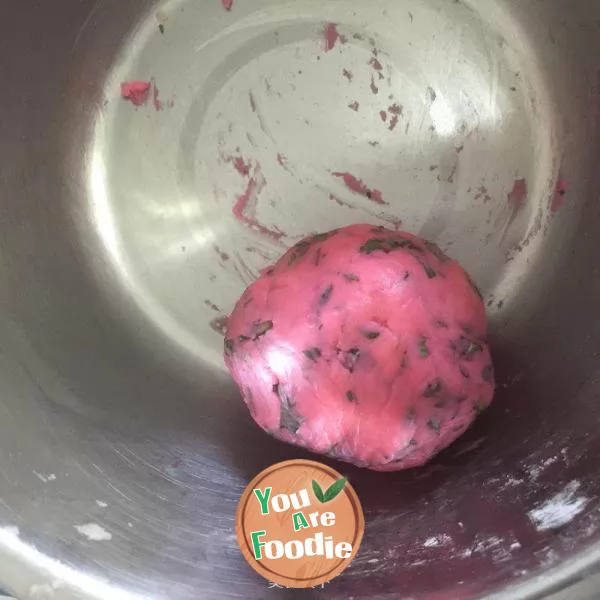
Step 9 . Knead the dough and put it into the refrigerator to relax for 15 minutes

Step 10 . Roll the dough into thin slices and press the shape with biscuit mold

Step 11 . I use the green dough left over from making cherry cookies to make flower cores. If not, I won't add it

Step 12 . Drain the biscuits into a baking tray lined with oil paper

Step 13 . Preheat the oven and bake at 160 degrees for 15-20 minutes, depending on the size and thickness of the cookies

Step 14 . Mint cookies complete
* Information is provided from the Internet, If there is a copyright infringement, Please contact administratoryouarefoodie.com, We will deal with as soon as possible, Thank you!


![[meat floss] - bread machine version of meat floss](/update/images/foods/54/6954/96954/1653375093_898568.jpg_s.jpg.webp)

![[cream bun]](/update/images/foods/40/1340/91340/1653390590_531872.jpg_s.jpg.webp)