
Bean milk box cake
The popular net red bean milk box cake in the food circle, one layer of cake, one layer of cream, one layer of soybean milk, one layer of soybean powder, and one spoonful of it spread in your mouth, bringing you different taste enjoyment. In the afternoon tea time, the bean milk box is matched with a cup of fruit tea or a cup of coffee, which is also a beautiful scene!Tips:1. I use a wall breaking machine to make soybean milk, and there is no residue after filtration. If I use a soybean milk machine, I must filter out the residue to avoid affecting the taste.2. I bought soybean flour cooked. I can make it myself if I don't mind the trouble.3. Break the cream cheese into small pieces, and use the temperature of the soybean milk paste to soften it quickly, making it easier to stir.4. When cooking soybean milk, you must keep the heat low and stir constantly to avoid paste. It is best to use a milk pot or a non stick pot.
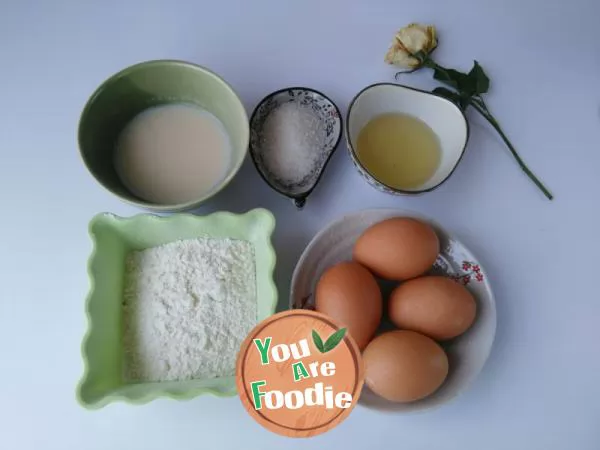
Step 1 . 1. Prepare the cake ingredients. (eggs should be refrigerated)

Step 2 . Separate the egg white and yolk, and put the egg white in the refrigerator for standby. (containers for egg white and yolk shall be free of water and oil)

Step 3 . Put corn oil and soymilk in a large bowl and stir until emulsified.

Step 4 . Sift in the cake powder.

Step 5 . Use the manual egg beater to stir back and forth until there is no dry powder, and put five egg yolks (this is the back egg method).

Step 6 . Stir zigzag back and forth until smooth and free of flour particles.

Step 7 . Take out the frozen egg white from the refrigerator, beat the egg white at low speed until it is big and thick, and add a third of sugar. At this time, preheat the oven at 130 degrees and heat it up and down for 10 minutes.

Step 8 . Beat it at medium speed until the protein is fine, continue to add a third of sugar, and continue to beat it at medium speed.

Step 9 . Add the last sugar when the grain appears.

Step 10 . Finally, hit the wet hook at medium speed.

Step 11 . Add one third of the egg white to the egg yolk paste, turn and mix evenly, and do not draw a circle.

Step 12 . Pour the mixed cake paste into the remaining protein.

Step 13 . Stir well, remember to stir well from the bottom, so as not to leave egg yolk paste on the bottom of the basin.

Step 14 . Pour the cake paste into a gold plate covered with oil paper, and level the surface with a scraper.

Step 15 . Send it to the middle layer of the preheated oven, heat it at 130 ℃ and heat it at 110 ℃ for about 23 minutes. Take out the baked cake body, shake it gently on the table, buckle it upside down on the baking net paved with oil paper, peel off the oil paper at the bottom, and then cover it on the cake body to prevent the cake from drying out.

Step 16 . Prepare cheese and soymilk raw materials.

Step 17 . Put sugar into the egg yolk and stir until the egg yolk is emulsified and turns white.

Step 18 . Sift in the cake powder.
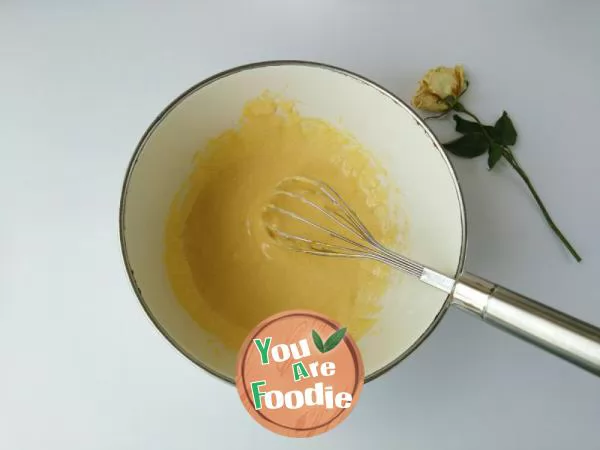
Step 19 . Stir until smooth without flour particles.

Step 20 . Put soymilk in it at one time.

Step 21 . Also stir until smooth.

Step 22 . Put it on the stove and heat it over a low heat. Keep stirring it to avoid sticking to the bottom of the pot until the soybean milk kasoda sauce is very thick. Turn off the heat.

Step 23 . Add softened cream cheese while hot. (cream cheese doesn't need to be beaten, just put it directly)

Step 24 . Stir it quickly and evenly to make the cheese melt in faster and become smooth without particles. Put it aside for standby.

Step 25 . Cut the cake according to the size of the box.

Step 26 . Refrigerate the light cream in an ice bag and whisk it at a low speed until it is framed.

Step 27 . Put the cheese soymilk sauce and the whipped light cream into the flower mounting bags respectively. (don't put it in the refrigerator for the time being)

Step 28 . Put the cake into the box.

Step 29 . Squeeze a layer of cream.

Step 30 . A layer of cheese and soy sauce. (random pattern)

Step 31 . Sift a layer of cooked soybean powder.

Step 32 . Repeat again. The cake, cream, soy milk, soybean powder and soy milk box are ready. It is best to put it in the refrigerator for 2 hours.

Step 33 . Finished product drawing

Step 34 . Finished product drawing

Step 35 . Finished product drawing

Step 36 . Finished product drawing
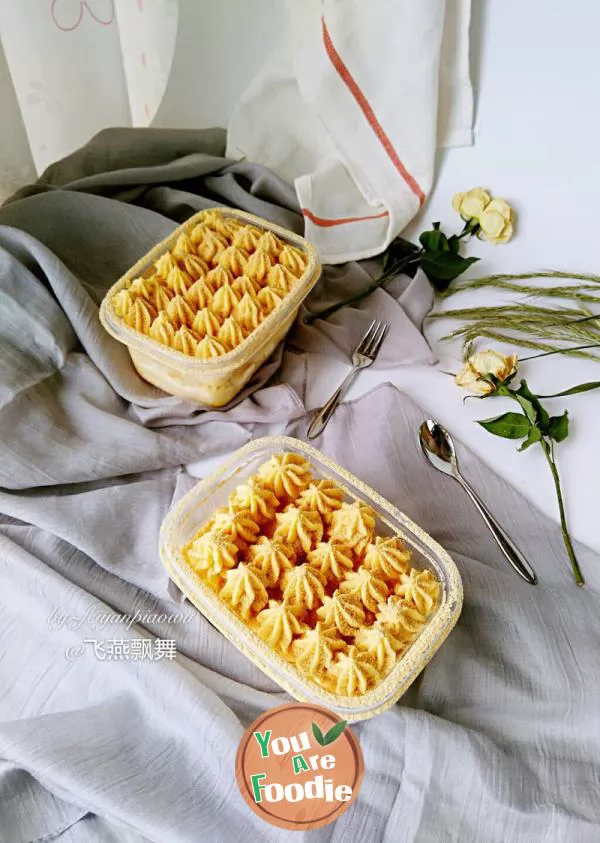
Step 37 . Finished product drawing

Step 38 . Finished product drawing

Step 39 . Finished product drawing

Step 40 . Finished product drawing
* Information is provided from the Internet, If there is a copyright infringement, Please contact administratoryouarefoodie.com, We will deal with as soon as possible, Thank you!



![[meat floss] - bread machine version of meat floss](/update/images/foods/54/6954/96954/1653375093_898568.jpg_s.jpg.webp)
![[cream bun]](/update/images/foods/40/1340/91340/1653390590_531872.jpg_s.jpg.webp)