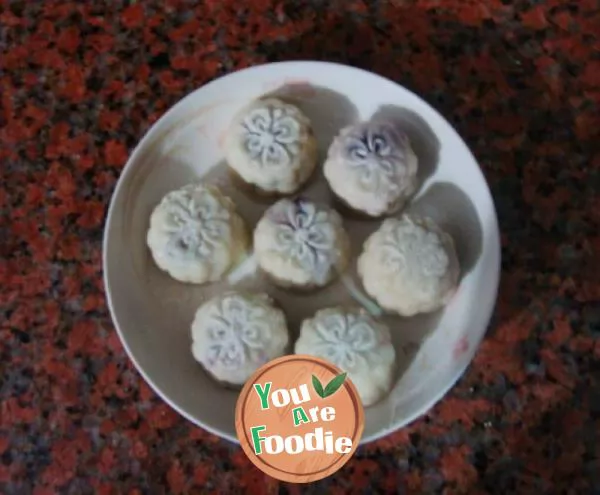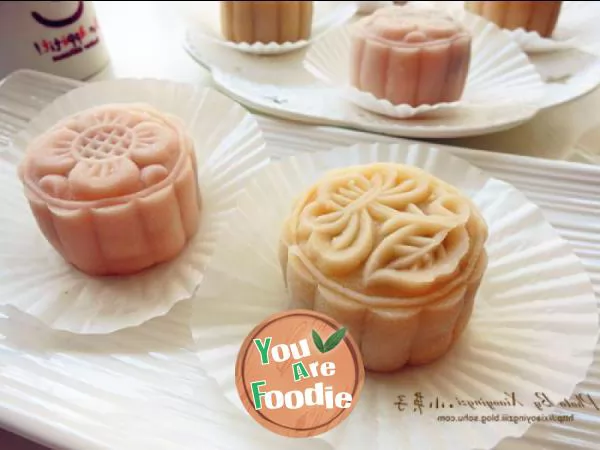
Rose flavored mung bean sand ice skin moon cake
It's the moon cake season again. I didn't want to do it this year, but I still don't want to miss this lesson when I see an activity. Ice moon cakes have become more and more popular these years. It is simple and elegant in appearance, beautiful and fashionable. It can change all kinds of colors you like at will, and its taste is also different from traditional moon cakes. In terms of production, it is much simpler than traditional moon cakes, and there is no need to bake. As long as there are raw materials and a good prescription, you can eat as you go without returning oil and waiting. With the addition of sugar rose, the fragrance of the flower is very strong, like sweet and delicious.1、 In this formula, I reduced 20g milk from the original formula. It is still sticky and clings to the mold. I put the prepared ice skin germ into the refrigerator for 2 hours and then press the film. The exhibition mold is very easy to operate. After 2 days of storage, the skin of the ice moon cake is still soft. It tastes like a QQ bomb. It's very good.2、 Directly put it in the paper film for demoulding, which is not only anti stick and convenient to eat, but also does not need to toss your hands again. It is clean and sanitary.
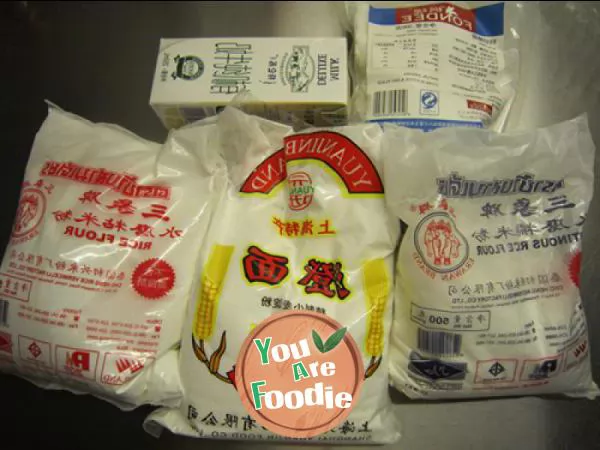
Step 1 . Prepare raw materials
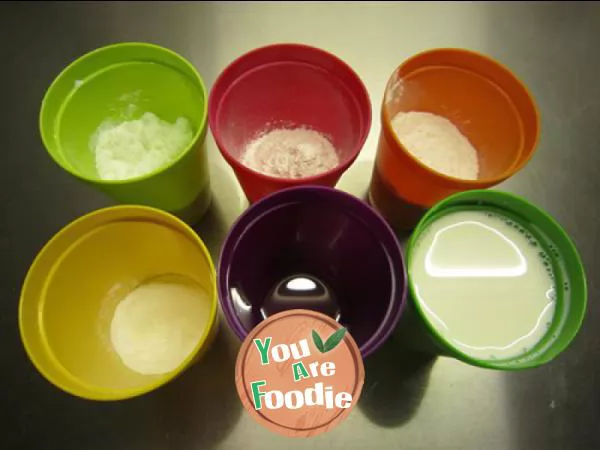
Step 2 . Weigh out the required weight
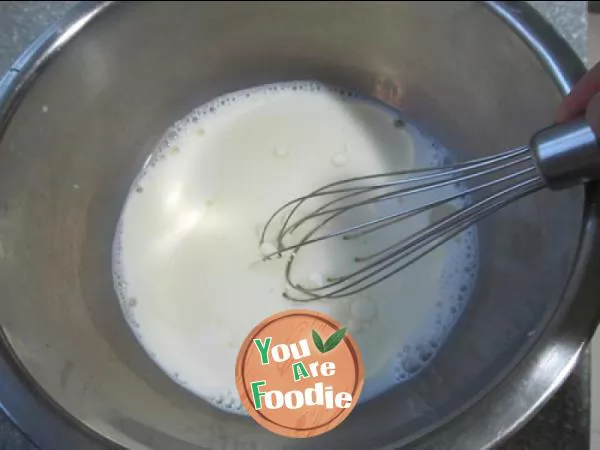
Step 3 . Pour milk, powdered sugar and salad oil into the bowl and stir well.
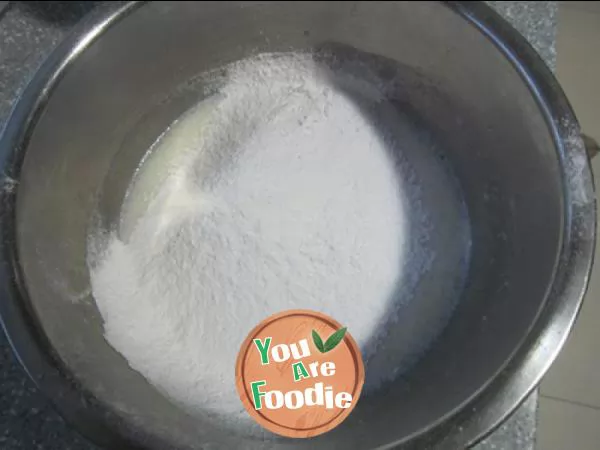
Step 4 . Pour in the sifted glutinous rice flour, sticky rice flour and clear noodles.
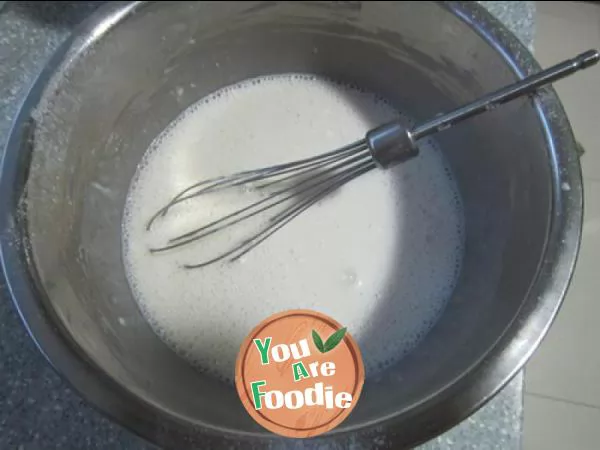
Step 5 . Stir well to form a thin batter.
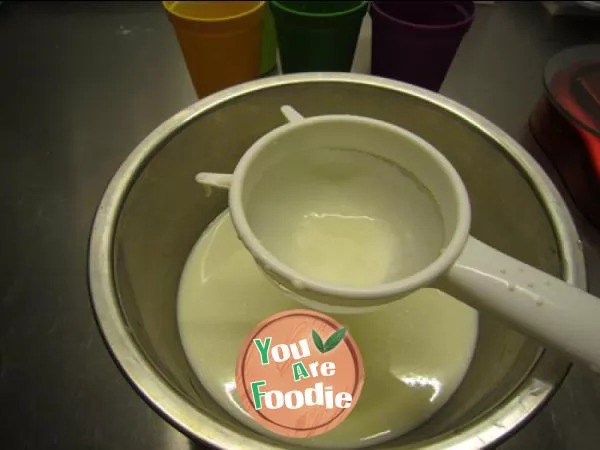
Step 6 . The screened products will be more delicate
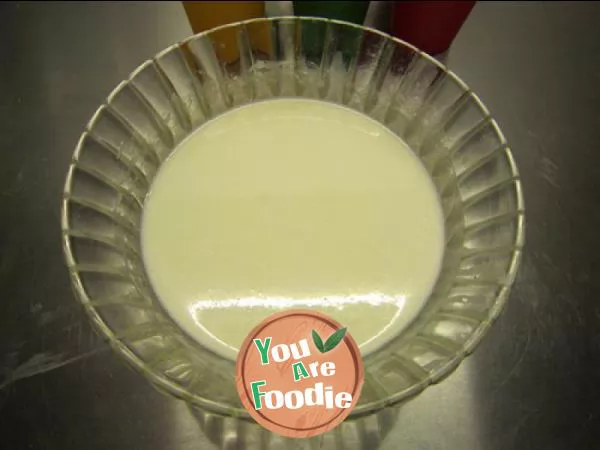
Step 7 . Leave the mixed batter for 30 minutes
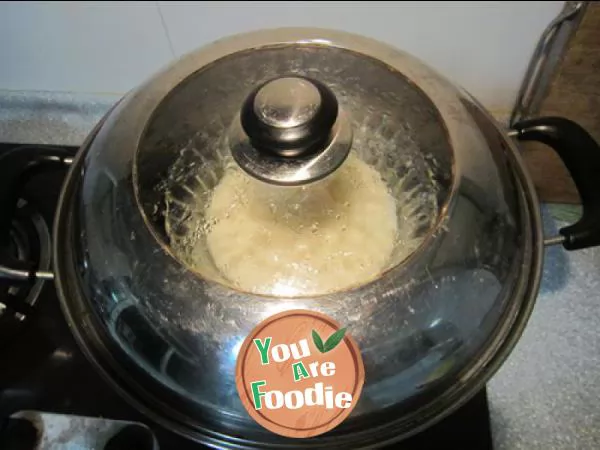
Step 8 . Then put into the boiling water steamer and steam for 18-20 minutes.
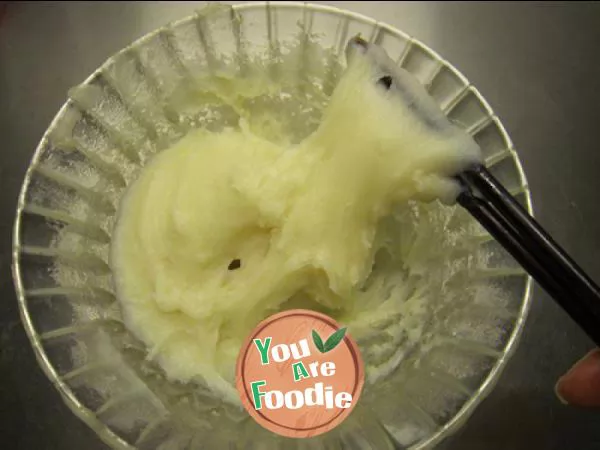
Step 9 . Stir the steamed batter with chopsticks until smooth.
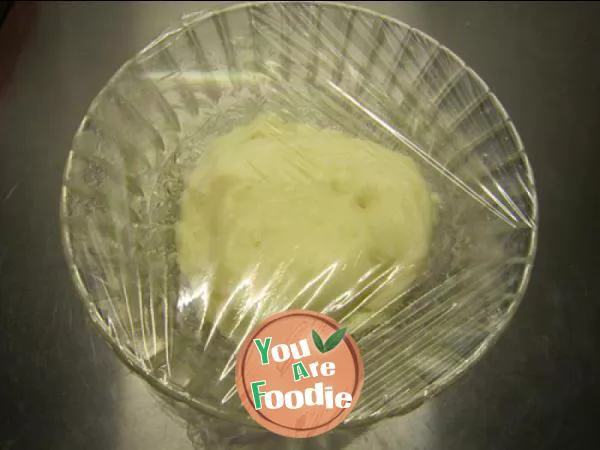
Step 10 . And then wait for it to cool to a warm temperature and refrigerate it in the refrigerator for 1-2 hours.
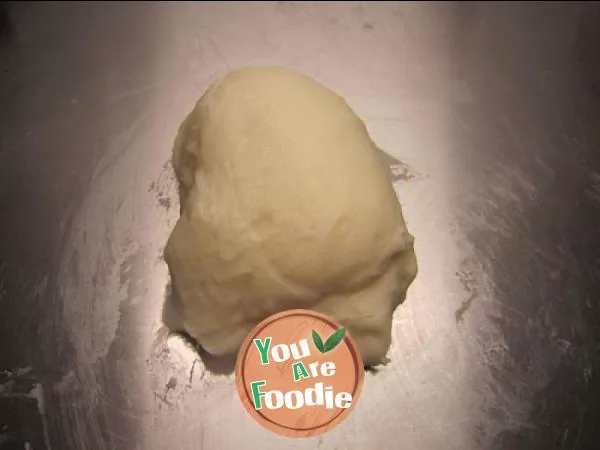
Step 11 . The cooled cake skin is rubbed evenly and smoothly by hand
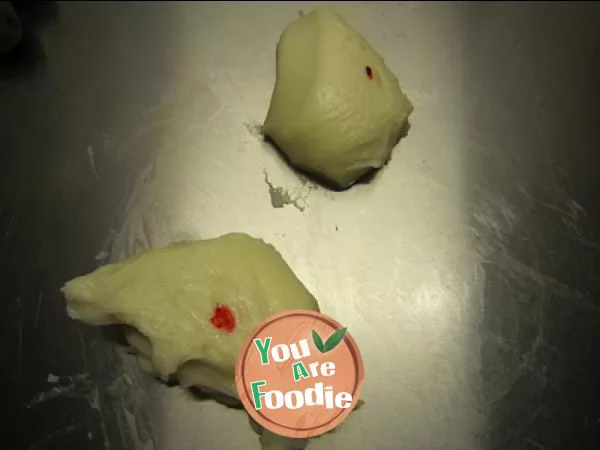
Step 12 . Divide the frozen ice skin into 2 equal parts, dip a little bit of two different colors with a toothpick, and rub it vigorously,
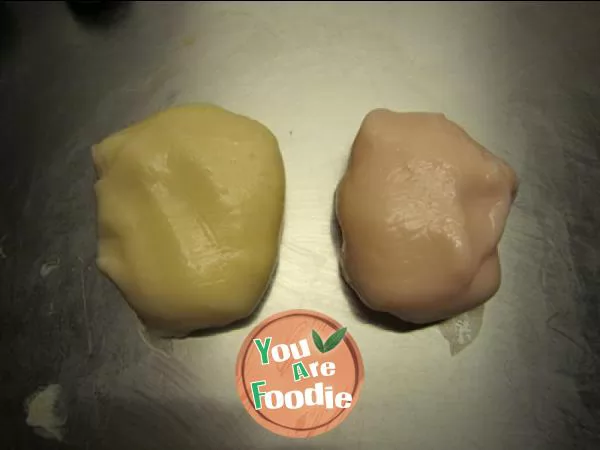
Step 13 . Until the color is uniform and shiny, put it on the fresh-keeping film to prevent adhesion and facilitate operation.
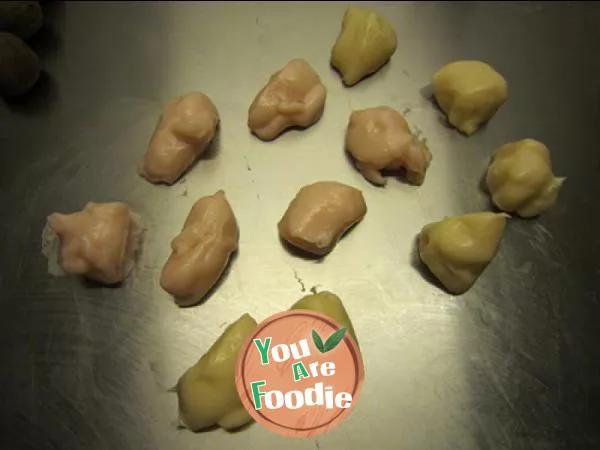
Step 14 . Divide the kneaded ice crust into 6 portions
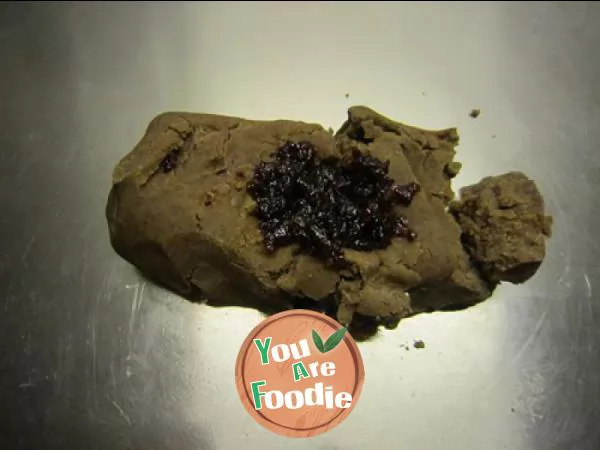
Step 15 . Put a proper amount of sugar rose paste on the bean paste filling and knead well,
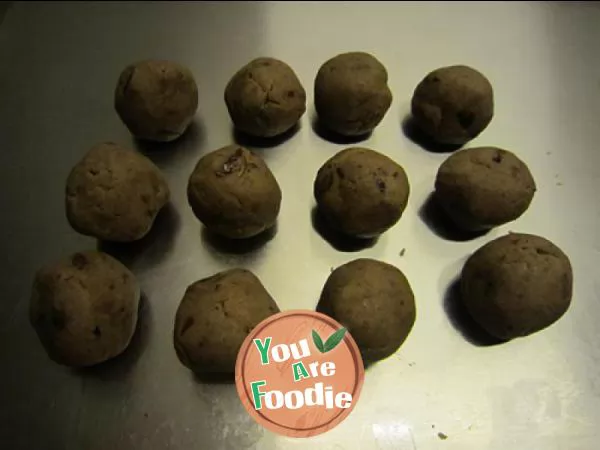
Step 16 . The bean paste filling is divided into 24 grams
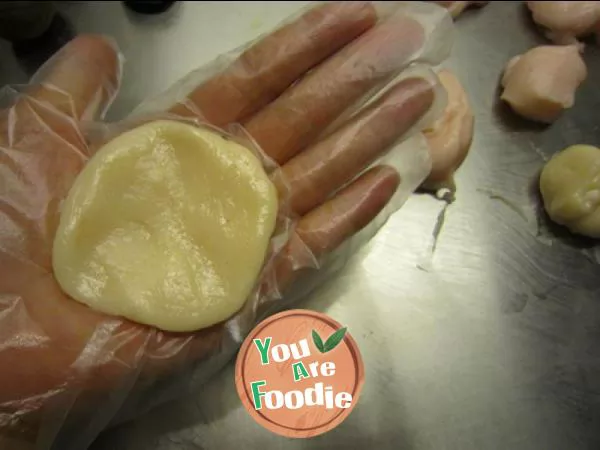
Step 17 . Wear disposable gloves, and then put the ice skin on the palm of your hand
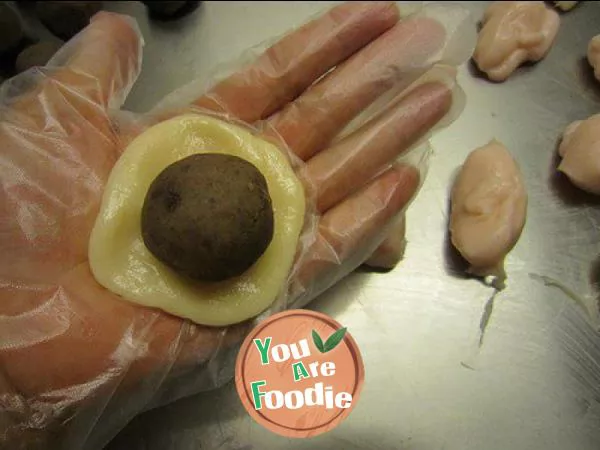
Step 18 . Put a piece of bean paste on it.
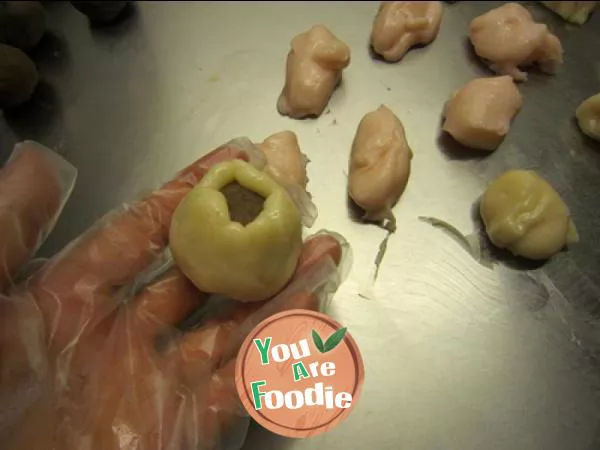
Step 19 . Wrap the bean paste with ice and push it up slowly until the bean paste is completely wrapped and closed.
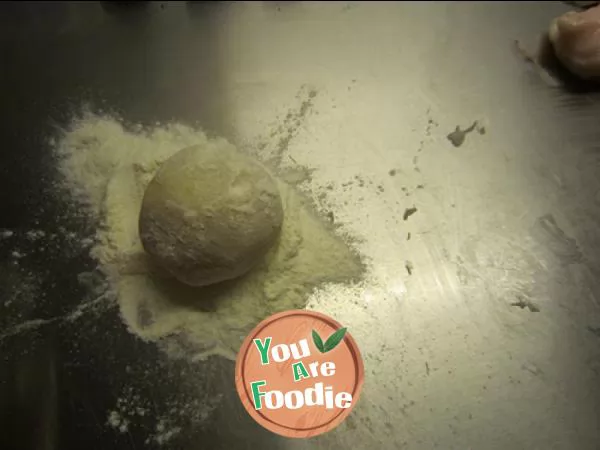
Step 20 . The ice ball is rolled on the cake powder, and the excess powder is removed by hand, so that the whole ball body can be evenly covered with a small amount, which can facilitate demoulding.
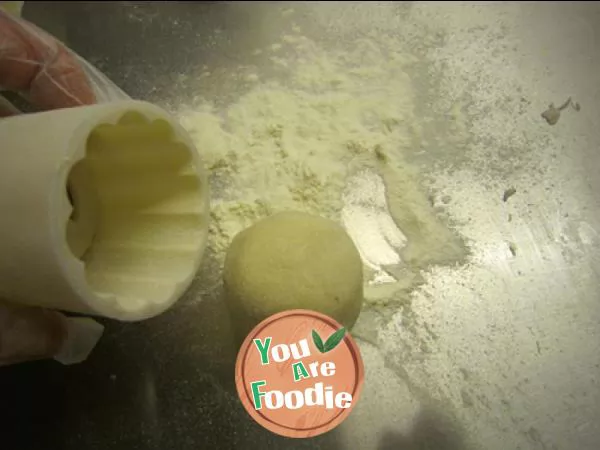
Step 21 . Sprinkle some cake powder in the mold, let the cake powder stick evenly on the mold wall, and then pour out the excess cake powder.
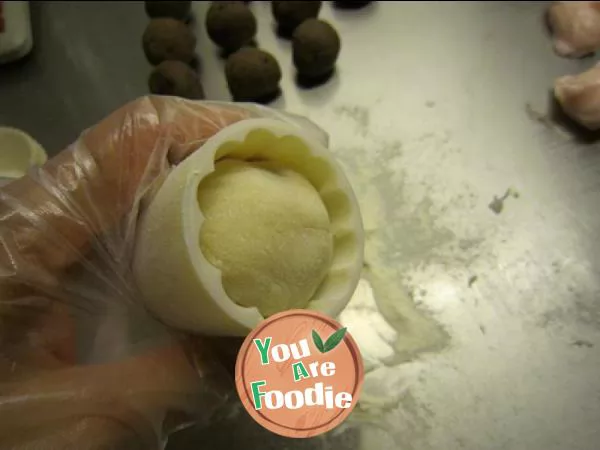
Step 22 . Then put the wrapped ice dough into the mold.
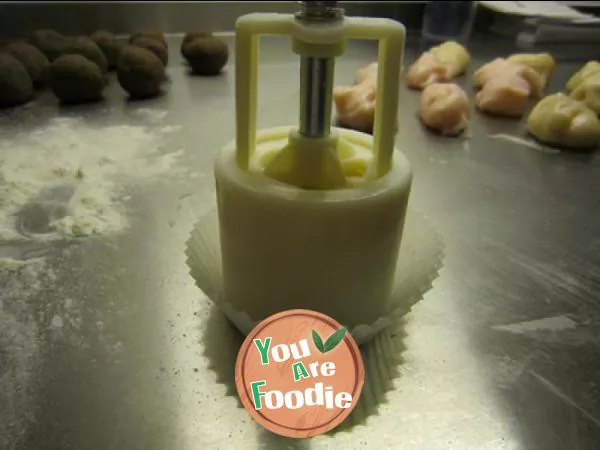
Step 23 . Put it directly in the paper film and press it evenly with the palm of your hand.
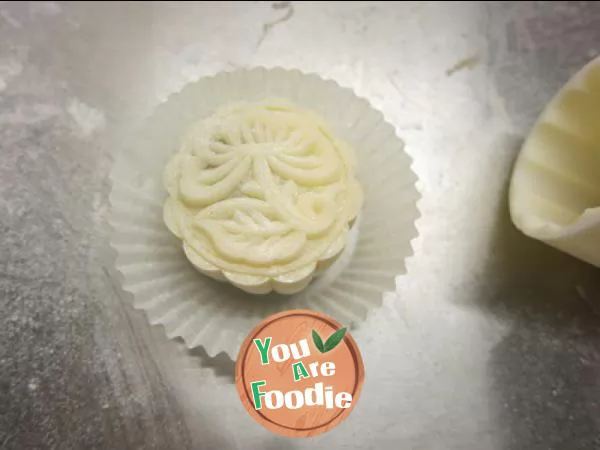
Step 24 . Lift the moon cake mold, and the ice moon cake is ready. Put the prepared moon cakes into the fresh box and refrigerate in the refrigerator for one night, and you can eat them.
* Information is provided from the Internet, If there is a copyright infringement, Please contact administratoryouarefoodie.com, We will deal with as soon as possible, Thank you!
