Ancient early taste peach crisp
It's really crispy Very crisp! I can't put it in my mouth! I sincerely recommend this coarse grain biscuit containing corn flour. Due to the late night baking and limited lighting, it failed to produce the effect I wanted. I am deeply sorry, but I still kept the recipe for this crisp and heartbreaking biscuit.It is OK to have a medium-sized egg. If you choose a particularly large one, reserve a little for brushing the surface. However, I didn't brush the egg liquid this time. It depends on your situation! In addition, the warmth of the oven is adjusted according to the temper of the oven.

Step 1 . Mix and sift 200g ordinary flour, 40g corn flour, 3G baking powder and 2G baking soda for standby;

Step 2 . Add 120g corn oil and 100g sugar powder and stir evenly;

Step 3 . Add 2 eggs in several times and stir well;
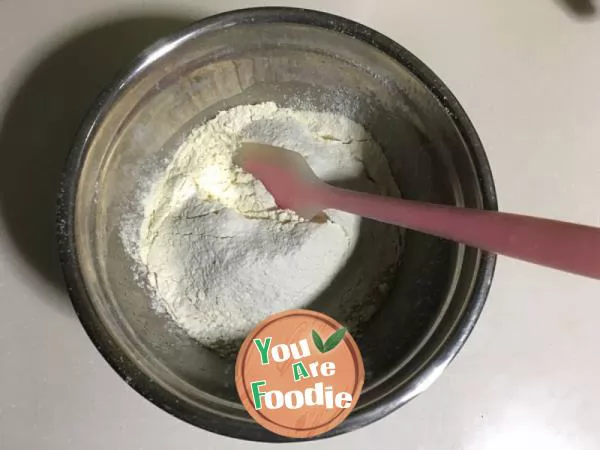
Step 4 . Add the sifted flour and mix it with a scraper until there is no dry powder and knead it into a ball;

Step 5 . After weighing, it is divided into about 32g small dough each;

Step 6 . Put it into the middle layer of the preheated 200 degree oven and heat it up and down for about 25 minutes;

Step 7 . Take it out after baking for less than 8 minutes (I press it in the middle with a spoon, and the surface is slightly sunken), and continue baking until the end;

Step 8 . It's Crispy after cooling!

Step 9 . Finished product drawing

Step 10 . Finished product drawing

Step 11 . Finished product drawing
* Information is provided from the Internet, If there is a copyright infringement, Please contact administratoryouarefoodie.com, We will deal with as soon as possible, Thank you!