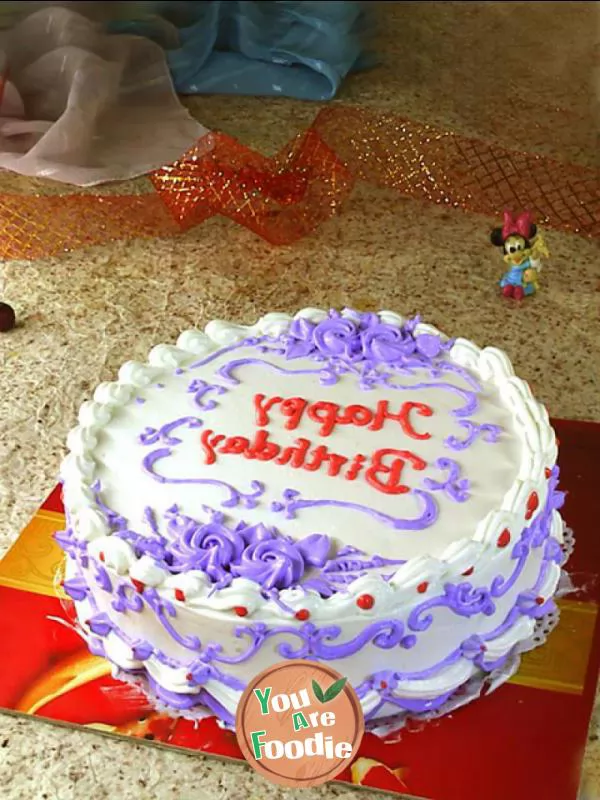
Framed cake: Purple romance
After deciding on the scheme, I found that I was totally out of my mind - I actually chose the curly grass pattern as the basic element - this pattern, which was popular in the middle ages and developed greatly in the Renaissance and Rococo period, looks exquisite and elegant, exudes the flavor of the court aristocracy, but it is the most disliked pattern in ordinary days. However, it is obviously difficult to change course temporarily: after thinking about it, my mind is full of its patterns. It is difficult to find other patterns for a while, so I have to make mistakes.Since the rolling grass once had a close relationship with the court aristocrats, use purple. Besides, red and green have always been used too much, and other colors have not been used very much. Don't think there are too many purple piles, just to use up the colored cream as much as possible. Moreover, the court is always associated with complexity.Cake crumbs must be cleaned to avoid affecting the plastering and final product effect.Patterns can be simple or complex, and can change according to your preferences.
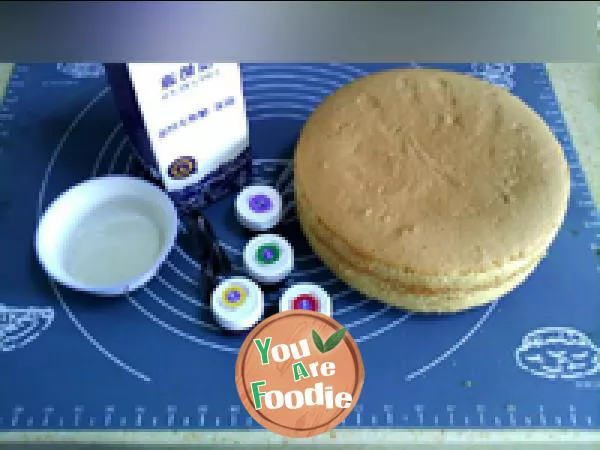
Step 1 . Materials
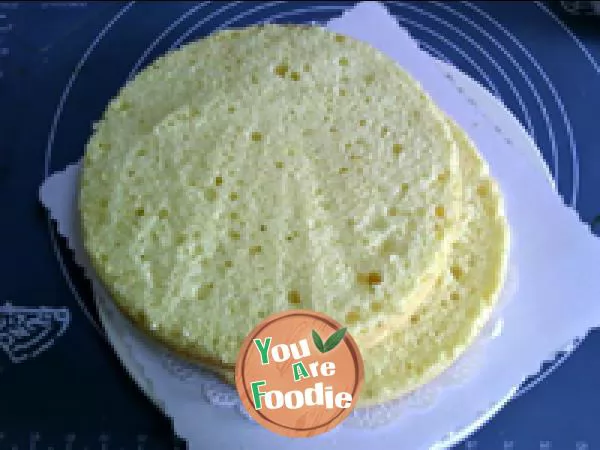
Step 2 . Cut the top of the cake into two pieces
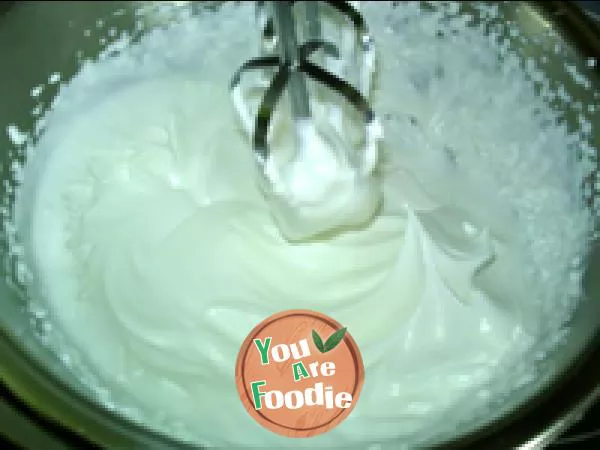
Step 3 . Cream and sugar, whisk into chicken tails
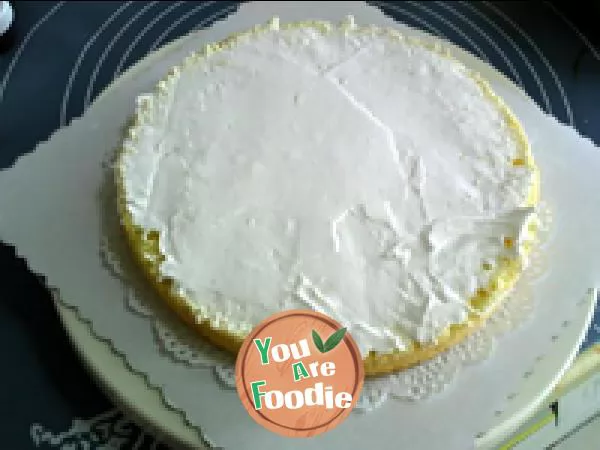
Step 4 . Take a piece of cake and spread it with cream
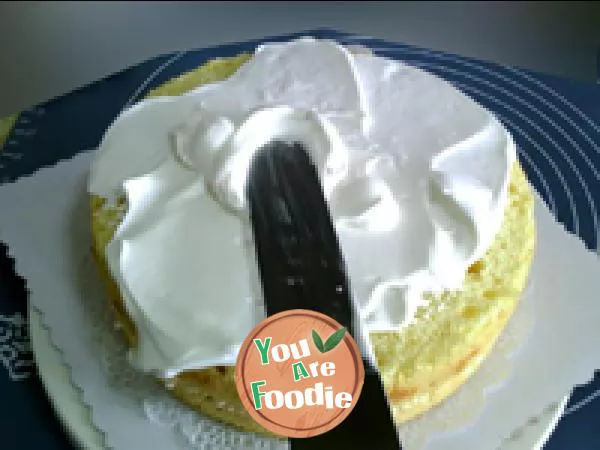
Step 5 . Put another piece on, and plaster
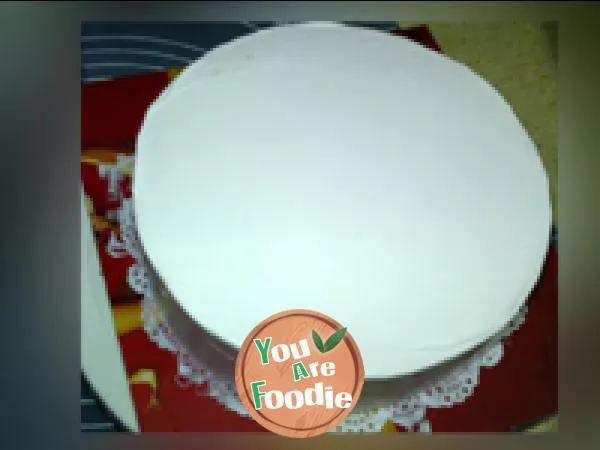
Step 6 . Top and sides trowelled
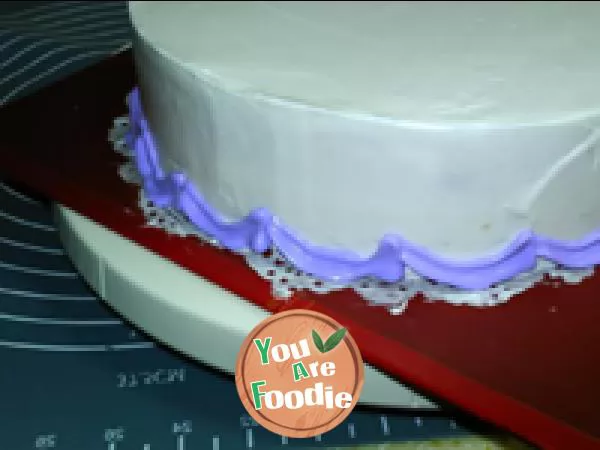
Step 7 . Mix the purple Cream and extrude the arc segment at the bottom with the leaf mouth
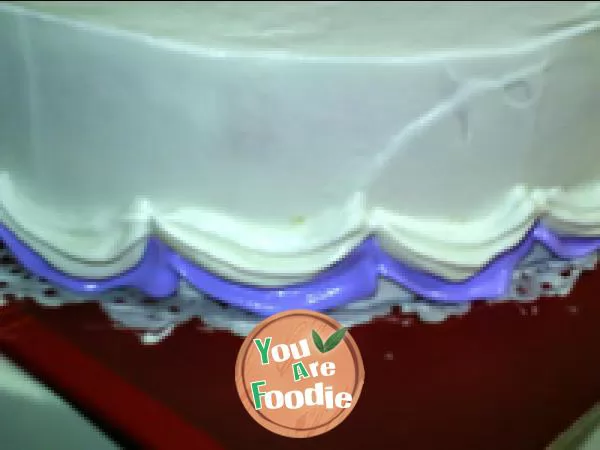
Step 8 . Change the sharp tooth mouth and extrude the arc segment with white cream against the upper edge of the purple arc
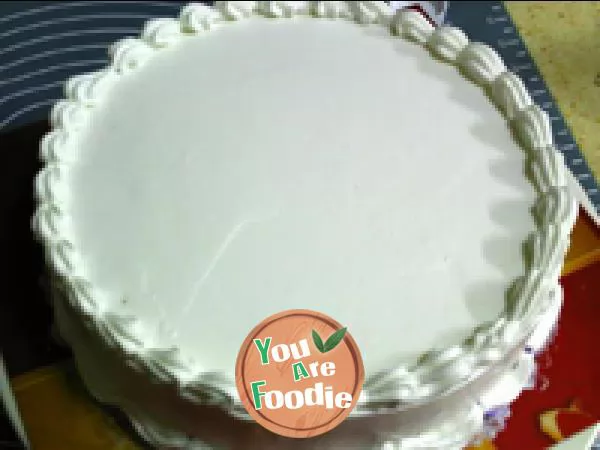
Step 9 . The top edge is squeezed with a shell pattern
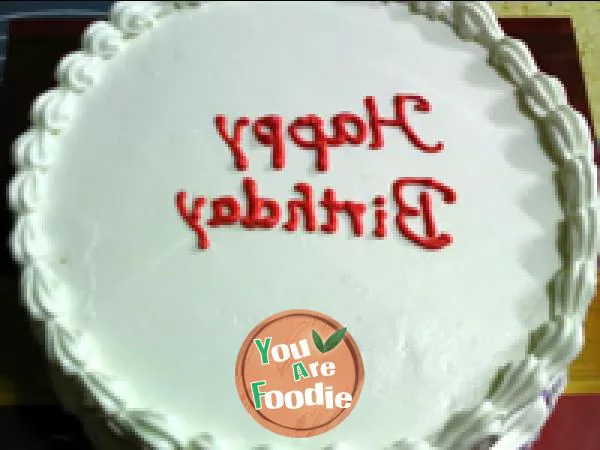
Step 10 . Change the bright red cream and squeeze out the English
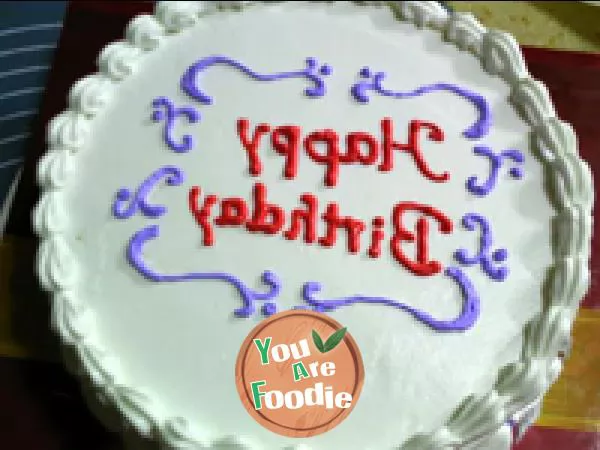
Step 11 . Change purple Cream and extrude patterns around the characters
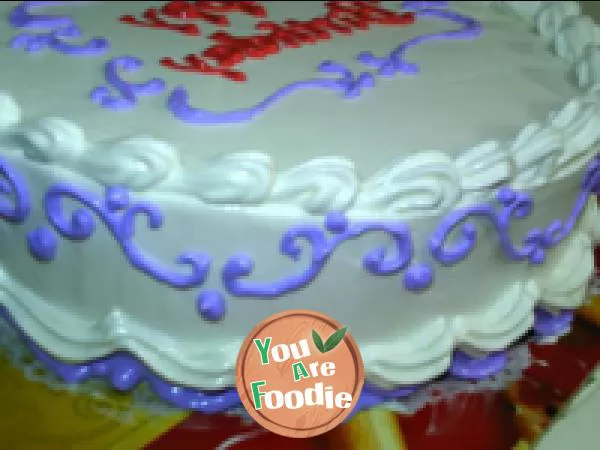
Step 12 . 2 / 3 extruded purple pattern on the side
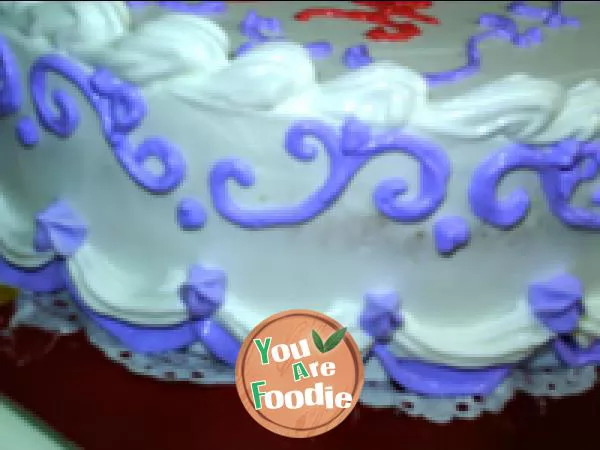
Step 13 . Change the sharp tooth mouth and extrude the star at the junction of the bottom arc
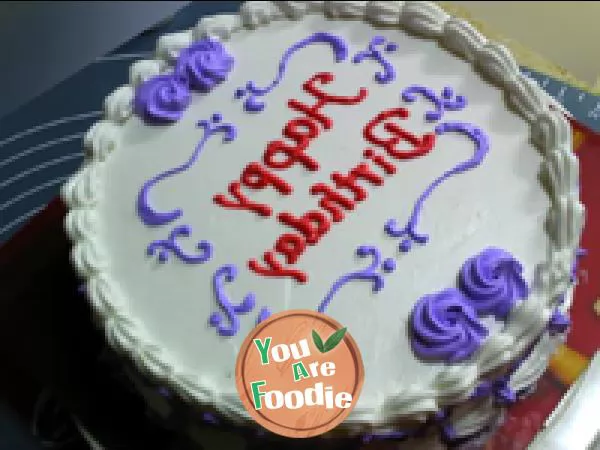
Step 14 . Change the spiral toothed mouth and squeeze two rotating roses at the upper and lower ends of the word
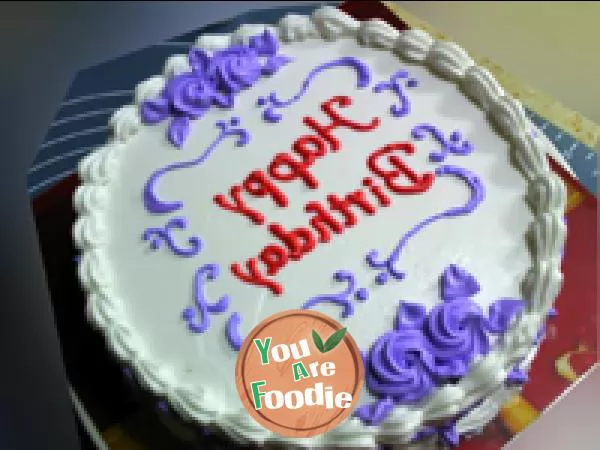
Step 15 . Change the leaf mouth and squeeze a few leaves in the rose gap
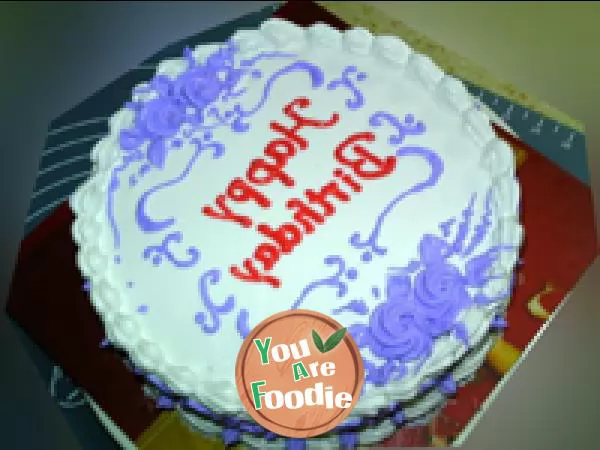
Step 16 . Change the thin framed bag and squeeze some rose vines
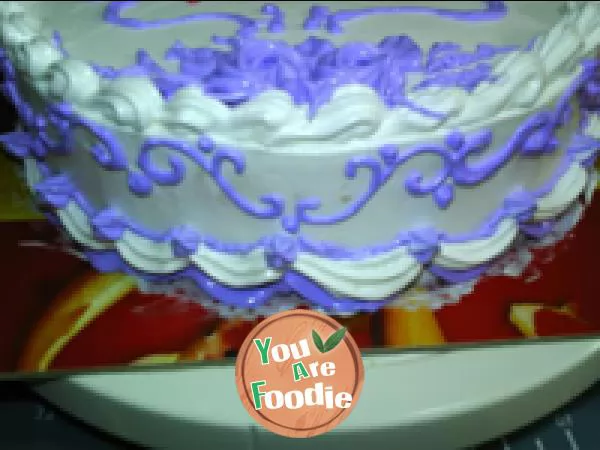
Step 17 . Extrude the purple thin line to hook the edge on the upper edge of the arc line attached to the bottom edge

Step 18 . Use red cream to make a red dot in the spiral center of the shell
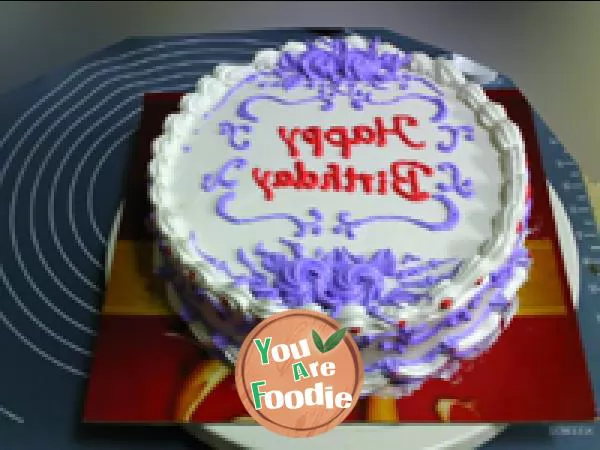
Step 19 . complete
* Information is provided from the Internet, If there is a copyright infringement, Please contact administratoryouarefoodie.com, We will deal with as soon as possible, Thank you!
