
Gradient cream embossed cake
Today, I made a small fresh cream cake. The gradient method is adopted, which is a waste of purple. It is very beautiful for self use and giving away.Without complicated mounting techniques, the most common 10 petal mounting nozzle was used. Cream is very important. The cream for internal plastering can be beaten to 9 for distribution, so it can play a strong supporting role when mixed with diced fruit; The external plastering is not required to be 100% smooth, because it also needs to be mounted on the outside to cover up the ugliness; The best way to distribute the mounted cream is to beat it to 7. If it is too hard, the mounted flowers are not delicate and have large bubbles. If there are conditions, it is best to use three pots to beat the cream of three colors respectively, so that the texture of the mounted flowers is basically the same. Mounting flowers seems very simple, but the more I do it, the more I find there are many doorways inside. I will continue to strengthen my practice. There is heating in the house in winter, and the room temperature is still very high. It is recommended to beat the cream as you use it. Don't kill it all at once, or you will order a "small sample" of the hot air!The recipe and making method of Qifeng cake are used for the cake blank. When the egg white and egg yolk are mixed, do not mix them in circles, but turn them up from the bottom or cut them; After entering the mold, shake gently twice to produce large bubbles, but do not shake for a long time to avoid defoaming; After the furnace is discharged, it should also be shaken twice to shake out the excess hot gas to prevent the waist from collapsing; It is best to beat the cream as you use it. Don't put too much color at one time. First pick out a drop with a clean toothpick and call up the color you are satisfied with.

Step 1 . Separate the protein and egg yolk, and place the protein in an oil-free and water-free bowl

Step 2 . After dispersing the egg yolk, add 20 grams of white sugar and mix well

Step 3 . Add 50 grams of corn oil and stir well

Step 4 . Add 50 grams of milk and mix well

Step 5 . Sift in cake powder

Step 6 . Mix evenly without dry powder particles
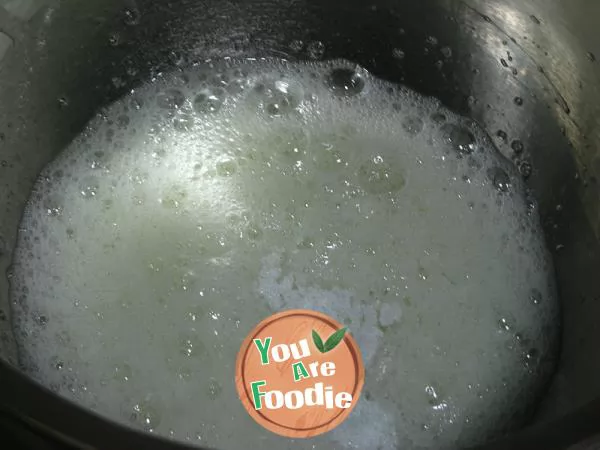
Step 7 . Use an electric egg beater to beat the egg whites, and add white sugar to the egg whites in three steps. Adjust the speed from low to high when creating large bubbles, white and delicate shapes, and patterns

Step 8 . Lift the egg beater until the protein is in a short and pointed state; At this point, preheat the oven at 140 degrees

Step 9 . Mix the egg white paste with the egg yolk paste in three steps, thoroughly stirring each time before adding the next egg white paste. Use a bottom-up stirring technique and do not use a scraper to make circles in the basin, as this can cause severe defoaming of the protein

Step 10 . After stirring evenly, it forms a delicate and smooth cake paste

Step 11 . Pour the cake batter into two 6-inch molds and gently shake twice to produce large bubbles

Step 12 . Put it in a preheated oven, middle layer, and heat up and down at 140 degrees Celsius, 40 degrees Celsius
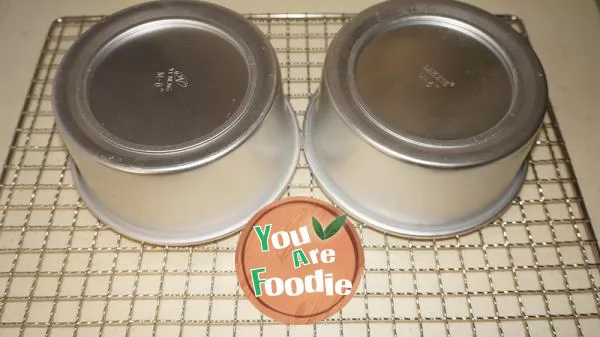
Step 13 . Take out the furnace, shake twice to release excess heat, then invert it onto the drying rack, thoroughly cool it before demolding
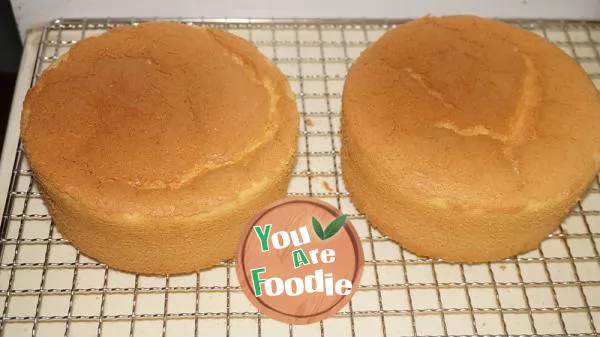
Step 14 . Successfully demoulded
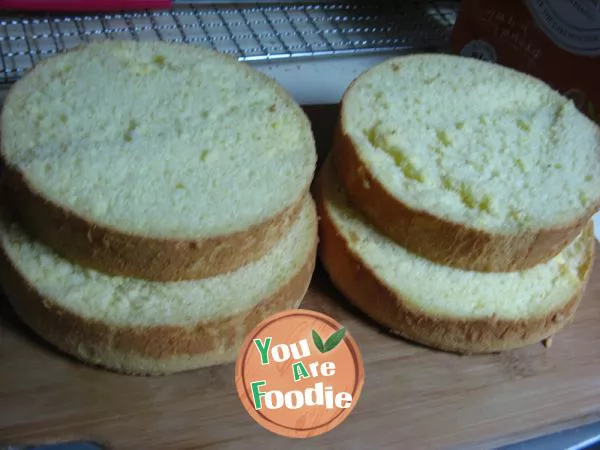
Step 15 . Each cake is horizontally cut into two pieces, but only three pieces are actually used because after adding fruit filling and cream, it will be very high. Two pieces are a bit short, four pieces are too high, and three pieces are just right

Step 16 . Cut Hami melon into small diced pieces and set aside

Step 17 . Prepare cream and sugar for filling and topping

Step 18 . Cream whipped well

Step 19 . Take a piece of cake and place it on the cake tray, filling it with a layer of cream, a layer of fruit, and a layer of cream

Step 20 . After covering a piece of cake, sandwich as described above

Step 21 . Cover the third piece of cake and then plaster the entire surface, without the need for a 100% smoothness. Later, it will also be decorated, which can just cover up the ugliness

Step 22 . Send new cream and choose your favorite flower tip to frame with white cream flowers

Step 23 . Add purple food coloring and frame light purple cream flowers around and on top respectively

Step 24 . Add another drop of purple pigment to the light cream and finish decorating the remaining cake. Look, a gradient cream patterned cake is complete. I look quite fond of it, and giving gifts is also quite prestigious!
* Information is provided from the Internet, If there is a copyright infringement, Please contact administratoryouarefoodie.com, We will deal with as soon as possible, Thank you!

![[Zhixiang Ciba cake] - a childhood snack, made by yourself](/update/images/foods/14/1714/61714/1653391398_903128.jpg_s.jpg.webp)