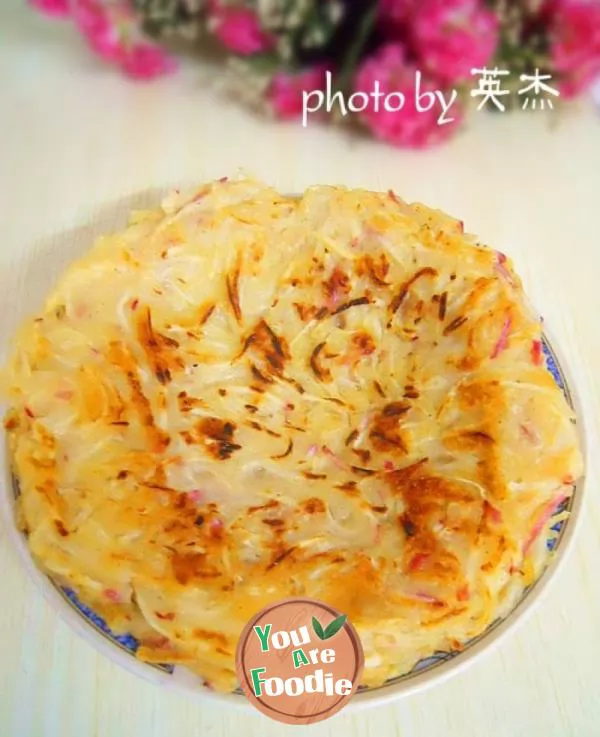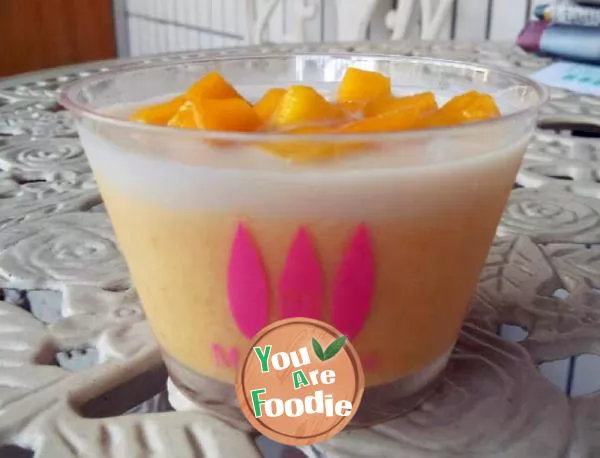
Patterned Qifeng cake roll
Qi Feng's cake roll is the most I have ever made. I can make it in three days and two ends. This time, I will draw some patterns. I feel different and have different feelings.1. The baking tray used in this drawing is 29*32cm in size;2. You can draw patterns as you like. The size of the opening of the embossed bag depends on the consistency of the batter, so you can cut it down and squeeze it into the bowl at the beginning to have a try;3. How much Matcha cake paste can be squeezed into a paper cup to bake a paper cup cake.
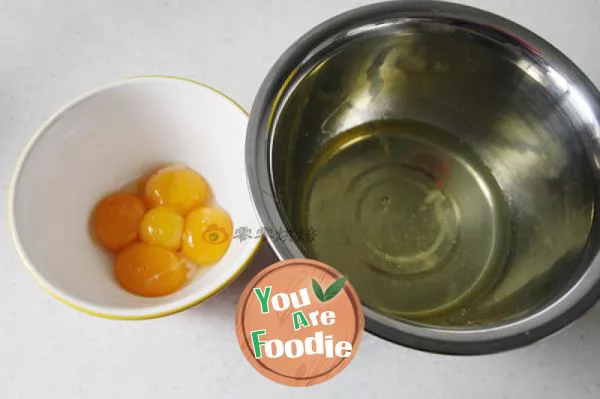
Step 1 . The egg is separated from the egg yolk, the protein is put into an egg beating basin without water or oil, and the egg yolk is put into a bowl

Step 2 . Take another egg beating basin, add milk and salad oil, and beat it with a manual egg beater until the oil and water are mixed. After beating, it feels a little like sour milk. After beating, add 20g fine granulated sugar, and continue beating until the sugar dissolves

Step 3 . Add egg yolk and stir well

Step 4 . Sift in the low gluten flour twice, and beat each time until the mixture is free of granules

Step 5 . The batter after beating is smooth and thick

Step 6 . Add 60g fine granulated sugar into the protein basin and squeeze in a few drops of lemon juice (no need to add it if you don't have one)

Step 7 . Use the electric egg beater to beat it until it foams wet, gently lift the egg beater head as shown in the figure, form a curved angle, beat the egg whites, open the oven at 140 degrees and preheat it

Step 8 . Use a rubber scraper to dig a tablespoon of the beaten protein cream into the basin of egg yolk paste, and turn it from bottom to top to mix it evenly

Step 9 . Pour all the batter into the basin of protein cream and stir it evenly

Step 10 . Take a small bowl, add Matcha powder, and add a tablespoon of cake paste

Step 11 . Mix well and put it into the flower mounting bag

Step 12 . Cut a small cut in the flower mounting bag (if it is difficult to master, cut it first, squeeze it into the bowl, and then cut it larger if the cut is small), then draw a picture on the baking pan covered with oil paper, send it to the middle of the oven for baking, bake it for 1 and a half minutes, and take it out

Step 13 . After taking it out, pour in other cake paste, flatten it slightly with a scraper, then pick up the baking pan with both hands and throw it on the table, shake out big bubbles, and bake it in the middle of the oven for 15 minutes
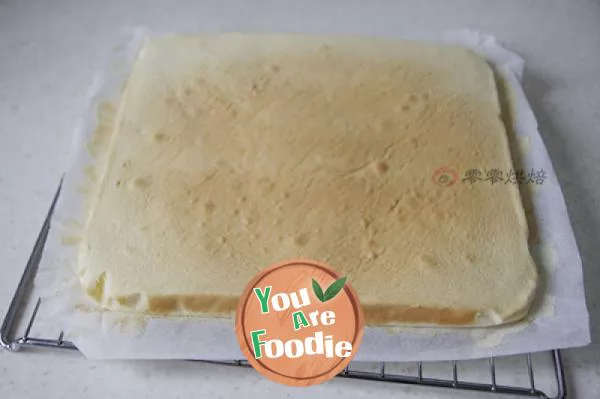
Step 14 . Take out the baked cake, hold the oil paper on the edge and drag it to the baking net, tear open the oil paper around and cool it a little

Step 15 . Then buckle it upside down on the baking net, tear off the oil paper at the bottom, turn the oil paper over, cover it on top and let it cool

Step 16 . Take a piece of new oil paper and put it on the cool cake, and then turn it upside down

Step 17 . Roll up and wrap it with a rolling pin, with the interface facing down, wrap it at both ends, refrigerate it in the refrigerator for half an hour, take it out, and cut it into pieces for consumption
* Information is provided from the Internet, If there is a copyright infringement, Please contact administratoryouarefoodie.com, We will deal with as soon as possible, Thank you!
