")
Non fried doughnuts (oven version)
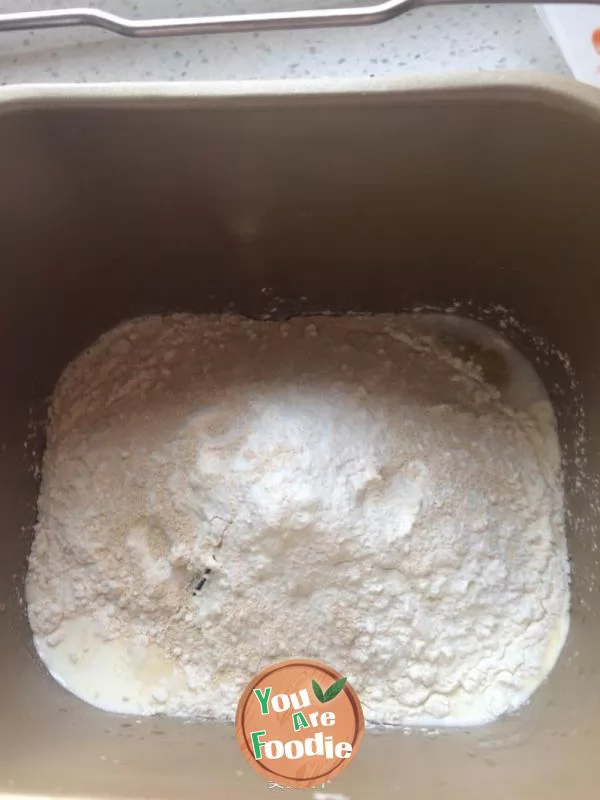
Step 1 . Throw all materials except butter into the bucket of the toaster and start the dough mixing once
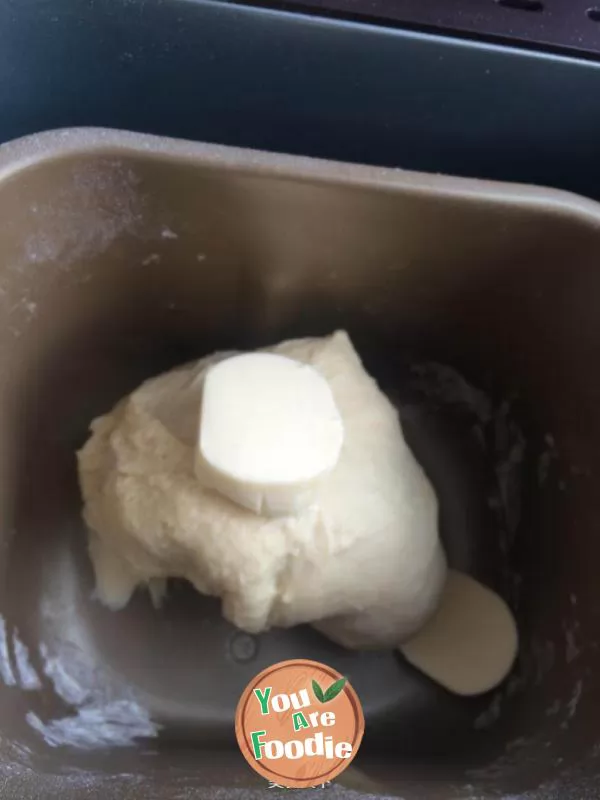
Step 2 . At the end of the first dough mixing procedure, add butter, and then start the dough mixing procedure again
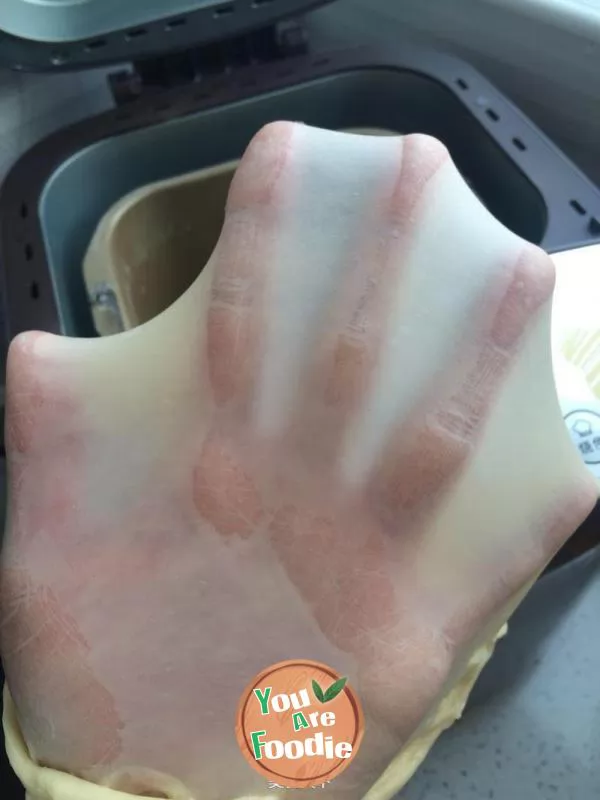
Step 3 . My recipe for light cream is so good that it's easy to make a film, mix it with flour, and ferment the dough
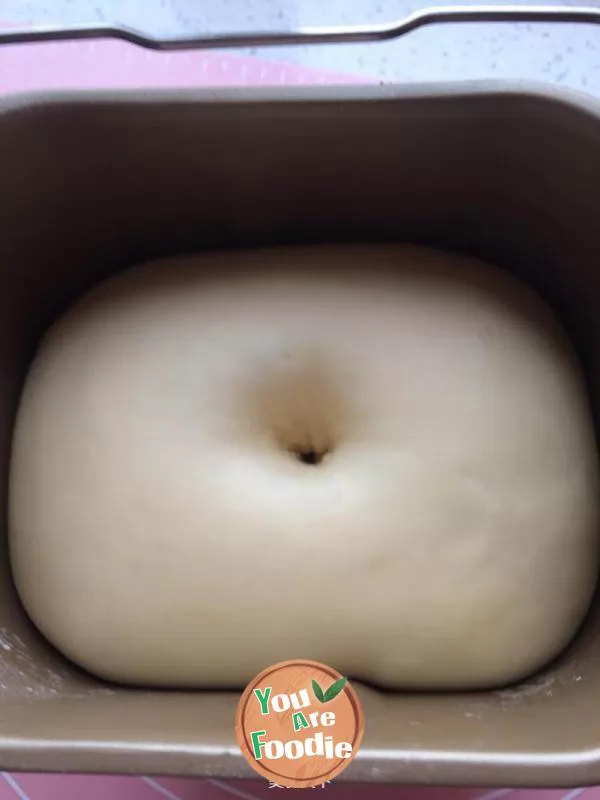
Step 4 . When to ferment until the dough is 2-2.5 times larger (no matter what method of fermentation is used)
Step 5 . Let the dough stand for 15 minutes after exhausting
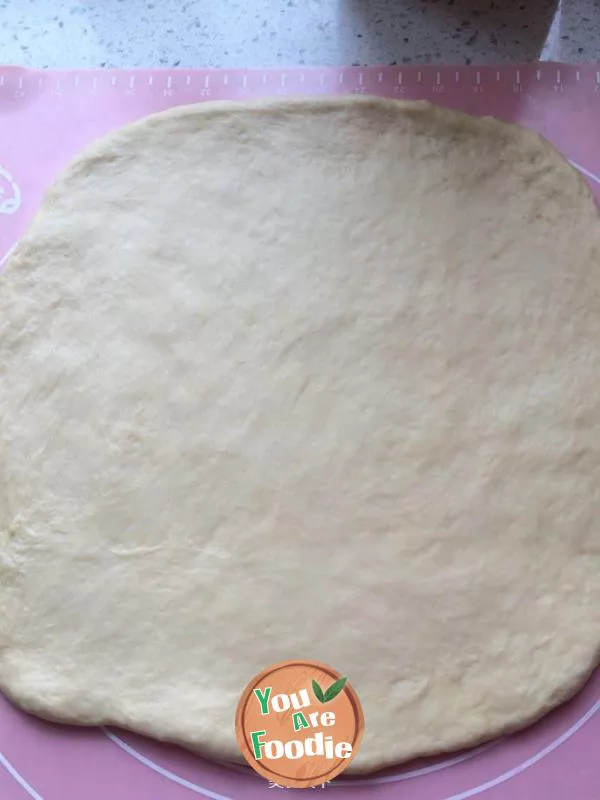
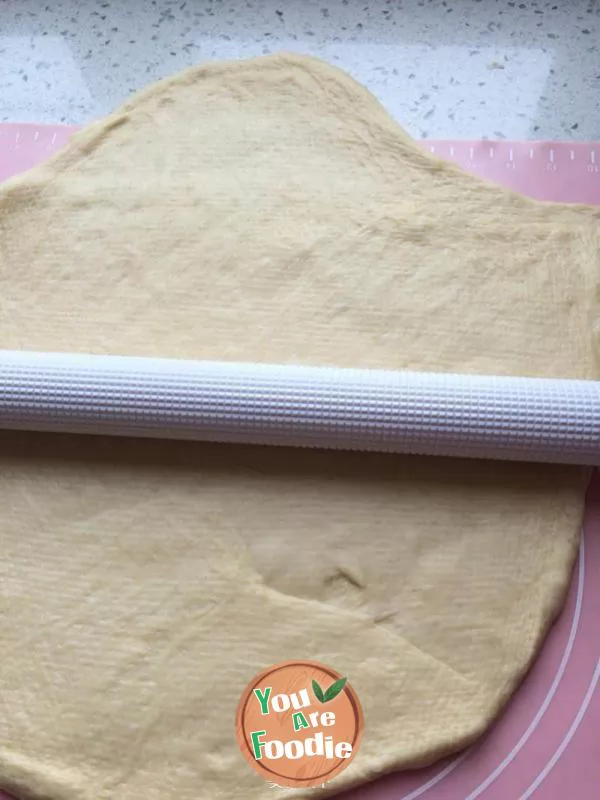
Step 6 . Roll the dough into pieces about half a centimeter thick
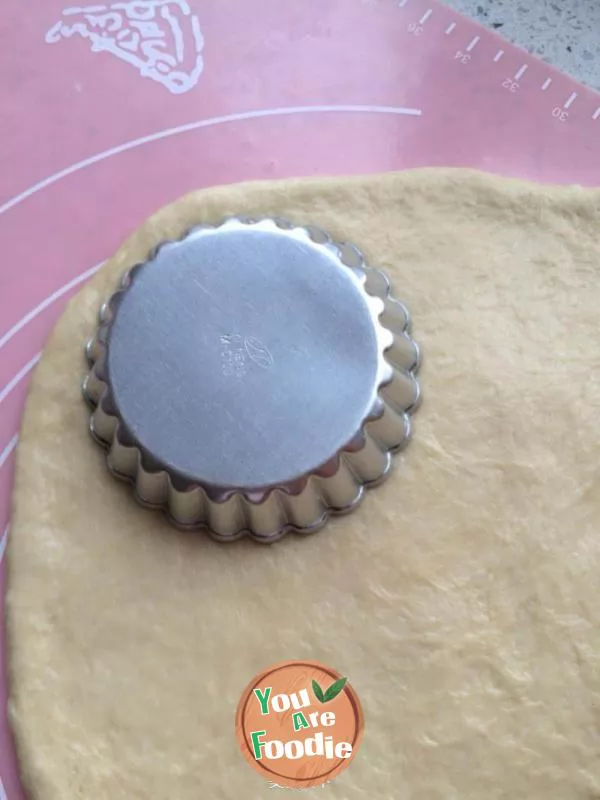
Step 7 . I don't have a doughnut membrane, so I use it to buckle the outer circle
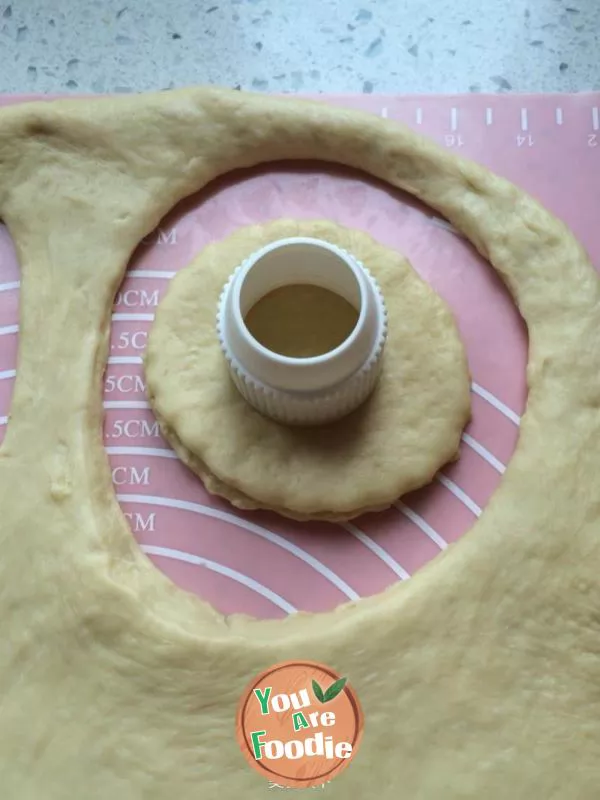
Step 8 . The mounting nozzle converter used for inner circle is so smart

Step 9 . Put them all in the oven or ferment at room temperature (put a plate of hot water under the oven)

Step 10 . When the fermentation is 1.5-2 times larger, it is better to use water spray to spray some water so that the bread will not dry (this step is very important, you can't bake if you can't afford it)
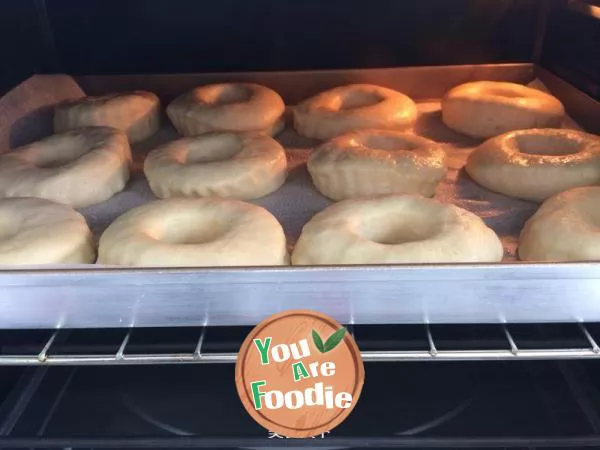
Step 11 . Preheat the oven for 10 minutes in advance, put it into the oven and heat it up and down for 170 middle layers, and bake it for about 15 minutes (the specific time and temperature depend on your own oven)
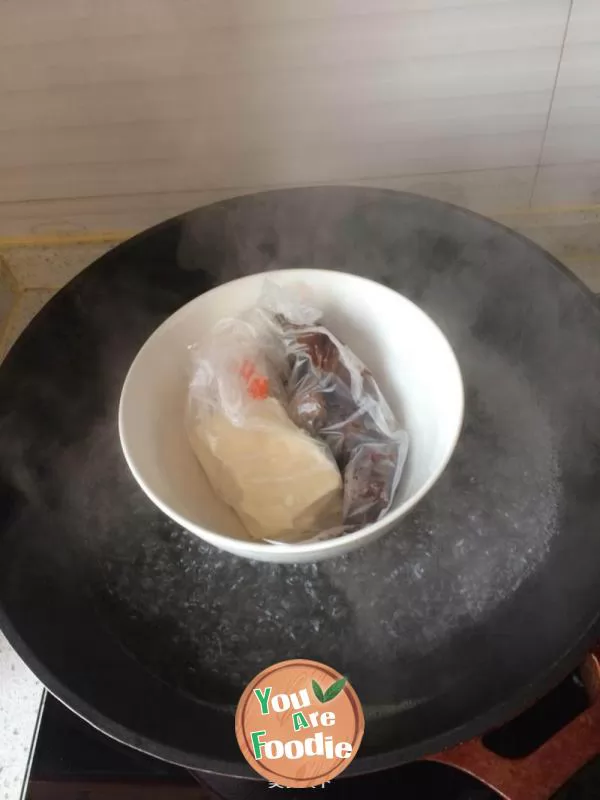
Step 12 . Black and white chocolate should be placed in the embossed bag independently. Don't cut your mouth and heat it into liquid through water

Step 13 . The roasted rings are coated with chocolate in turn, sprinkled with colored sugar needles, and can be eaten after the chocolate solidifies

Step 14 . Sweet and soft, enjoy it
* Information is provided from the Internet, If there is a copyright infringement, Please contact administratoryouarefoodie.com, We will deal with as soon as possible, Thank you!


![Mother's dish [stewed shrimp with three delicacies] is not good-looking](/update/images/foods/49/9649/49649/1653439242_482873.jpg_s.jpg.webp)