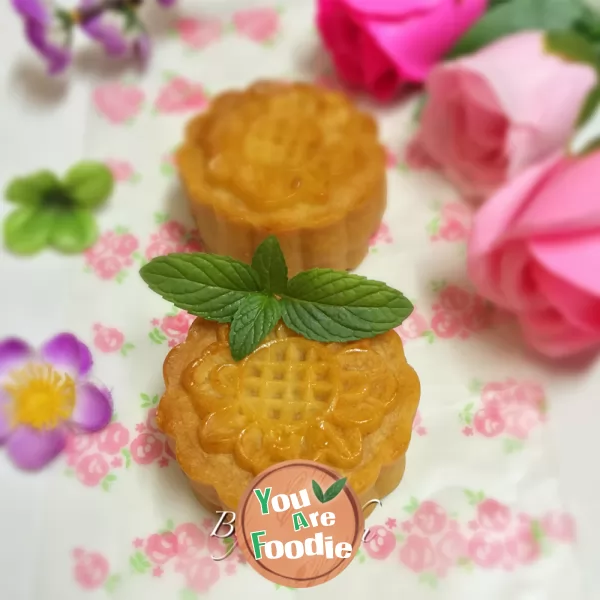
Cantonese style moon cake with lotus seed paste and egg yolk
Self made mooncakes are healthier without any additives. It is a hand-made work full of love to send to relatives and friends. It is not difficult to make beautiful mooncakes, Let's take a look at the step chart~~~ (many people ask which kind of yolk is suitable. Here I give a unified reply: I buy salted duck eggs made of yellow mud in the market every year. They are fresh. In the past, I would first soak the yolk in edible oil or roll it in Baijiu, and then bake it in the oven for 10 minutes. This year, I made almost 200 pieces of moon cakes. The yolks are directly wrapped in stuffing. After baking, the taste of the baked moon cakes is not affected at all. It saves time and effort Less.)Please adjust the temperature according to the spleen of your oven; Please remember to add oil paper or tin foil to the ordinary baking tray; The mold is a 63g moon cake mold; The lotus paste stuffing is basically the same as the red bean paste I uploaded earlier, so I didn't upload the recipe.
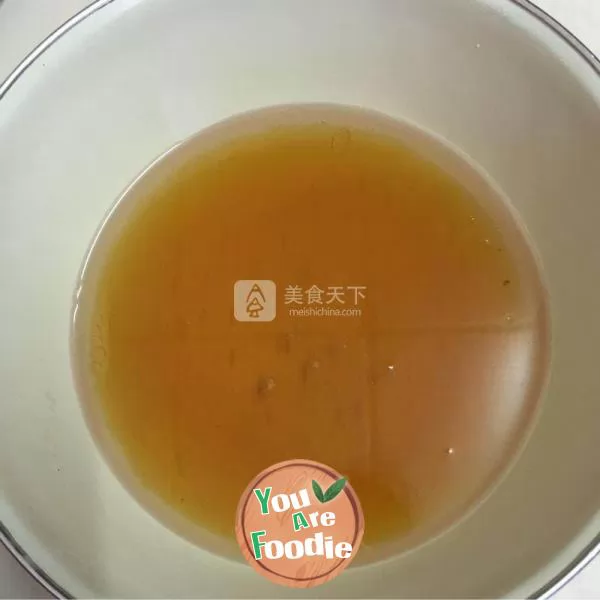
Step 1 . Mix invert syrup, Jian water and corn oil.
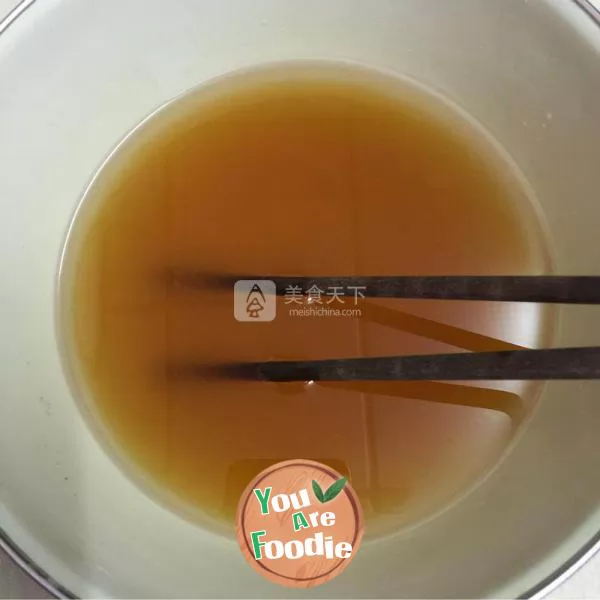
Step 2 . Stir well with chopsticks.
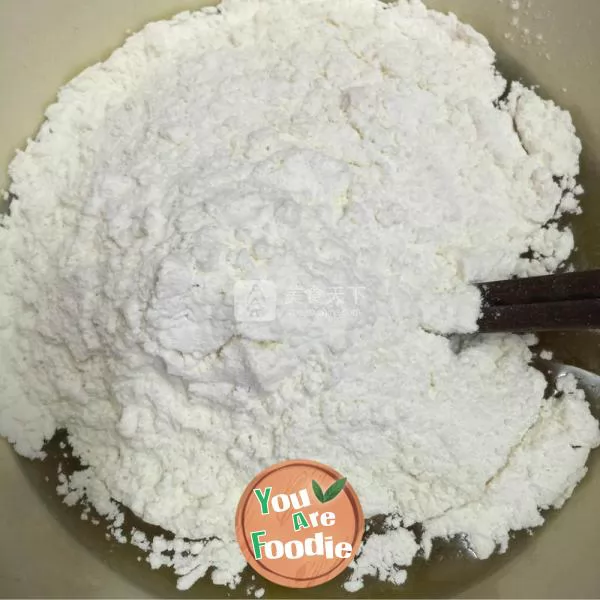
Step 3 . Sift in low gluten flour
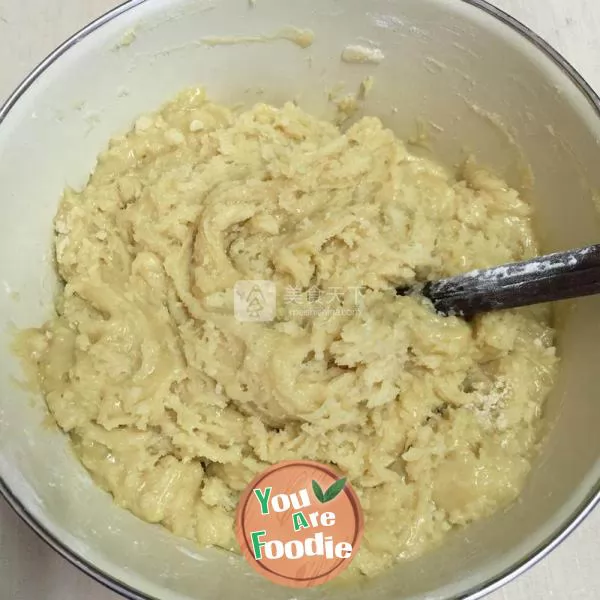
Step 4 . Stir well with chopsticks.
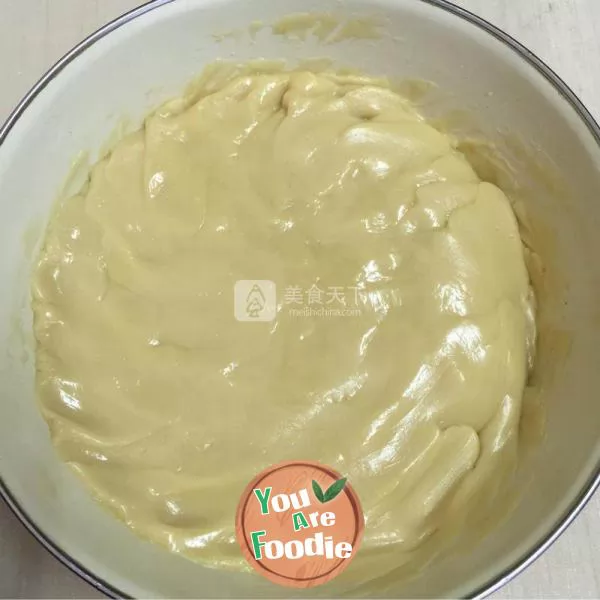
Step 5 . Wear disposable gloves or grease your hands and grasp the dough evenly.
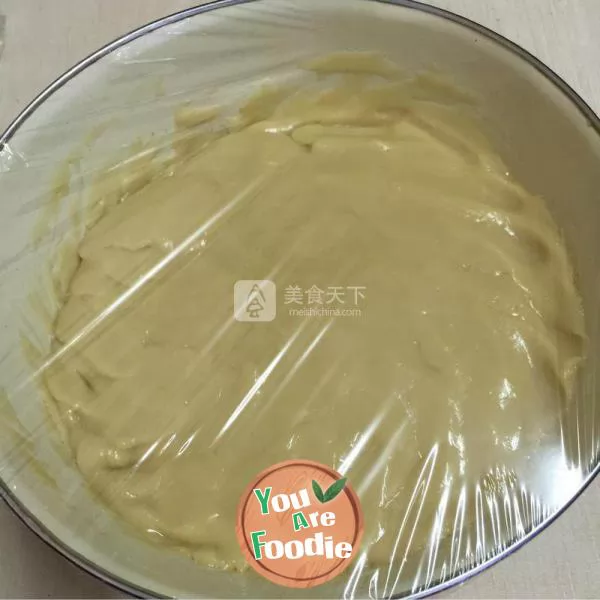
Step 6 . Wrap it with plastic wrap and refrigerate it in the refrigerator for about 2 hours.
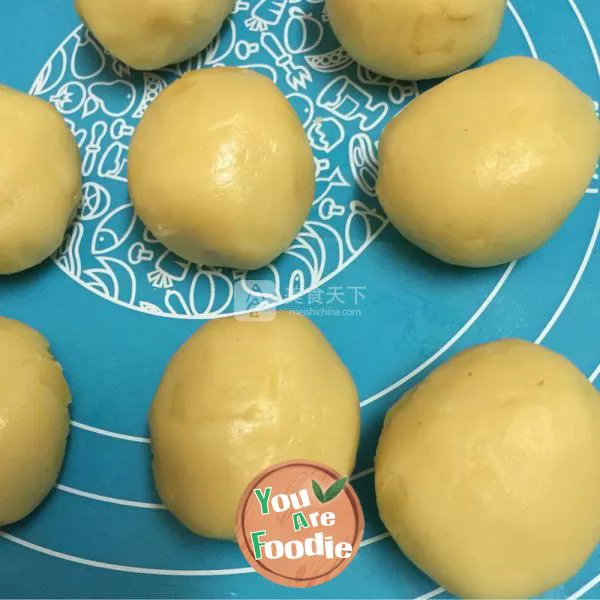
Step 7 . Prepare the lotus paste stuffing, divide it into 33g, and roll each one round for standby.
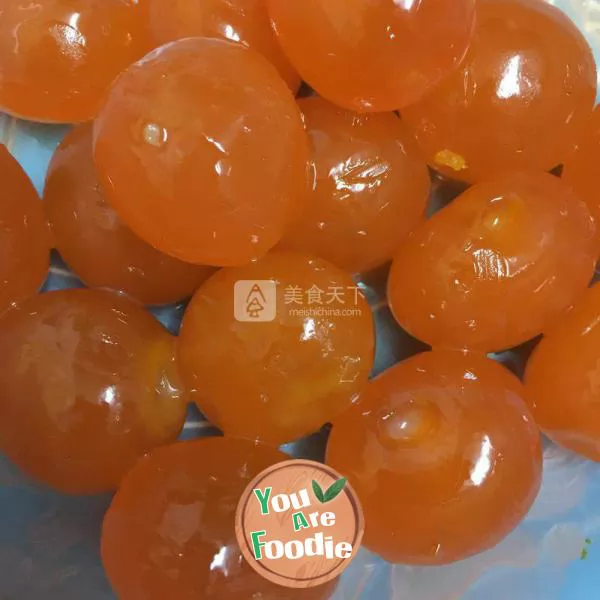
Step 8 . Prepare salted egg yolk.
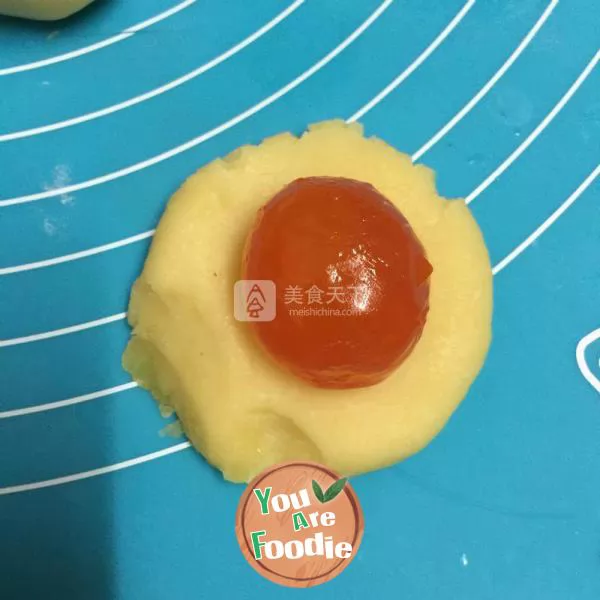
Step 9 . Take a portion of lotus paste stuffing, press it flat, and put in a salted egg yolk.
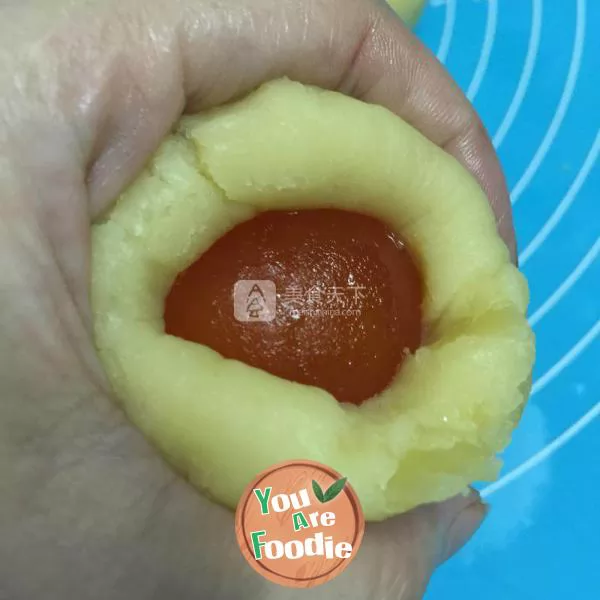
Step 10 . Wrap it up. Wrap other salted egg yolks in the same way.
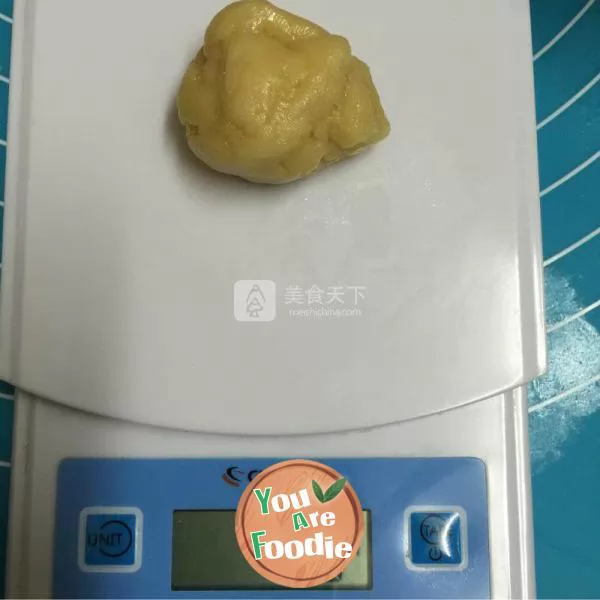
Step 11 . Take out the cake crust from the refrigerator and divide it into 14 parts, each of which is about 15g.
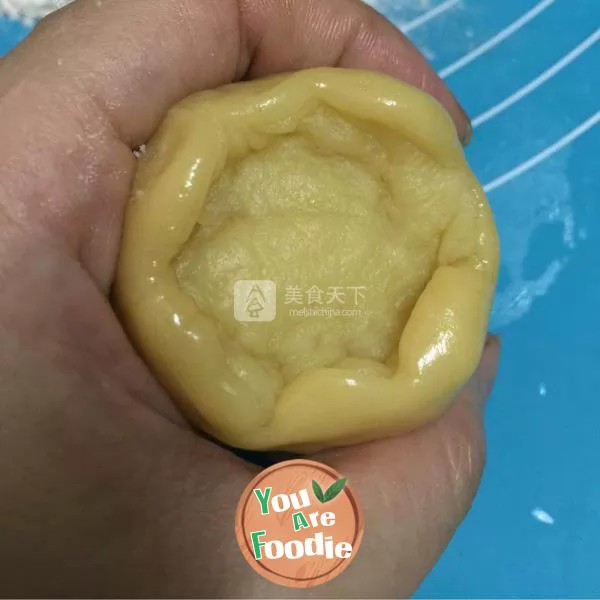
Step 12 . Spread oil on your hands or spray high powder to prevent sticking. Take a piece of cake skin and press it flat. Put a wrapped lotus seed yolk filling, like wrapping dumplings, slowly push it up and close it.
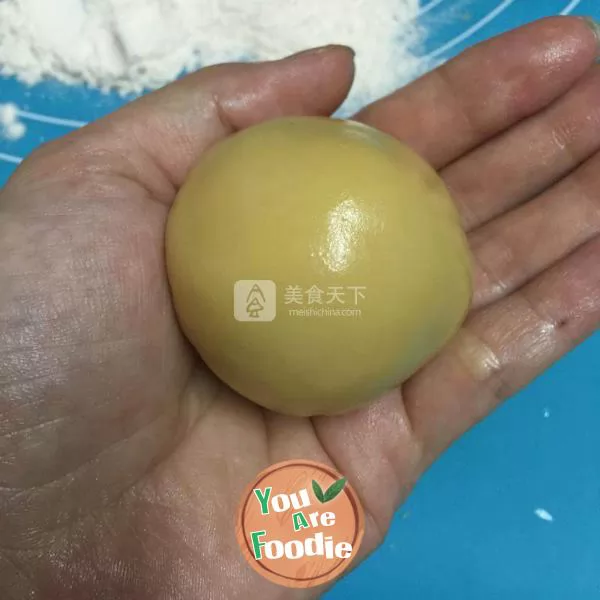
Step 13 . Knead round.
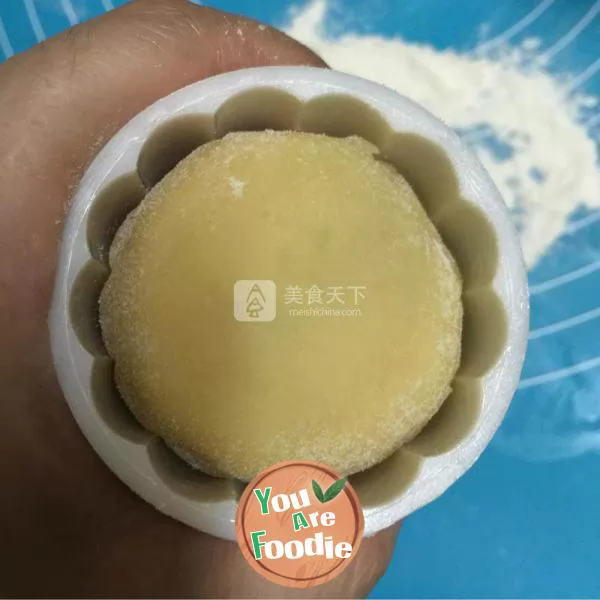
Step 14 . Roll it in the high powder to prevent sticking, brush the mold with oil or high powder, put the moon cake embryo in, and press it gently with your hands.
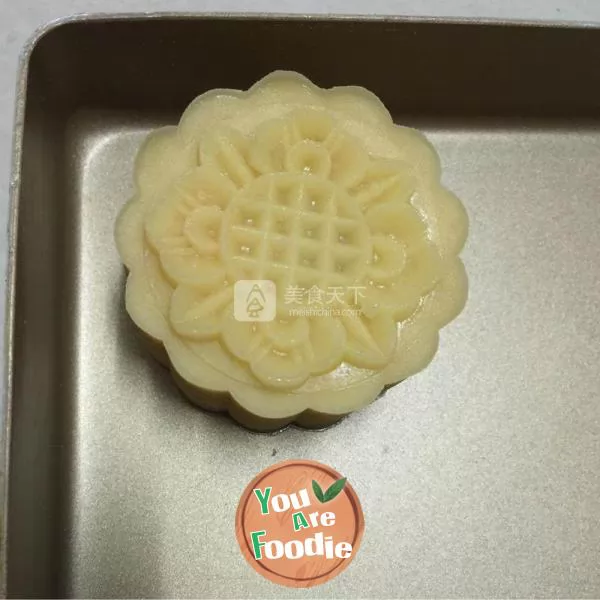
Step 15 . Put the moon cake mold upside down in the non stick baking pan, press out the pattern with force, lift the mold and push the moon cake out.
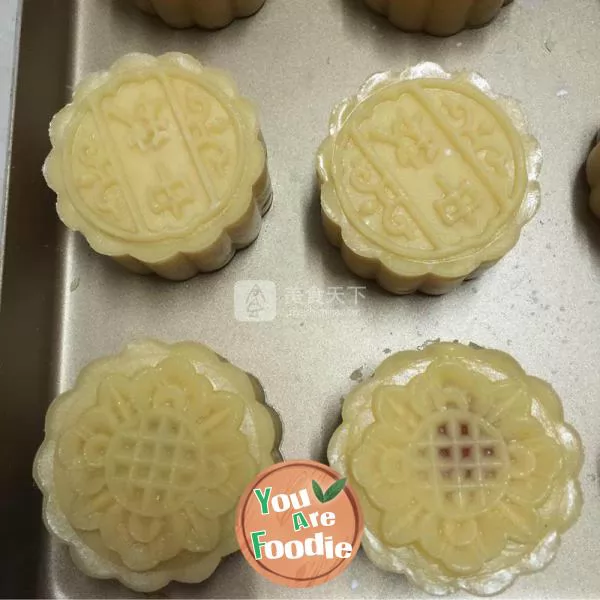
Step 16 . Do other moon cake embryos in the same way.
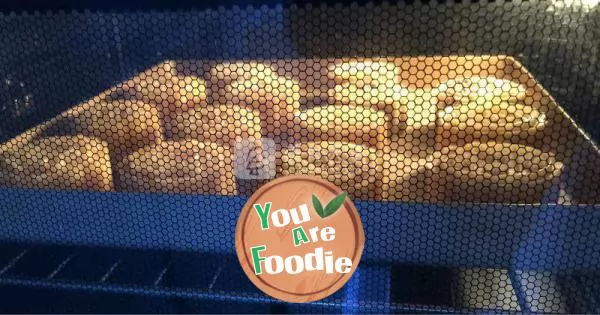
Step 17 . Put it into the middle layer of the preheated oven, heat it up and down 180 degrees, and bake it for 10 minutes.
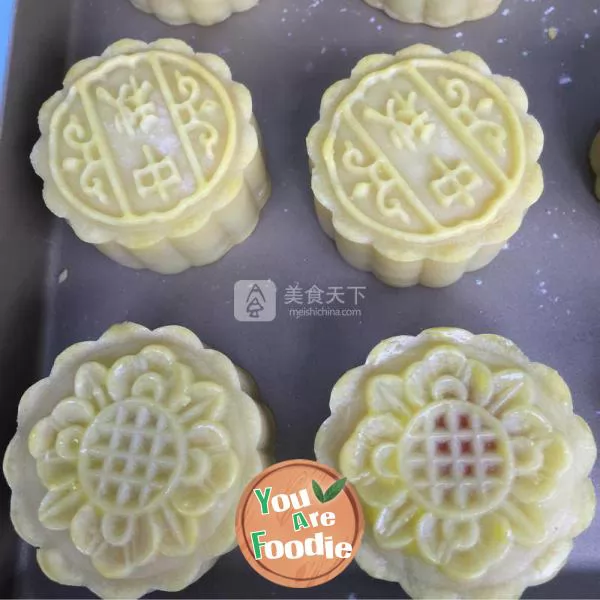
Step 18 . Put on insulated gloves and take out the baking pan. After the moon cake is cooled, brush a layer of egg yolk liquid (do not brush the egg yolk liquid too thick, and do not brush it back and forth repeatedly. A thin layer is the most beautiful after baking).

Step 19 . Send it to the middle of the oven again, and fire it up and down 175 degrees for about 10 minutes.
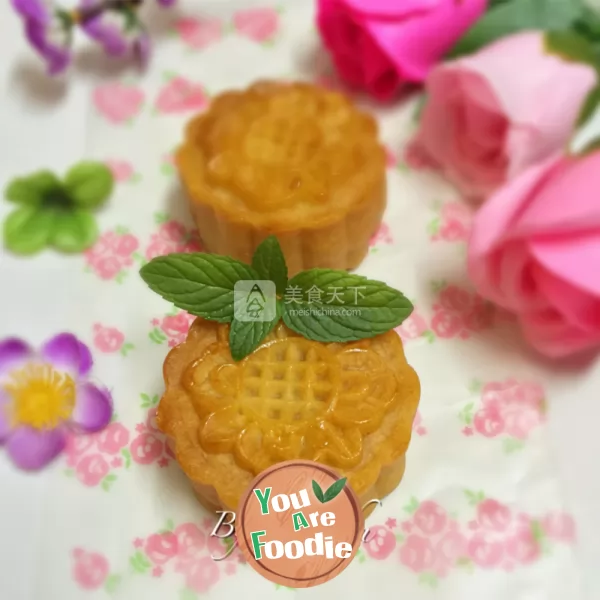
Step 20 . The surface of the newly baked moon cake is very fragile. Put it on for 2 days and eat it after returning the oil.
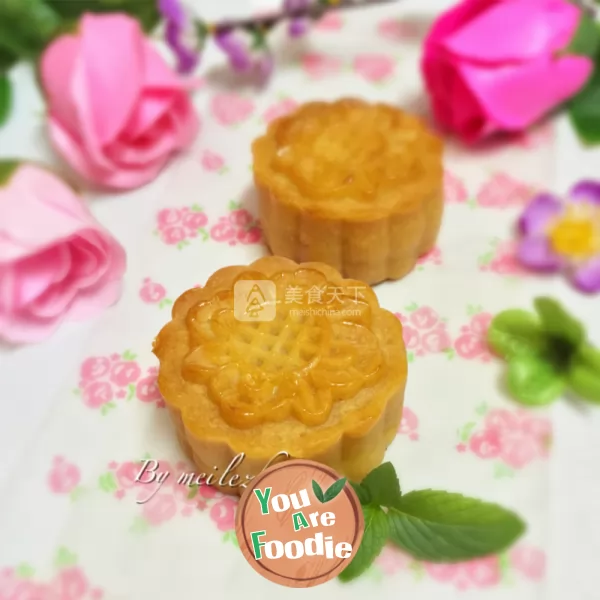
Step 21 . There are no additives in the self-made products. It's best to put them in the refrigerator for storage after the oil is returned.
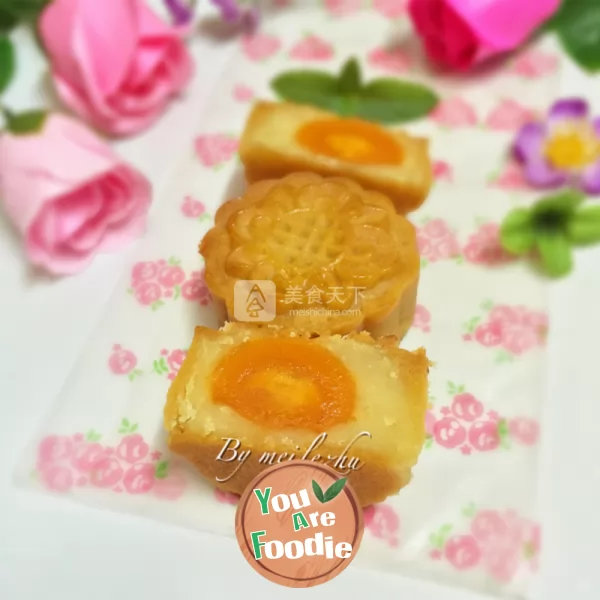
Step 22 . The oil has been returned the next day, but there is still a little white heart in the egg yolk. It is better to put it on another day.
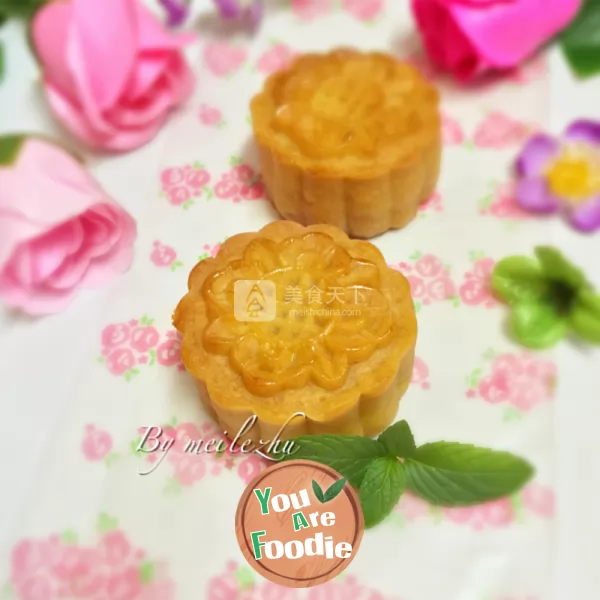
Step 23 . The moon cake mold I use here is 63g, which is just enough to make 14 pieces of 63g moon cakes.
* Information is provided from the Internet, If there is a copyright infringement, Please contact administratoryouarefoodie.com, We will deal with as soon as possible, Thank you!
