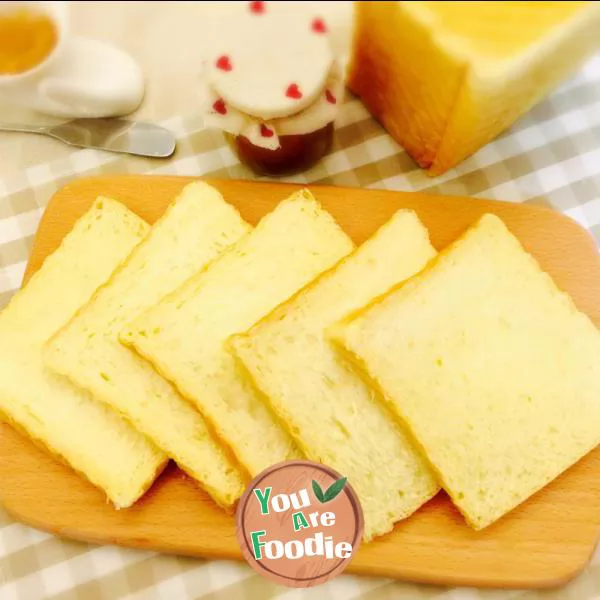
Soft chieftain
Since I fell into the sweet pit of baking, as a mother of two children, even if I had to take care of two children, no matter how hard I worked, I was constantly learning and trying to make all kinds of bread and cake. I couldn't help sighing when I saw the works of many masters! When can I make the same food as them... Envy is better than action. After many failures or successful practices, I gradually find that the probability of failure is getting less and less, which makes me more eager to stop. So I have all kinds of molds, raw materials and tableware... Alas! No wonder the sisters in the circle say baking is a sweet pit! Today, this toast is a success. Thank you very much for sharing the recipe with my idol Shixin. Thank you again!Check the dough film, that is, put a piece of dough on your left hand, put one end on your finger, and slowly pull the other end towards your thumb and palm with your right hand. The dough is soft without holes. It is easy to pull out a large film, which is the glove film. No matter what kind of bread you make, only this state can make a soft taste
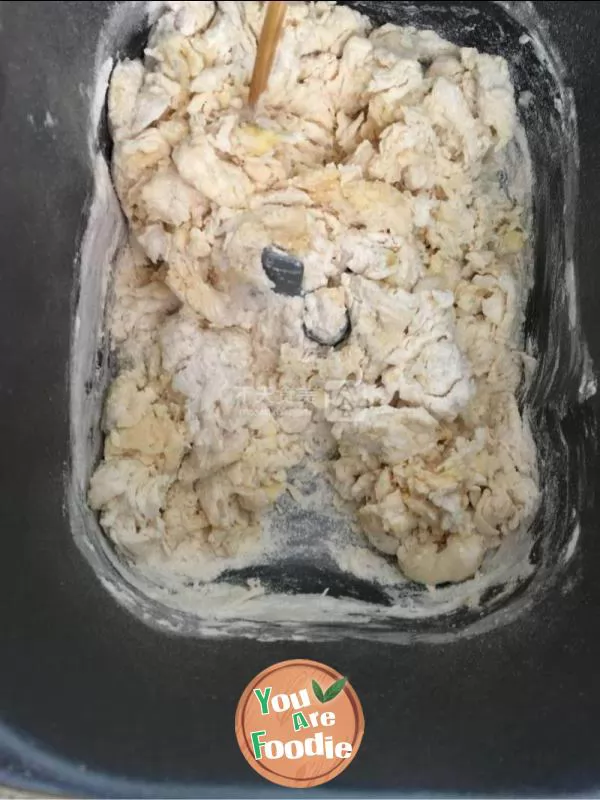
Step 1 . Soften the butter in advance. After weighing the materials, add the materials other than butter into the toaster in turn according to water, salt, sugar, egg liquid, milk powder and high gluten flour. Pay attention to not mixing the salt and sugar on the two corners respectively. Dig a hole in the top of the flour, put the yeast in it, and then bury it. Start the dough key of the toaster
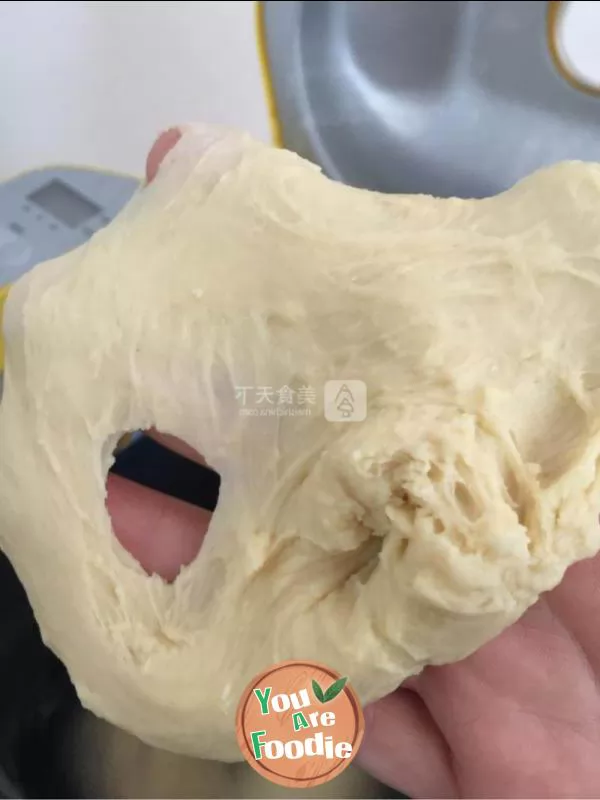
Step 2 . The power of my toaster is too small. After 20 minutes of dough mixing, the dough in this state can be added with softened butter
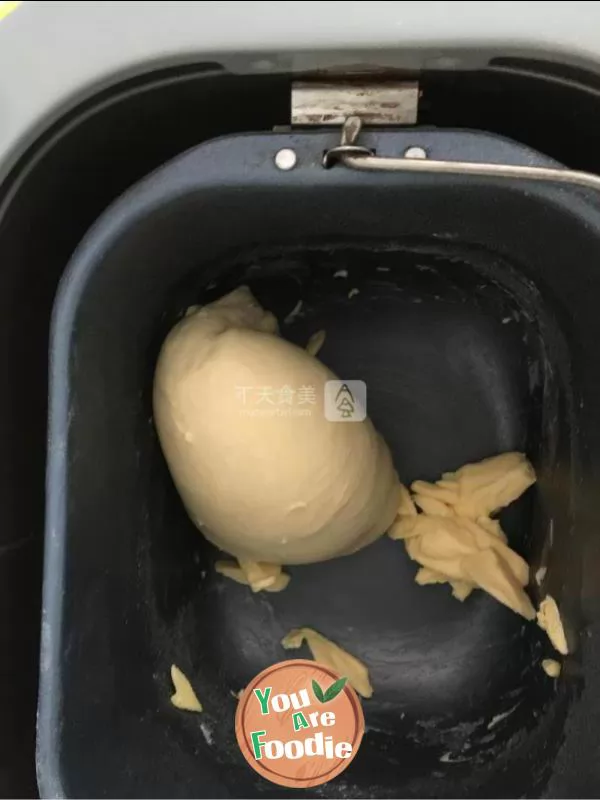
Step 3 . Add butter and start the dough process again

Step 4 . This is the state of the dough after the two dough mixing procedures. If the dough fails to reach this state, it will affect the puffiness and softness of the bread. Therefore, this step is very important. Be sure to check the dough several times
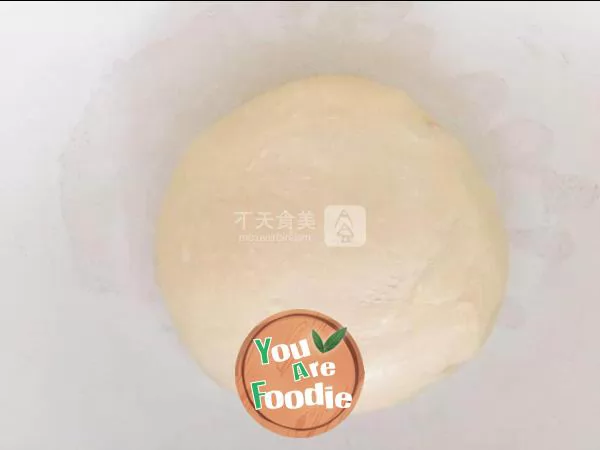
Step 5 . Knead the dough and put it into a clean container for fermentation. Pay attention to covering the container with fresh-keeping film to prevent dry skin

Step 6 . When the dough is twice as big, poke a hole with your index finger dipped in dry flour. If it doesn't retract or collapse, it means that the dough is ready. If the dough is puffed high, the poke quickly falls back, which means that it has been overdone, so this step is also very important, and we must pay attention to it
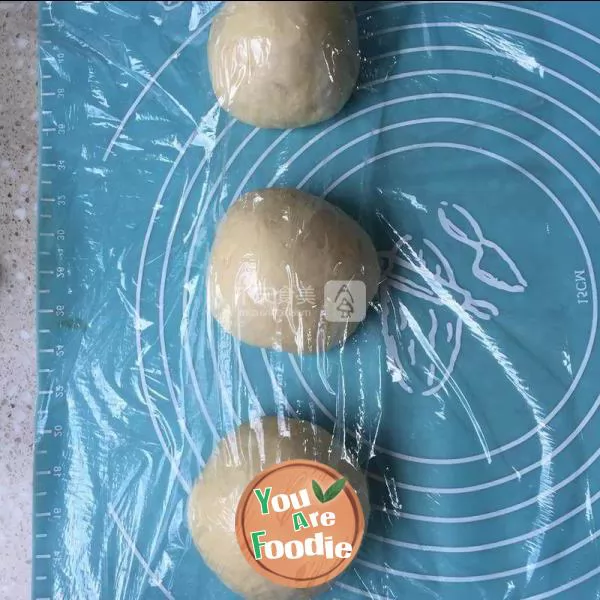
Step 7 . Divide the dough into three equal parts, knead it with hand exhaust, cover it with fresh-keeping film, and let it stand for 15-20 minutes, so that the dough has good ductility during shaping
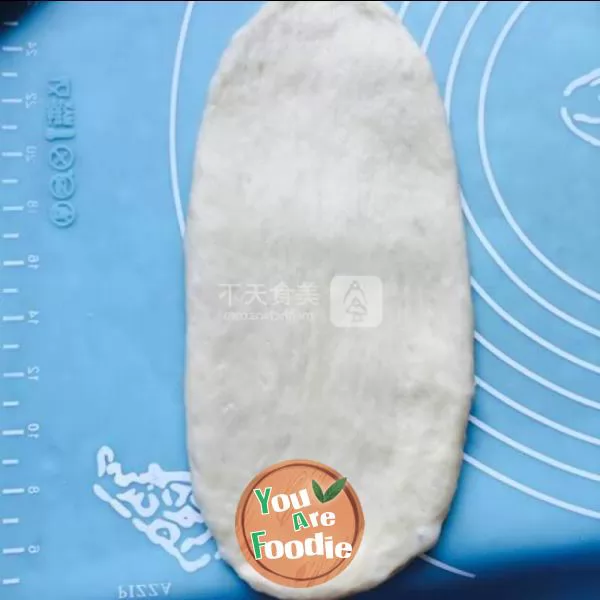
Step 8 . Roll it into a tongue shape and roll it up tightly from one end
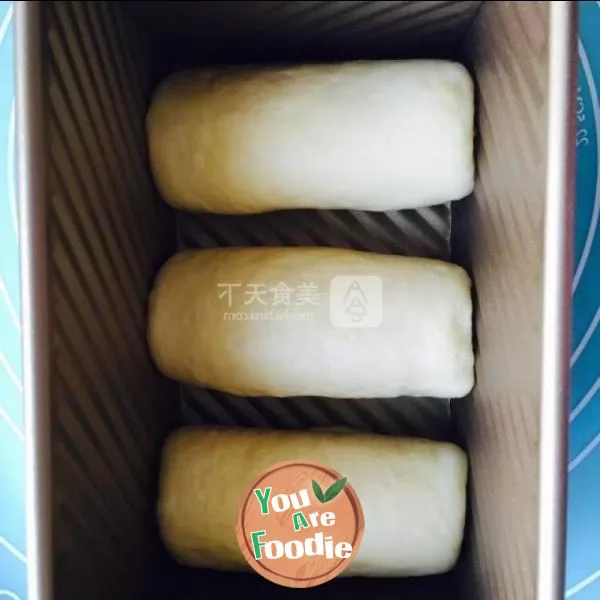
Step 9 . Put 450 grams of toast into the mold, and pay attention to leaving a certain gap for dough fermentation
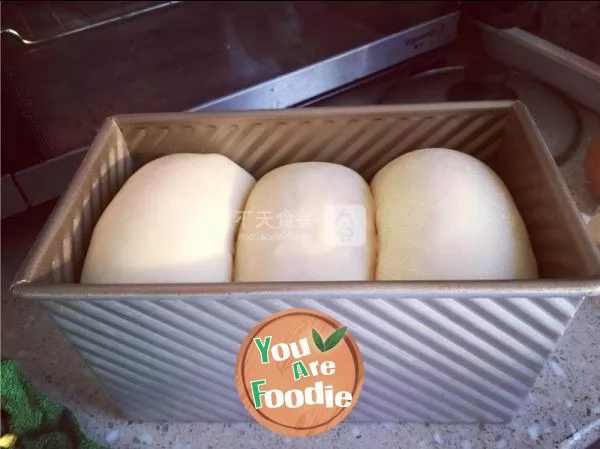
Step 10 . Put it in a warm place and ferment it again until it reaches 8 points. Cover it

Step 11 . The upper and lower tubes of the oven are preheated at 170 ℃ for 5 minutes, and then put them into the bottom layer to bake for 45 minutes. This temperature and time should also be adjusted according to your own oven. It is only a reference. After the test, demould them immediately, put them on the baking net and air them to the temperature of the palm of your hand, and put them in disposable plastic bags for storage
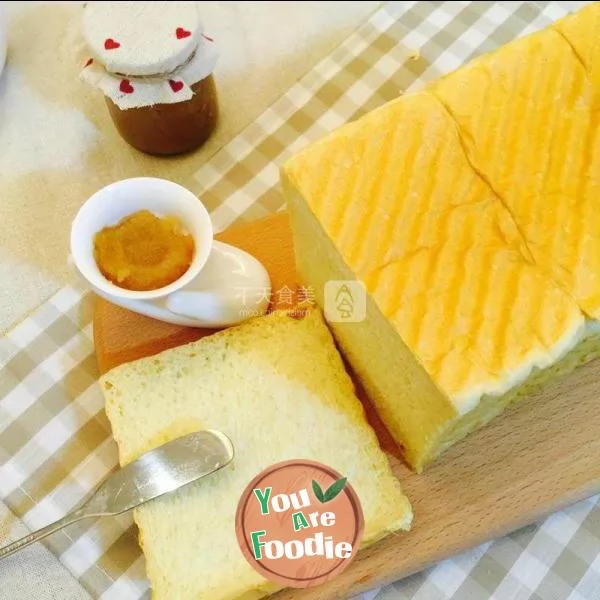
Step 12 . Slicing, smearing jam or hand tearing and dipping condensed milk are delicious!
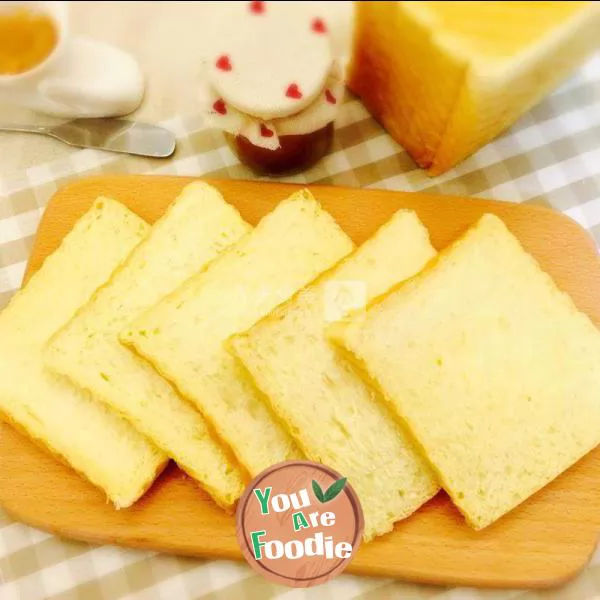
Step 13 . section

Step 14 . Hand tear
* Information is provided from the Internet, If there is a copyright infringement, Please contact administratoryouarefoodie.com, We will deal with as soon as possible, Thank you!


