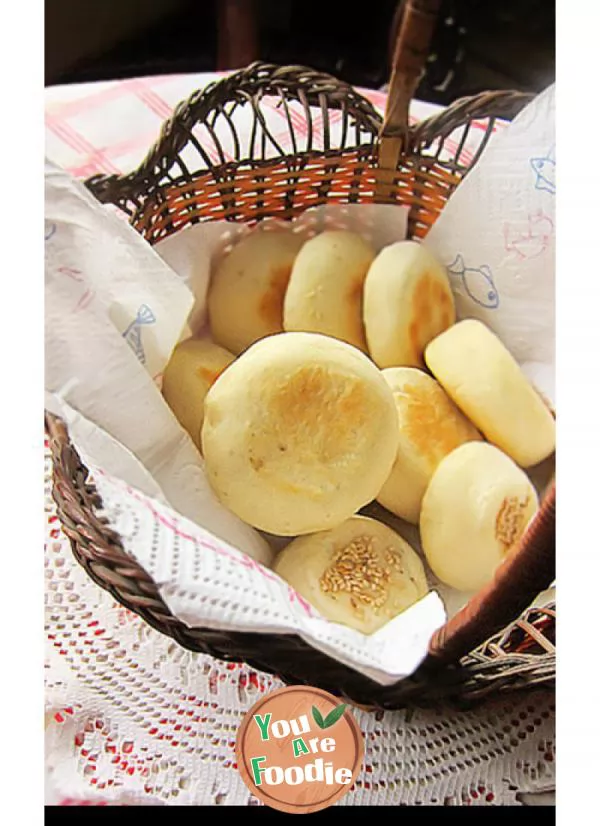
Crispy yogurt bread
To make bread healthier and more nutritious, add some to it. It is whole wheat flour. Whole wheat flour is higher than gluten flour. In order not to affect the taste of bread and make it softer and more delicious, this time without a drop of water or milk, what should I use?It is also possible to knead glove film when making bread with whole wheat flour. But this time, it is not toast, it is a small meal bag, and it is also placed in the sandwich. The appearance is not monotonous sesame, but crisp, sweet and delicious crispy grains after baking. It is really fragrant.1. the thicknesses of yogurt vary, so it is better not to add all the yogurt at one time. Reserve 5 to 10 grams, and decide how much to add according to the actual situation of the dough.2. after the crispy granules are rubbed by hand, they should be put into the refrigerator for storage. Otherwise, the butter will easily melt in the high temperature in summer.3. everyone's oven is different, so it should be adjusted according to the actual situation of their oven.

Step 1 . First, knead the dough. Yogurt is made by yourself, which is thick. If you use commercial yogurt, don't add it all at once. Reserve about 5g, and decide whether to add it all according to the specific situation of the dough.

Step 2 . Add all the other bread making materials except butter into the chef's machine. Put the liquid part at the bottom, open the sugar and salt, put flour on it, put yeast in the middle, start the chef's machine to knead the flour into dough, then add the butter softened at room temperature and continue kneading the dough until it can pull out a large film. Then cover the lid, ferment at room temperature, ferment to twice the original size, and poke a hole with your fingers, If you don't retract or collapse, you'll have a good hair.

Step 3 . When making dough, you can make crispy granules. Put all the ingredients used in crispy granules into a clean basin. Note that the butter should be softened at room temperature and does not need to become liquid. As long as you press it with your hand, you can easily press out your fingerprint.

Step 4 . Then put on disposable gloves, knead them into small particles, and store them in the refrigerator.

Step 5 . After the dough is fermented, take out the dough to exhaust, and then divide it into 9 parts on average. Each part is rounded and relaxed for 10 minutes.

Step 6 . Take a dough, press it flat in the middle with your hand to press out a small nest, take an appropriate amount of bean paste stuffing and put it in the middle, then wrap it in a circle like a bun, close it down and roll it round again, and put it in a non stick baking pan. If the baking pan is not non stick, you need to lay an oil paper under it to prevent sticking.

Step 7 . After all the packages are wrapped, press it slightly with your hand, and then ferment again. The secondary fermentation is directly put into the baking, without the need for the oven to be powered on. Just use the indoor temperature. Put a bowl of cold water in the oven to ferment the small meal package to twice the original size, and then take it out.

Step 8 . Brush a thin layer of egg liquid on the surface of the small meal bag, and then sprinkle it with crispy granules. Of course, you can also brush a layer of butter and then sprinkle crispy granules. The purpose of brushing liquid is to make crispy granules stick to the meal bag.

Step 9 . Preheat the oven, heat it up and down, and bake it at 185 degrees in the middle for 20 minutes.

Step 10 . Bake until the surface of the meal bag is golden yellow.
* Information is provided from the Internet, If there is a copyright infringement, Please contact administratoryouarefoodie.com, We will deal with as soon as possible, Thank you!
