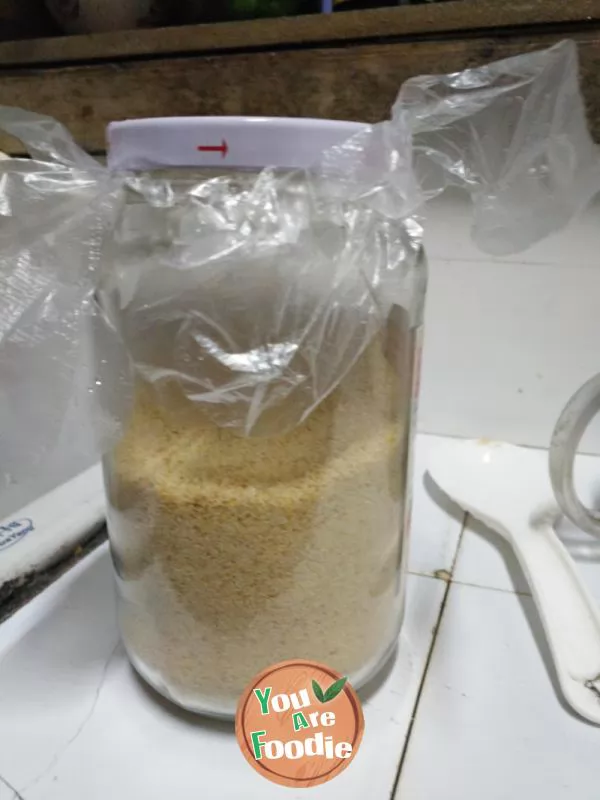
Raisin bun
After receiving the mold of the Chinese zodiac, I thought, what should I do? It was originally a cake mold, but we were afraid of beating eggs, and we were also afraid of bad hair. As a result, we had today's small bread. The taste is excellent, but the pattern is not obvious, which hit me a little. PP didn't take care of it. I'm sorry to everyone.Try again next time!This time, the method is to learn from Yao's mother's method of making wood bread. The last piece of old noodles was used. It was not fermented, but it took a little longer to bake. Unexpectedly, it tasted great.1. bread with any recipe can be used as old noodles after basic fermentation and freezing.2. I can replace the soybean milk powder with milk powder or flour.3. this bread tastes really sweet and delicious, which is different from the taste of scone and bagels. For those who like soft bread, you can omit the steps of 4,5 and 6 and ferment it twice as large.
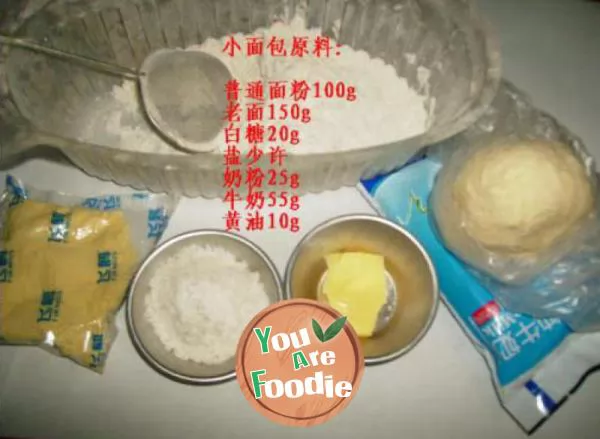
Step 1 . 100g ordinary flour, 150g old flour, 20g white sugar, a little salt, 25g soy milk powder, 55g milk, 10g butter, a proper amount of raisins, soak them in warm water and strain them dry for later use (I soaked them in Chinese wolfberry wine).
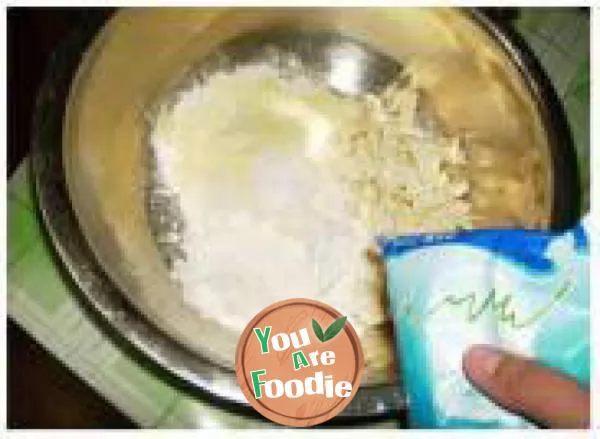
Step 2 . Mix and knead all the ingredients except butter.

Step 3 . Add butter.

Step 4 . Knead into smooth dough and let stand for 30 minutes. This time, you don't need to knead the film, which is easier.
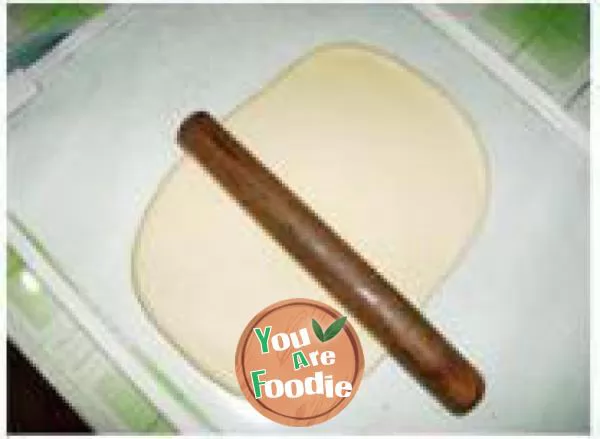
Step 5 . Roll the dough into a rectangle.

Step 6 . 30% off once.
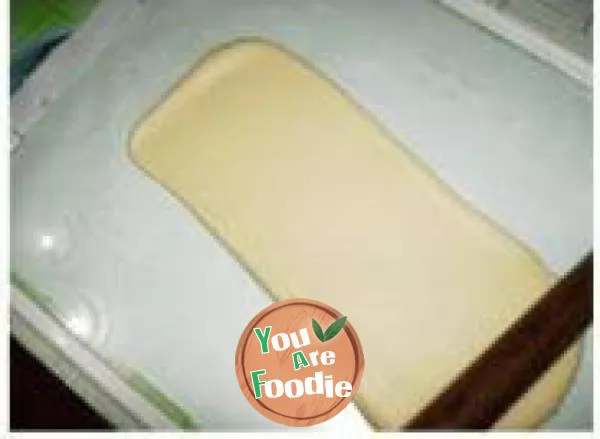
Step 7 . To make the noodles smooth and chewy.

Step 8 . Roll into a cylinder.
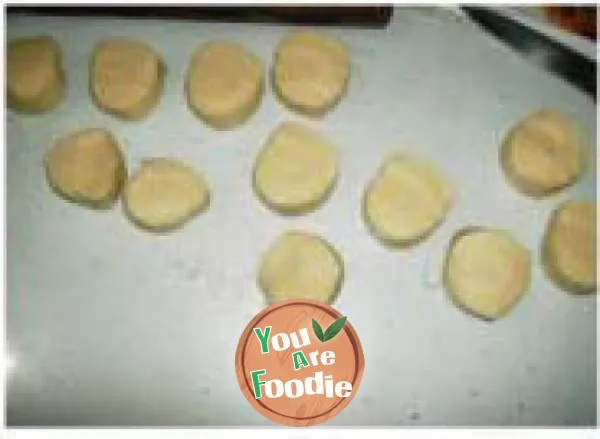
Step 9 . Divide into 12 equal parts.
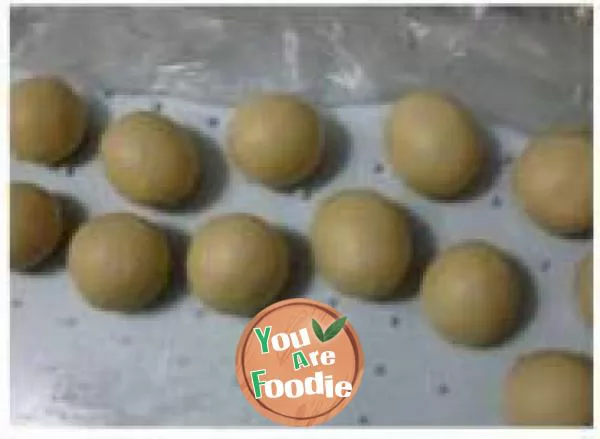
Step 10 . Round and relax for 15 minutes.
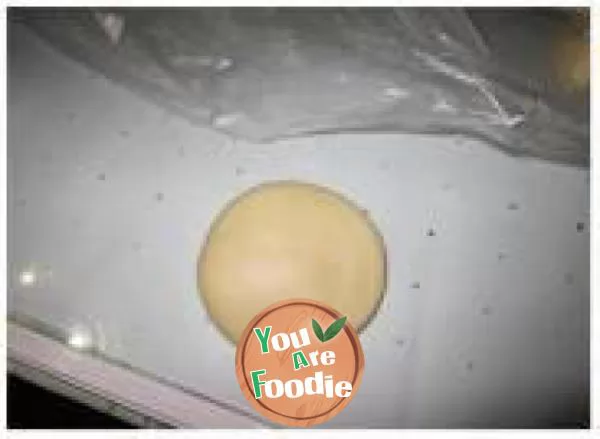
Step 11 . Take a dosage form and press it flat, and press it slightly thinner around.

Step 12 . Wrap raisins (about 20 pieces).

Step 13 . Wrap the stuffing with a tiger's mouth.

Step 14 . Wrap the necks in a round shape.

Step 15 . Put into the oiled mold.

Step 16 . The second fermentation takes about 90 minutes (because there is no basic fermentation, I took a long time this time, and the effect is not great). Put it in the preheating oven and bake it at 155 ° C for 18 minutes (I put the baking tray in the middle and lower layers for 10 minutes. In order to make the bottom demould and color well, I didn't expect the effect to be good. Next time, I will put it in the middle layer.

Step 17 . After baking, mold it while it's hot. It's very hot, but it's still easy to take it off after a few minutes.

Step 18 . Let cool on the baking net and seal.

Step 19 . 555... The shape is not obvious.
* Information is provided from the Internet, If there is a copyright infringement, Please contact administratoryouarefoodie.com, We will deal with as soon as possible, Thank you!

