
Rice cooker original cake
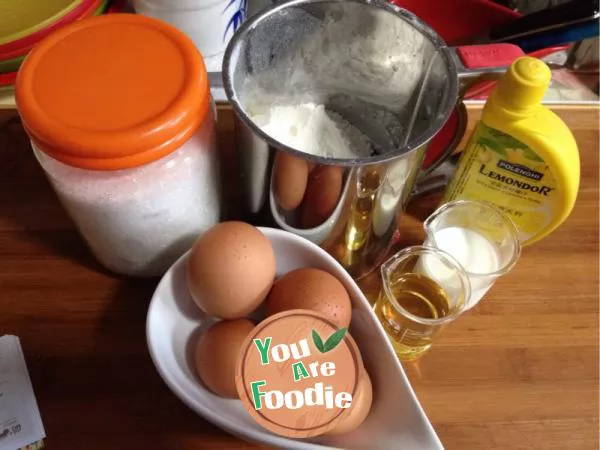
Step 1 . Prepare all materials
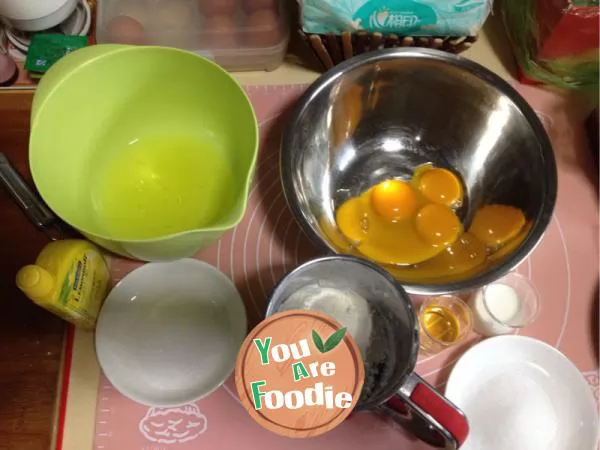
Step 2 . Weigh out the required component
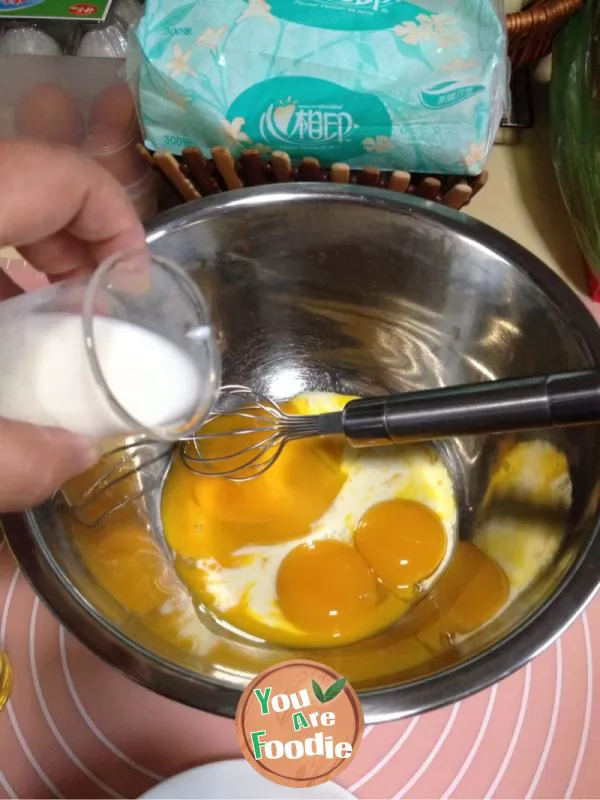
Step 3 . Start to make egg yolk paste, stir it and pour in milk
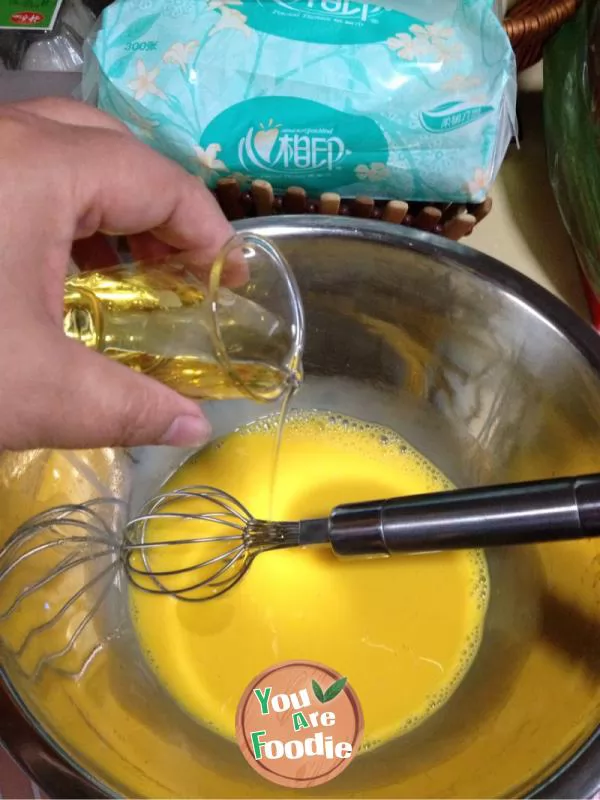
Step 4 . Add corn oil and mix well while stirring
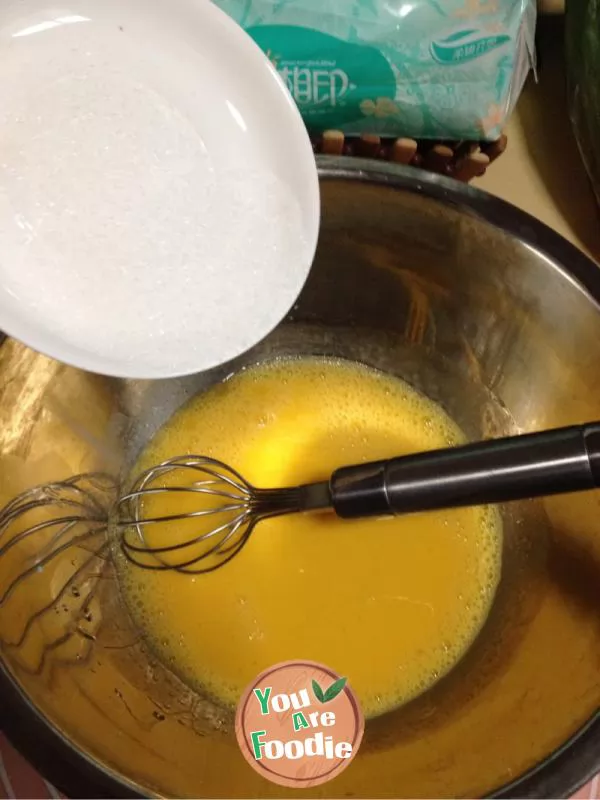
Step 5 . Add white sugar and mix well
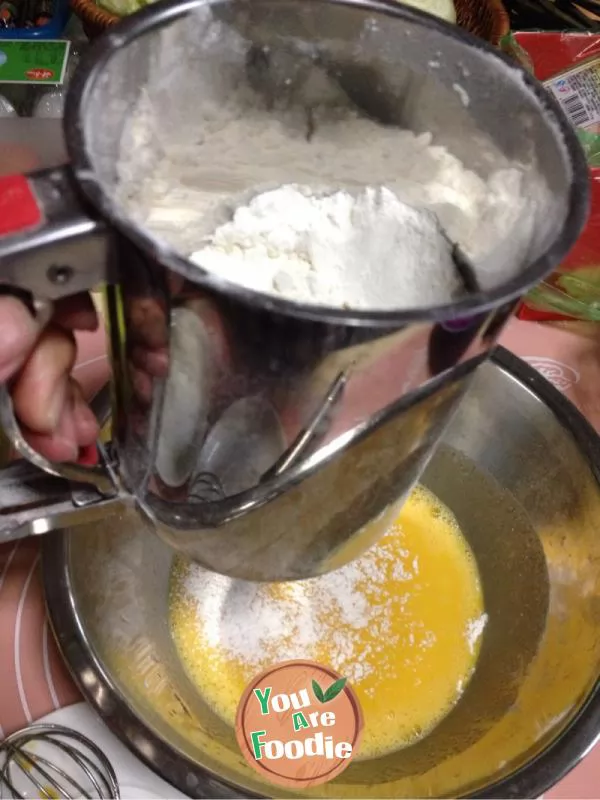
Step 6 . Sift in flour and mix well
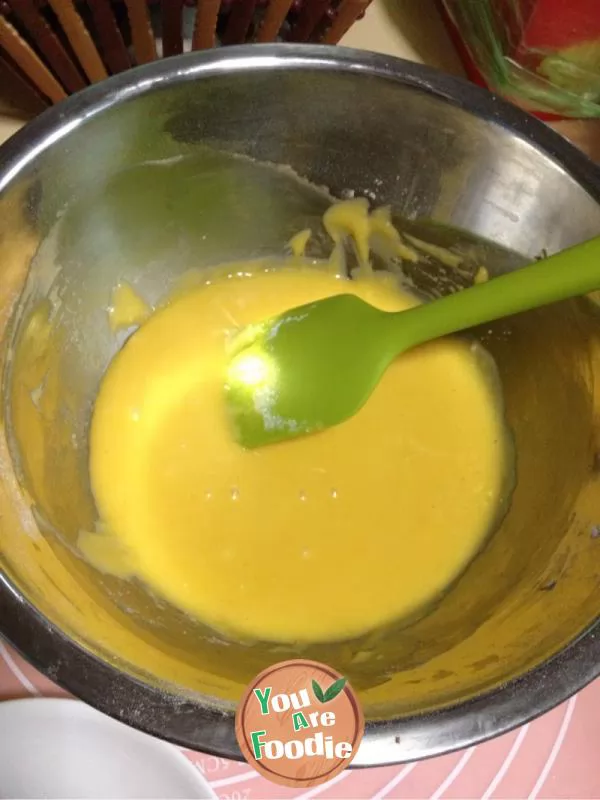
Step 7 . Stir the egg yolk paste and put it aside for use
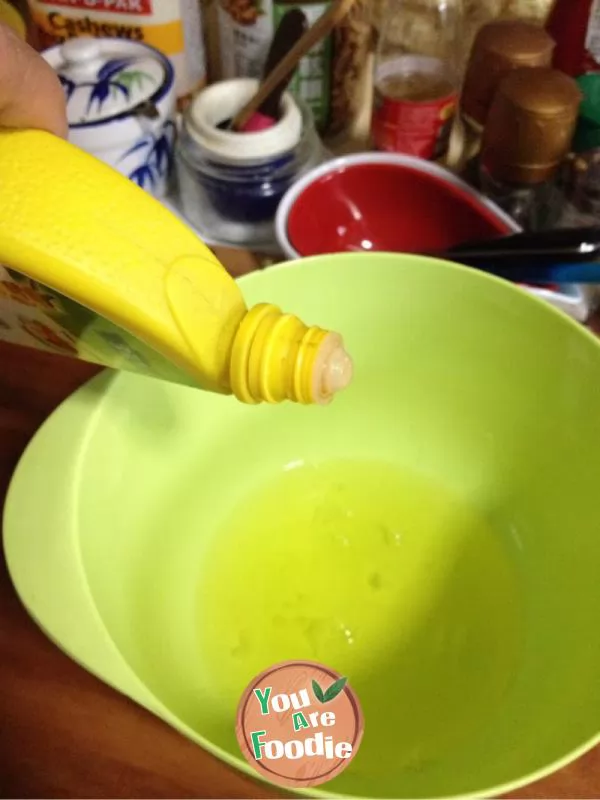
Step 8 . Drip lemon juice or white vinegar into the egg white
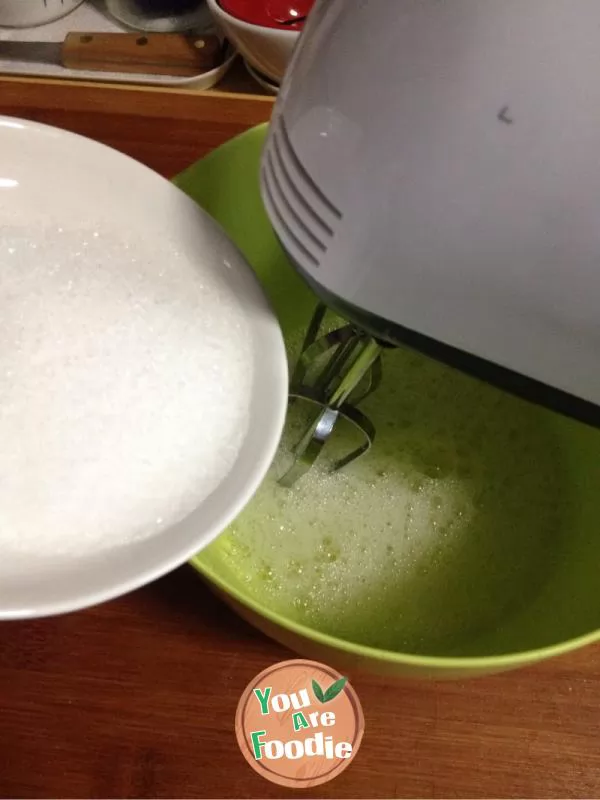
Step 9 . Add white sugar in three times and stir at medium speed until dry and foamy
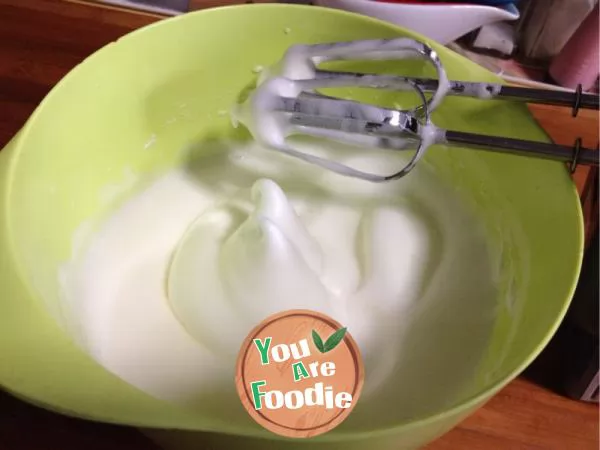
Step 10 . When the blender is lifted, the sharp point will no longer flow, which is called dry foaming. This is the whipped protein

Step 11 . Add the egg white into the egg yolk paste in three times and mix well
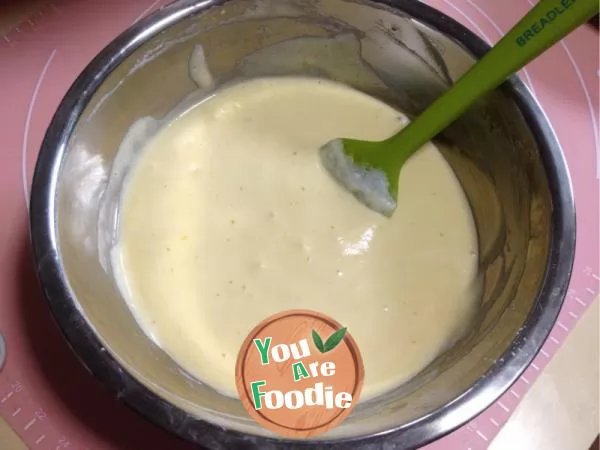
Step 12 . Do not stir the turned cake batter

Step 13 . Pour it into the rice cooker and knock out big bubbles
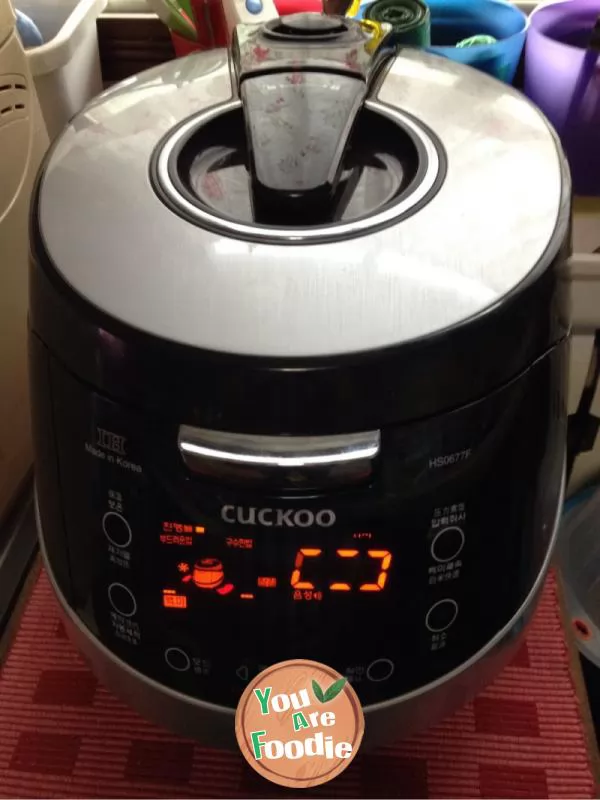
Step 14 . Put the rice cooker into the cooker and press the cook button to start. After that, continue to press the heat preservation button to reheat it. Bake it for 2 consecutive times.
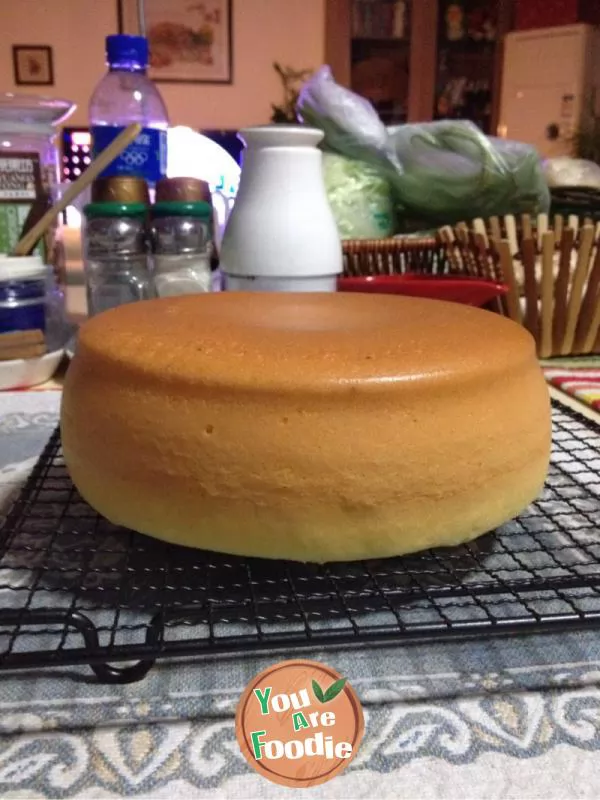
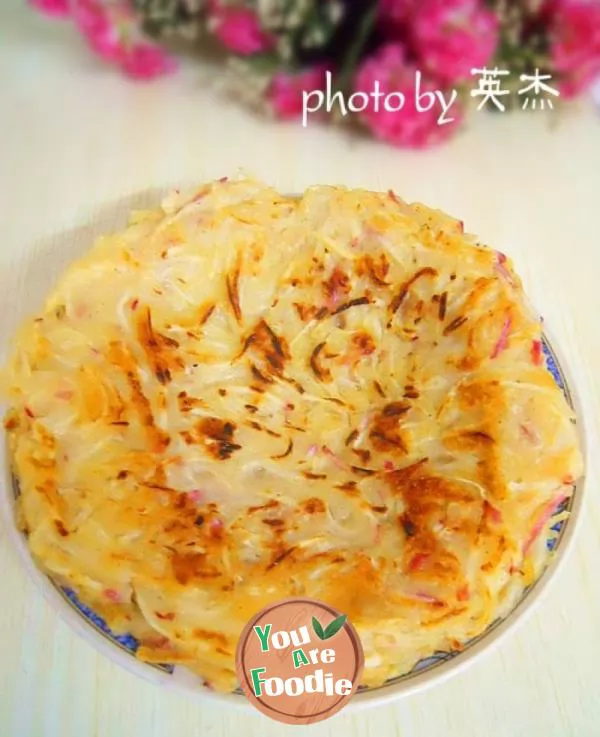
Step 15 . It's ready to cook
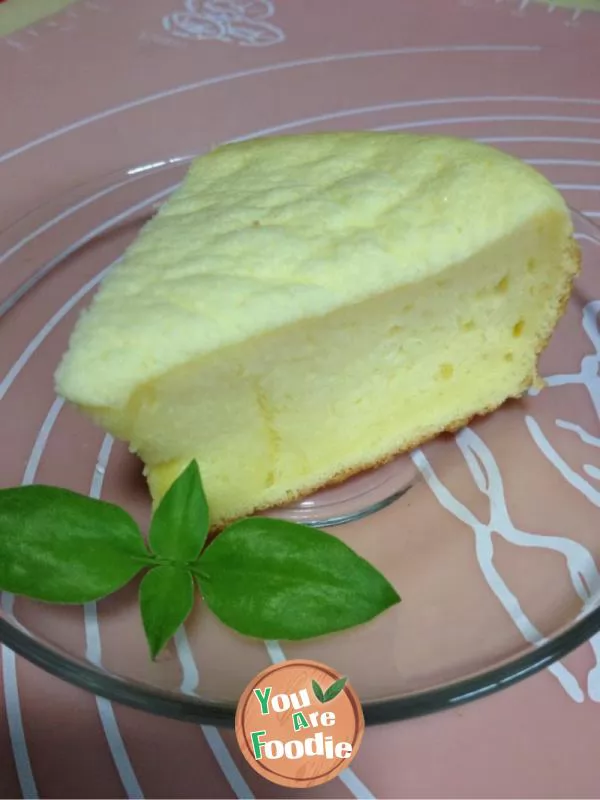
Step 16 . Another show is good, isn't it
* Information is provided from the Internet, If there is a copyright infringement, Please contact administratoryouarefoodie.com, We will deal with as soon as possible, Thank you!