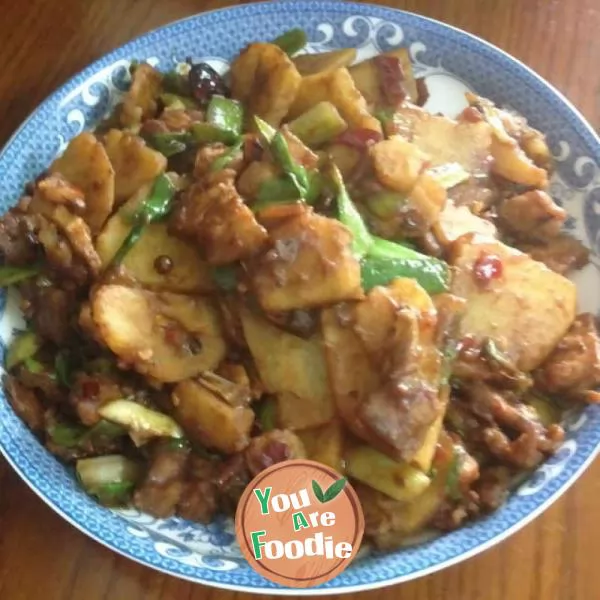
Qi Feng cake, which is so angry that it doesn't pay for its life ~ ~ ~ the imperial concubine baking workshop
When everyone is stuck in baking, the biscuit gods are all floating clouds. Only Qifeng cake is the product of Changlu. It is a test of skill and patience. The joy after success is incomparable to other desserts. It will be deeply moved ~ ~ ~ this recipe is actually a little changed. A little something is added. The product is very good. Let's try ~ ~ no more nonsense, Start with the prescription ~ ~!!!1. protein should be processed in a big way2. Qi Feng cake is 3 points by mixing and 7 points by heat. Let's learn more about our ovens~~~~

Step 1 . These are the raw materials for Qifeng cake

Step 2 . These are raw materials, oh, very simple

Step 3 . Prepare materials. Eggs should be refrigerated. Protein and yolk were separated. Put the protein into the refrigerator first and continue to refrigerate.

Step 4 . Dissolve granulated sugar: add fine granulated sugar to the egg yolk to dissolve, and mix well with an egg beater. No need to beat, just stir until the sugar is completely dissolved and mixed evenly. PS: in order to melt the granulated sugar, it is stirred with insulated water. Remove the water after stirring. The temperature of the separated water should not be too high. The eggs will be cooked at 60 ℃

Step 5 . Emulsification process: add water and oil to continue to stir with an egg beater, and carefully mix until the batter is lubricating and viscous. Emulsification is caused by both water and oil, not by stirring and foaming. Egg yolk will also help emulsification. At the beginning of stirring, thick bubbles will be generated.

Step 6 . Mixing powder: sift and add the low powder, and fully stir it with an egg beater until it is lubricated. Some bubbles in this process are normal and should be put aside for use.

Step 7 . 8. Add sugar in protein cream three times. Beat the protein from transparent color to Baise for the first time. When there are coarse bubbles, add 1 / 3 of fine granulated sugar and continue to beat. When the protein cream has slight sharp corners, add sugar for the second time and continue to beat. When the sharp corners of the protein cream are more upright, add sugar for the third time, and continue to beat at low speed to pull out the complete sharp corners. The protein cream should not be too dry and hard. The timing of adding fine granulated sugar is very important. If the protein cream is too dry and hard, the finished cake is easy to shrink, collapse, wrinkle, rough pores on the cut surface, rough texture and lack of luster. The 200W egg beater can hit the picture for up to 3.5 minutes, more than 1 minute high speed, more than 1 minute medium speed and more than 1 minute low speed. For your reference.

Step 8 . Add 1g of Tatar powder to the protein in the container

Step 9 . In fact, this is already very good. If the protein cream is too dry and hard, the finished cake is easy to shrink, collapse, wrinkle, rough pores on the cut surface, rough texture and lack of luster. The 200W egg beater can hit the picture for up to 3.5 minutes, more than 1 minute high speed, more than 1 minute medium speed and more than 1 minute low speed. For your reference.

Step 10 . 9. Mix the protein cream and egg yolk paste. First pour 1 / 3 of the protein cream into the egg yolk paste and mix evenly. Pour the cake paste into the remaining egg white bowl and stir well.

Step 11 . Mixing method: hold the mixing knife in your right hand and turn the basin in your left hand. The knife enters the basin from the middle of 2 o'clock. The knife edge is perpendicular to the basin and runs straight to the position of 8 o'clock. Then turn the knife over and turn up the egg paste. At the same time, turn the basin counterclockwise with your left hand. Repeat this action, which is basically the process of drawing half an ellipse and turning

Step 12 . Finally, pour the batter into the water-free and oil-free mold

Step 13 . The egg yolk paste does not need to be flattened. With the heating of the temperature, the paste will become flat (^ o ^) / ~. After a few more shocks, it will be put into the preheated oven at 160 ° C for 40 minutes. The temperature and time can be adjusted according to the temper of your own oven
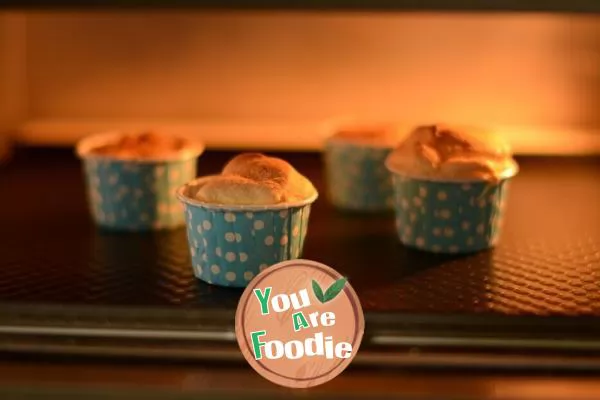
Step 14 . I secretly made some cupcakes. They are so cute

Step 15 . In order to make the cake look good on the surface, this overhead inverted button is a good way

Step 16 . It's a little weak to demould by hand. I'm roast

Step 17 . When cutting the noodles, be sure to shake the cake paste more when putting it into the container, otherwise there will be bubbles like me
* Information is provided from the Internet, If there is a copyright infringement, Please contact administratoryouarefoodie.com, We will deal with as soon as possible, Thank you!
