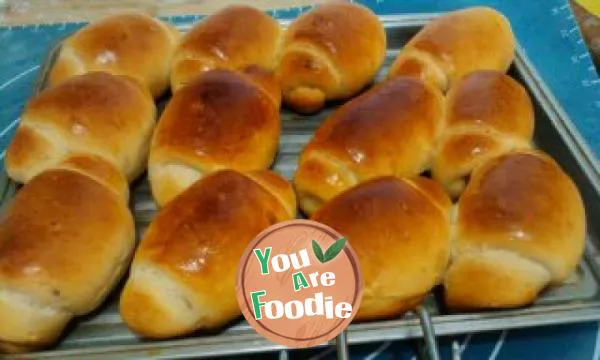
Make Christmas cake with the kids

Step 1 . First, pour the salad oil, water and salt into a stainless steel basin, and then separate the egg white and yolk of five eggs. Put the yolk into a basin with salad oil and water. Be careful not to mix the yolk with the egg white, otherwise it cannot be sent.

Step 2 . Put the egg white in another stainless steel basin.

Step 3 . Pour 40g of fine granulated sugar directly into the egg yolk.

Step 4 . Beat the egg white with an egg beater for a while, then add the remaining 30 grams of granulated sugar to the egg white.

Step 5 . Continue to whisk the egg white until it foams hard, as shown in the picture.

Step 6 . Then use the egg beater to mix the salad oil and egg yolk into egg yolk paste.

Step 7 . Sift in flour and mix well with a rubber spatula.

Step 8 . Take a small piece of beaten egg white and put it into the egg yolk paste.

Step 9 . Then pour the yolk paste into the remaining egg white, and use a rubber spatula to cut and mix. Never draw a circle directly.
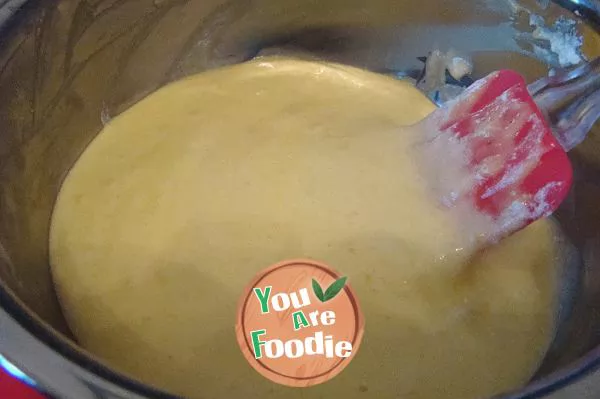
Step 10 . Cut and mix the cake batter.
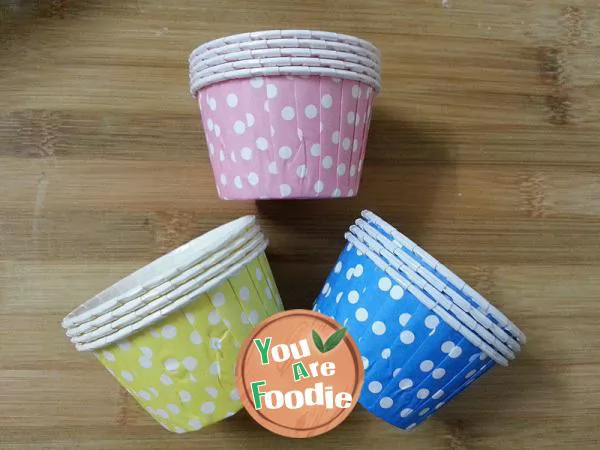
Step 11 . Prepare the paper cup for the cake. The coated paper cup I use is easy to shape and looks good.

Step 12 . Start filling the cake batter, don't fill it too full, just fill each cup with seven minutes full.

Step 13 . Put it in the middle of the oven, set the temperature at 15 minutes, and the oven can be fired at 165 degrees. Different brands of ovens have different temperatures and times, so you can master them by yourself. The freshly baked cake will swell slightly, and will flatten after cooling.

Step 14 . While cooling the cake, we can prepare the materials for turning sugar. I bought dry Perth, edible white oil and edible pigment imported from Dab Derby, because they are food after all. Of course, the safe ones are the best. The dry paise you bought is white. Use a toothpick to dip in a proper amount of pigment and knead the dry paise dough. If it is slightly sticky, you can smear some white oil and continue kneading. Finally, make the pigment fully knead. The dry paise is easy to harden when exposed to the air. The dry paise you do not use must be wrapped tightly with a plastic wrap to facilitate the next use. Whether the kneaded colors are like the plasticine that children play with, you can play with them now!

Step 15 . Prepare some molds. I use the existing Christmas tree, Christmas flower and balloon biscuit molds at home, as well as a sugar flipper cutting mold that can depict patterns.

Step 16 . Prepare a mousse ring about the size of a cake.
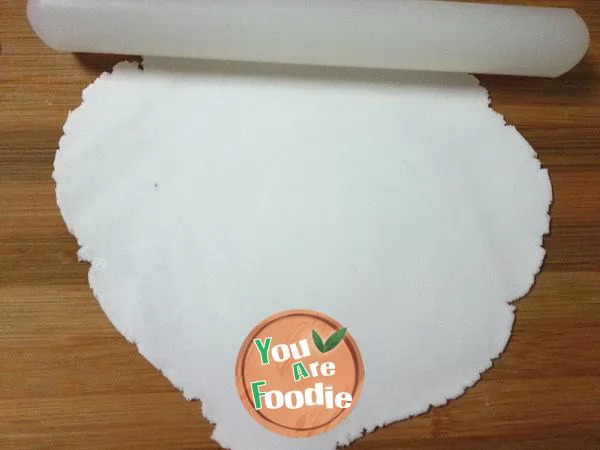
Step 17 . Use a rolling pin to roll the different colors of dried paisi into a 5mm thick dough for use. To prevent adhesion, sprinkle some sugar powder.

Step 18 . Use the cutting die to print the pattern on the dry Perth leather.

Step 19 . Use the mousse ring to press a circle out for standby.

Step 20 . Spread the round dry paise on the cake.

Step 21 . Use the biscuit mould to print the Christmas tree, Christmas flowers and balloons in turn.

Step 22 . Use dry paise of different colors to make the decorations look more three-dimensional. In order to stick more firmly, use a small brush to stick a little cold white boiled water to stick small objects.
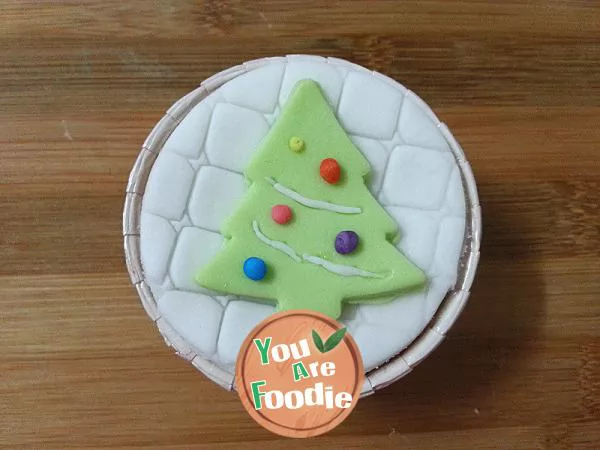
Step 23 . Finally, the decoration can be completed by laying it on the round dry Perth.
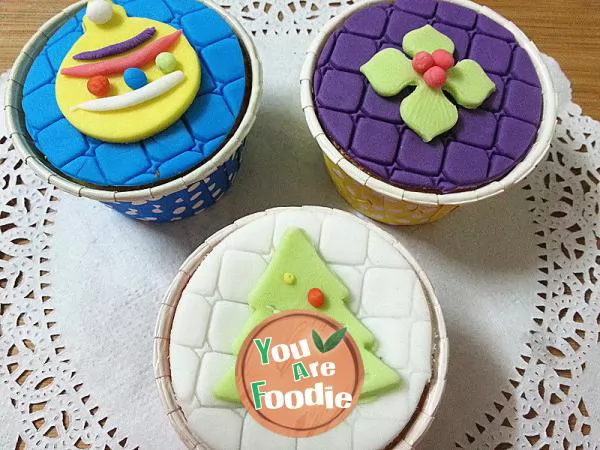
Step 24 . The sugared cake full of Christmas flavor is finished. Isn't it cute and beautiful? In order to prevent the dried Pace from becoming hard and dry and affecting the taste, it should be eaten as soon as possible. If you don't eat it for a short time, you need to wrap it with plastic wrap and put it in a sealed biscuit box.
* Information is provided from the Internet, If there is a copyright infringement, Please contact administratoryouarefoodie.com, We will deal with as soon as possible, Thank you!

