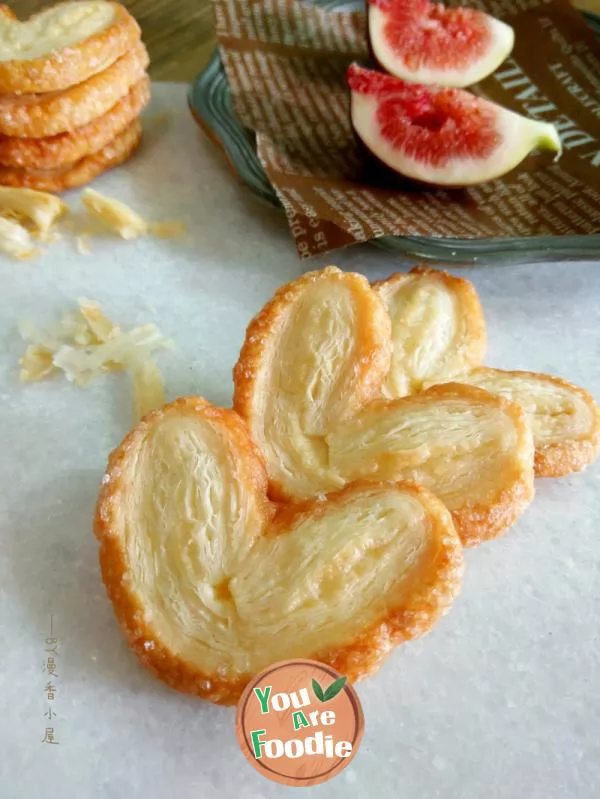
Thousand layers of pastry -- butterfly pastry
Thousand layer pastry is called a required course for baking lovers. It can be used to make egg tarts, pies and various delicious snacks. The production method seems cumbersome, but it is not difficult to operate in practice. This time I used it to make the simplest butterfly crisp. Although it was simple, I tried the shape many times.1. When rolling noodles, sprinkle thin powder on the cutting board and dough every time.2. When rolling out dough slices, it is more important for novices than to roll them very regularly. Try to roll them as quickly as possible, and try to roll them as thick and thin as possible. Don't roll them as thick and thin as possible in order to pursue the rules of shape. That will make it easier to break. If you really break the skin, you can immediately sprinkle some dry powder to remedy it. Be careful when you take it. Don't let your nails scratch the surface. If the butter melts too fast and leaks oil during rolling, immediately refrigerate it for a while before making it.3. When there are bubbles during rolling, you can pick them with a toothpick.4. Finally, if it is not used for the time being, it can be sprinkled with a layer of dry powder, wrapped with fresh-keeping film, rolled up for cold storage or freezing, and rewrote before use. According to Jun Zhi's description, it is refrigerated for about a week and frozen for about a month. In fact, I haven't tried to put it for that long. It's for reference only.
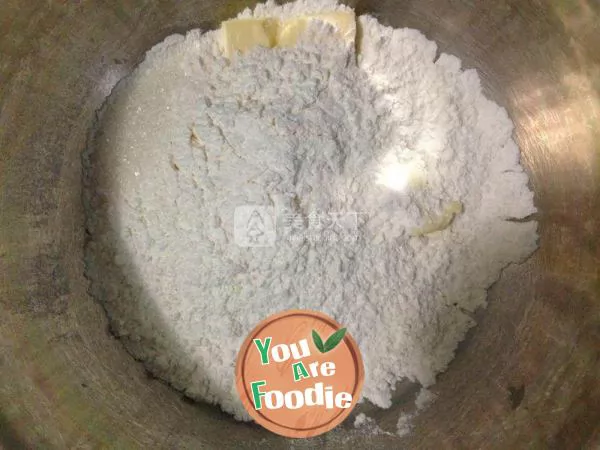
Step 1 . Low powder, salt, sugar, refrigerated butter (no softening) 20g mix.
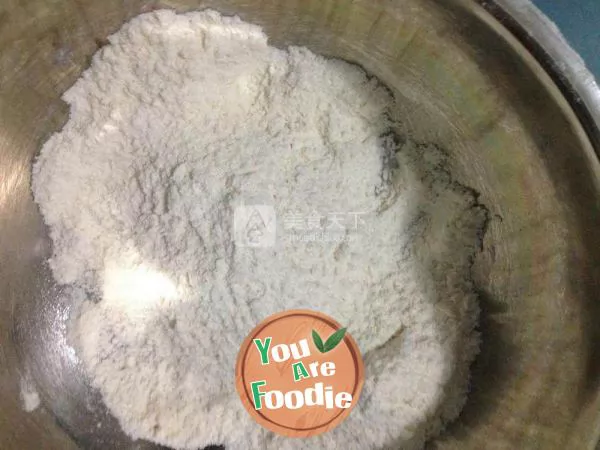
Step 2 . Rub with both hands to form a fine sand shape as shown in the figure.
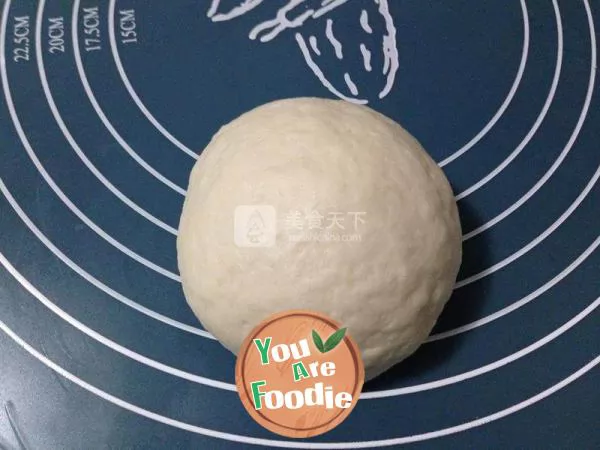
Step 3 . Add cold water, mix into smooth dough, put into fresh-keeping bag and refrigerate for 30 minutes.
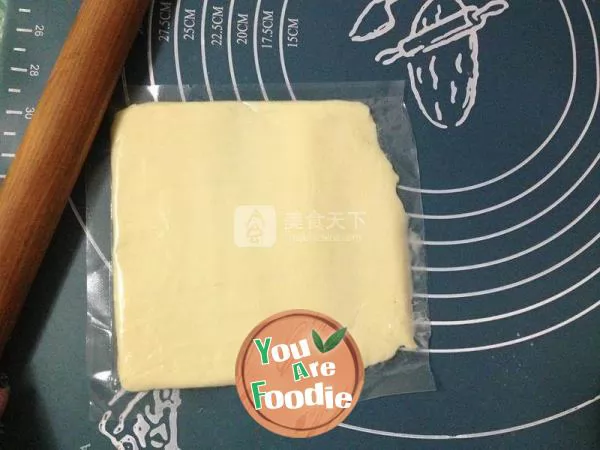
Step 4 . Put 65 grams of refrigerated butter into a fresh-keeping bag, beat it with a rolling pin and roll it into a square as far as possible, and then put it back in the refrigerator.
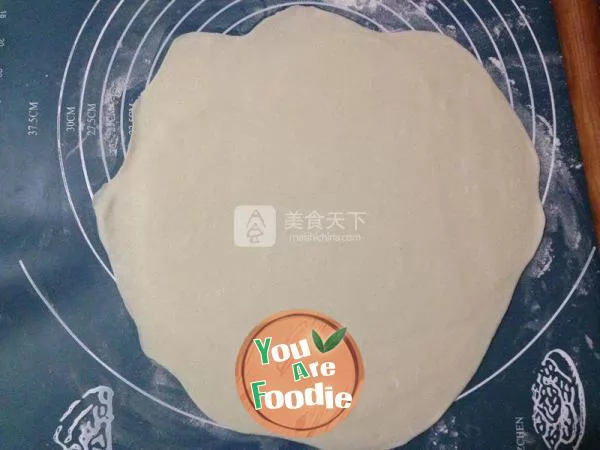
Step 5 . Sprinkle thin powder on the chopping board (sprinkle powder to prevent sticking each time below), and roll the dough into a square or round shape, which is about twice the size of the butter area.
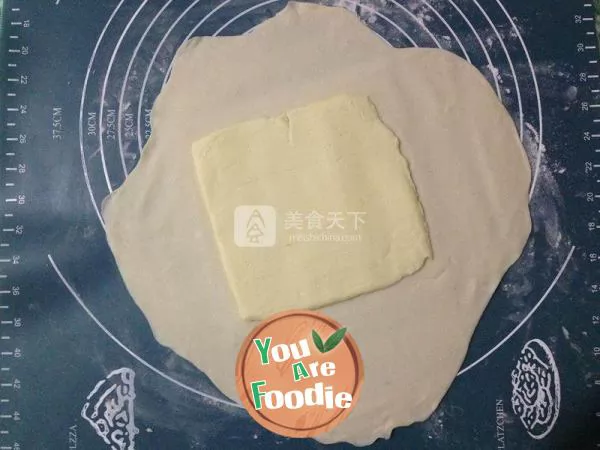
Step 6 . Put the butter in the middle.
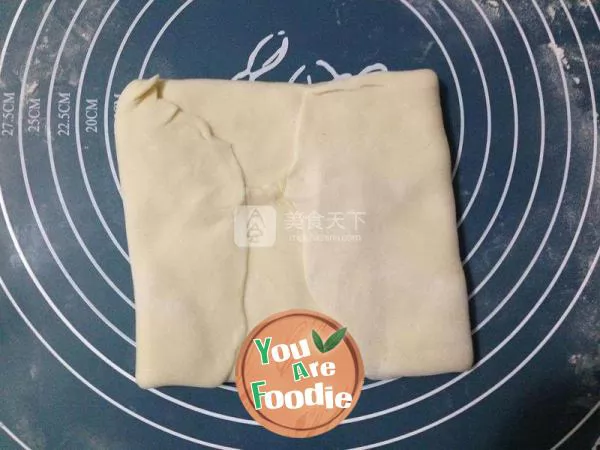
Step 7 . As shown in the figure, wrap the painting oil with dough, and you can pinch the interface.
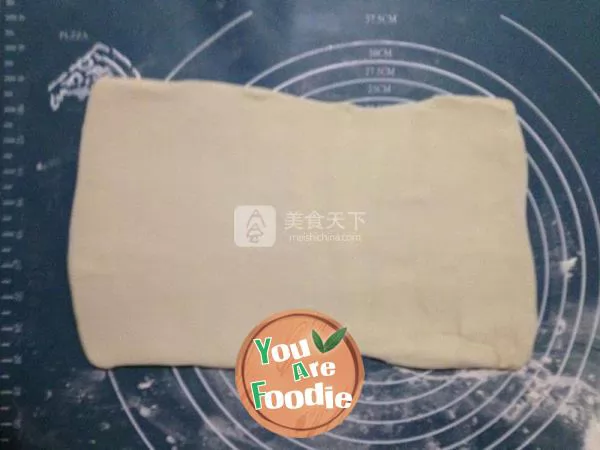
Step 8 . Roll into a rectangle.
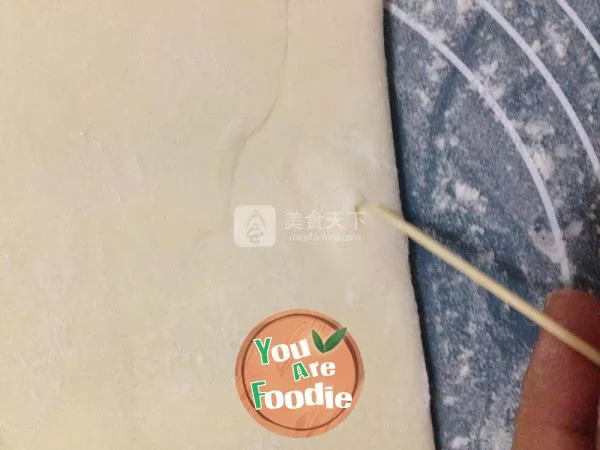
Step 9 . If there are bubbles in the middle, you can prick them with a toothpick to squeeze out the air.
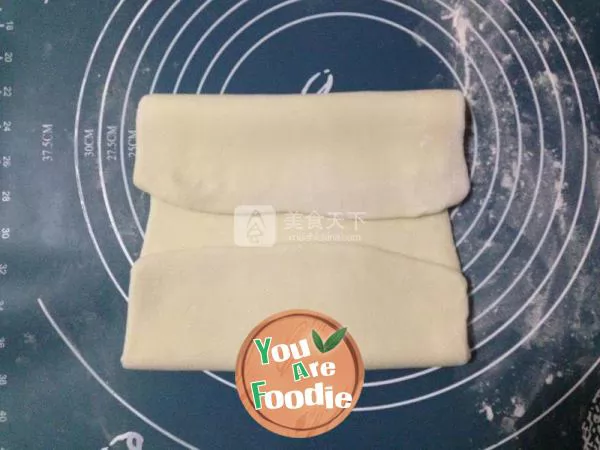
Step 10 . As shown in the figure, the two ends of the long side fold towards the middle.
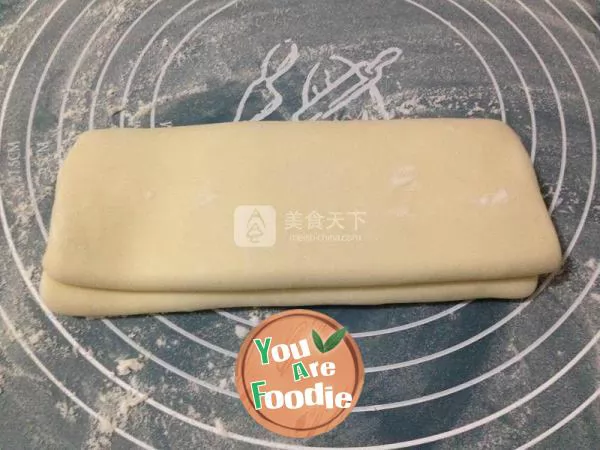
Step 11 . Fold it in half, that is, fold it in four, just like folding quilts at ordinary times. After folding, wrap the plastic wrap and refrigerate in the refrigerator to relax for 15 minutes
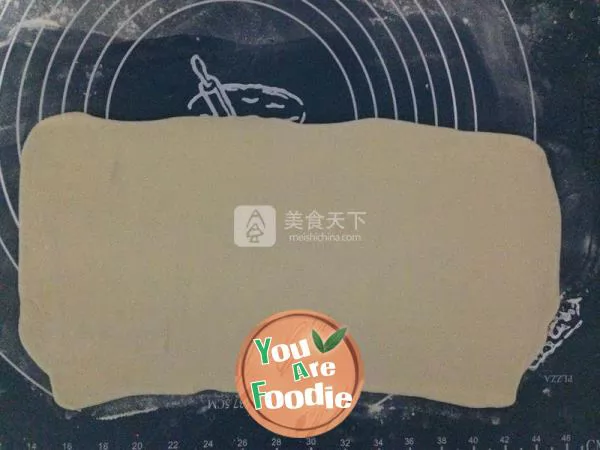
Step 12 . Take it out and roll it into a rectangle.
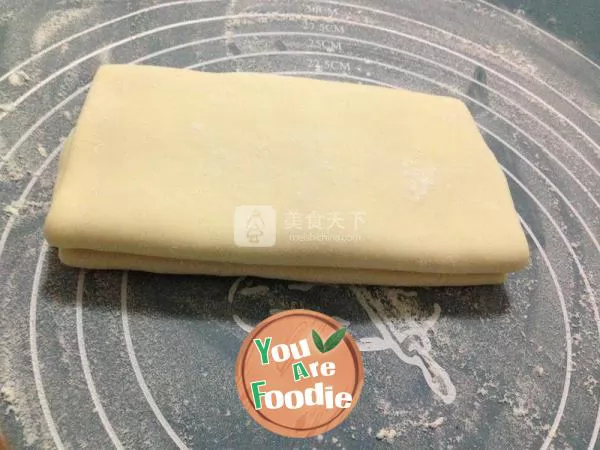
Step 13 . Refrigerate for 15 minutes after another 40% discount.
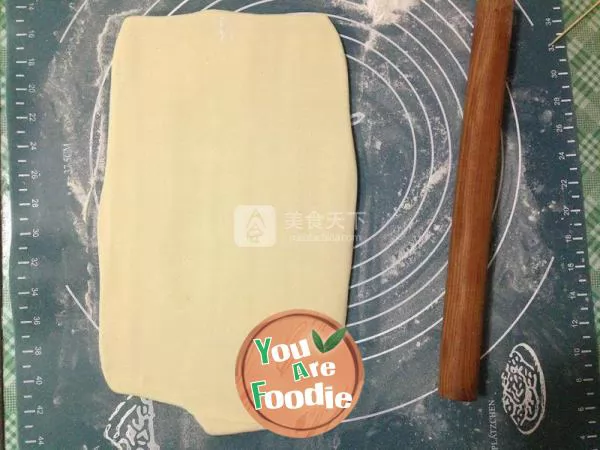
Step 14 . Then take it out, roll it into a rectangle, fold it in four, and refrigerate it for 15 minutes, a total of three times and fold it in four.
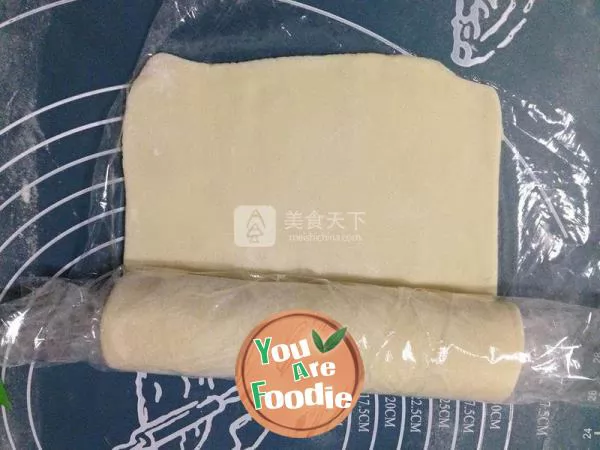
Step 15 . Finally, take out a thin sheet rolled into about 0.3-0.4mm, and you can use it. If you don't use it for the time being, you can sprinkle a layer of dry powder, cover it with fresh-keeping film, roll it up, refrigerate or freeze it, and rewire it before use.
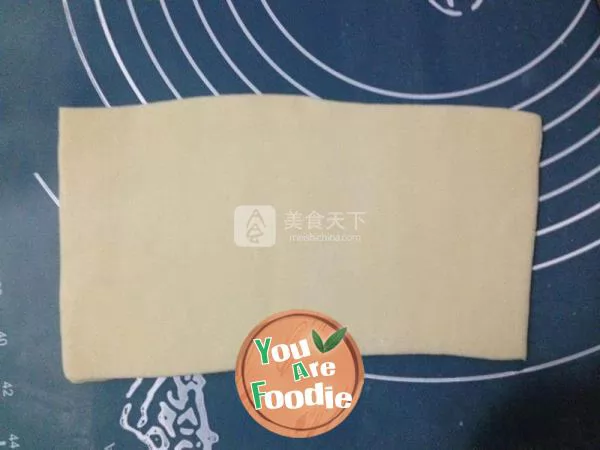
Step 16 . Take a rectangular piece of dough, brush both sides with a thin layer of water and sprinkle a layer of sugar.
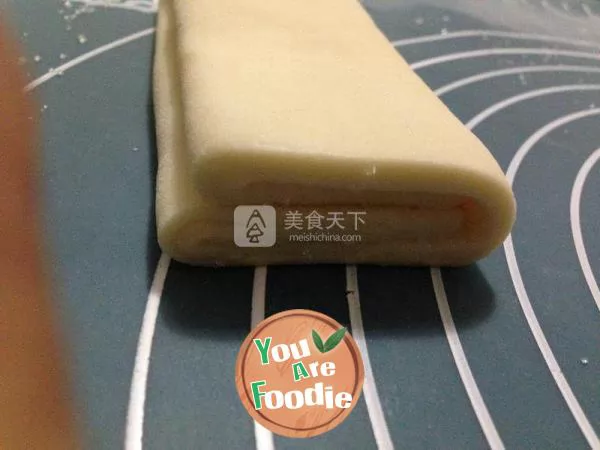
Step 17 . After the long sides at both ends are folded in half to the center line, they are folded in half as shown in the figure. (the outer layer in this picture is not sprinkled with sugar, because I tried several methods.) freeze it in the refrigerator until it is a little hard. The time is about 10 minutes. I didn't see it specifically. Freezing is for the convenience of next operation.
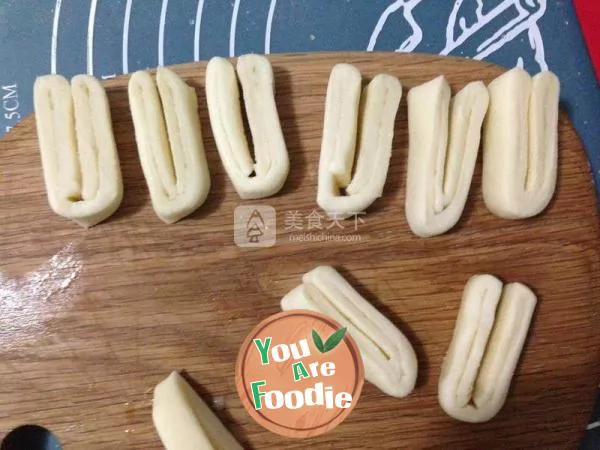
Step 18 . Cut into 4-5mm thick pieces with a sharp knife.
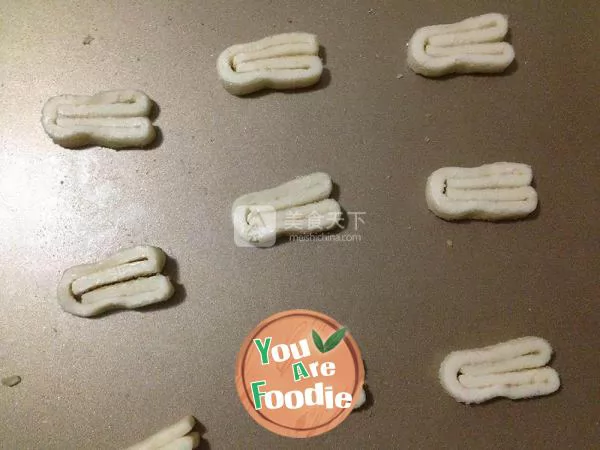
Step 19 . Sort out the deformed places by hand and arrange them in the baking pan with a slightly larger spacing, because they will expand laterally when baking. (if you like sweet, you can sprinkle sugar on the surface)
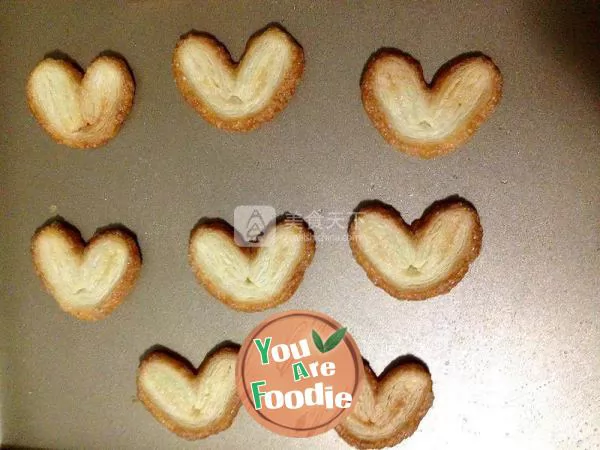
Step 20 . The middle and upper layer of 180 degrees is 15-20 minutes, and the specific time is also related to the thickness of cutting. (each oven has a different temper. Please adjust the temperature and time by yourself. Do not take it out after baking, and then stew for another 10 minutes.

Step 21 . finished product
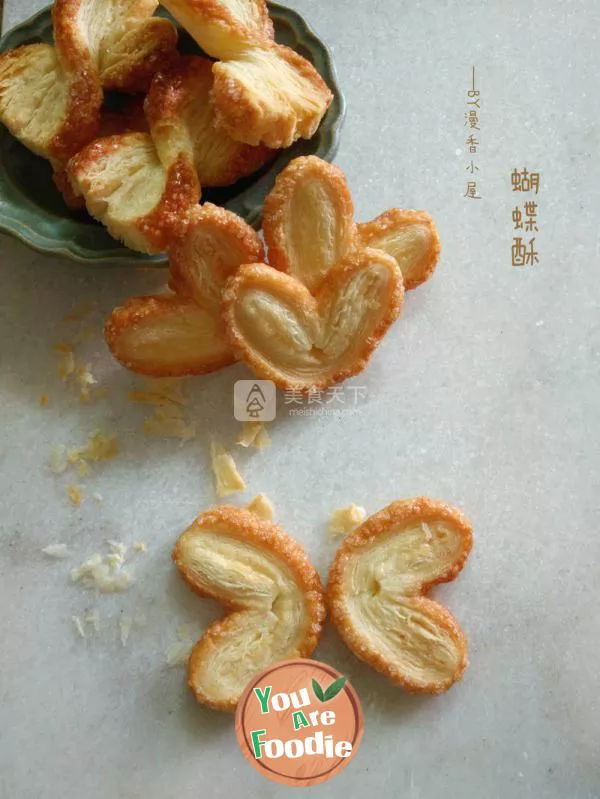
Step 22 . finished product
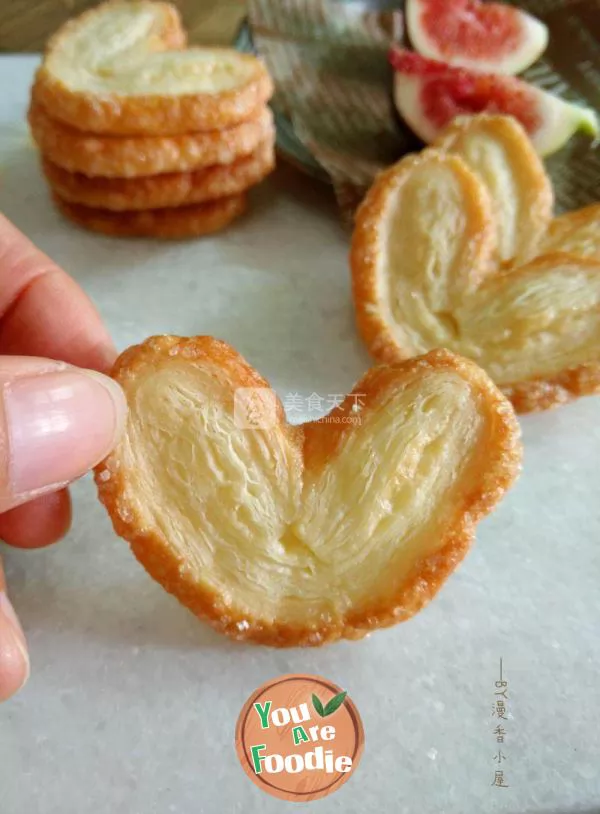
Step 23 . finished product
* Information is provided from the Internet, If there is a copyright infringement, Please contact administratoryouarefoodie.com, We will deal with as soon as possible, Thank you!
