
Homemade casual button biscuit

Step 1 . Prepared materials.
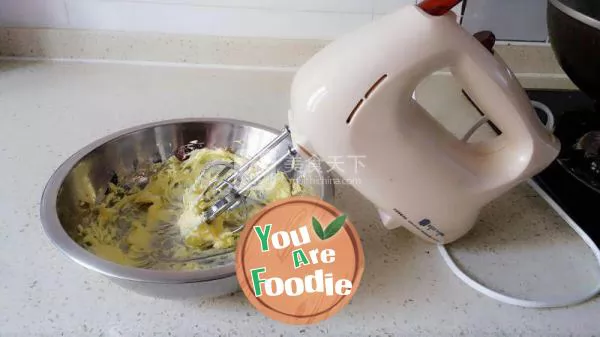
Step 2 . Beat the softened butter until it turns white.
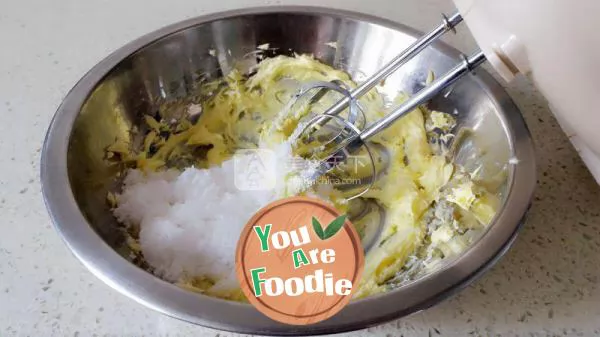
Step 3 . Add white sugar to the butter.
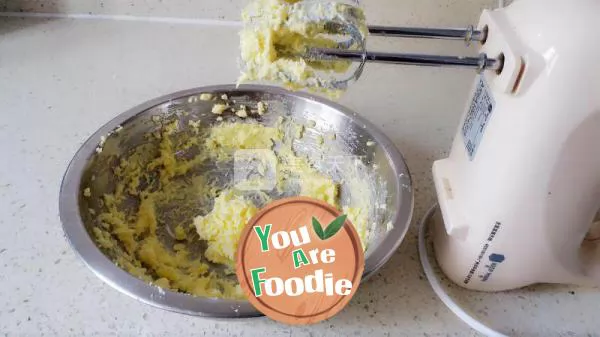
Step 4 . Beat the marshmallow and butter until even.
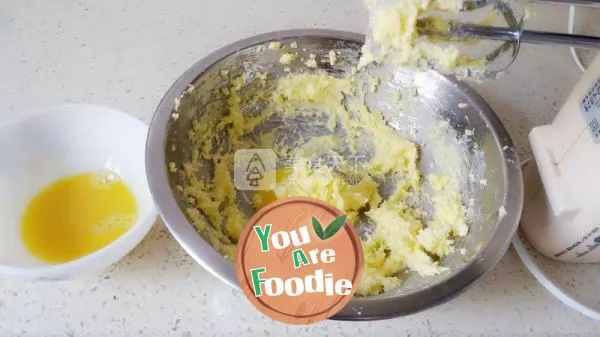
Step 5 . Pour the egg liquid in three times, beating evenly each time, and then pour it down again.
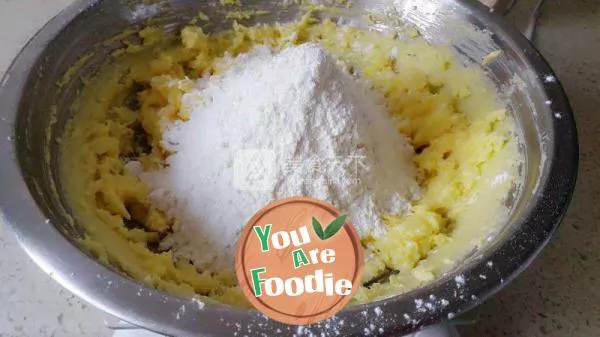
Step 6 . Sift in low gluten flour.
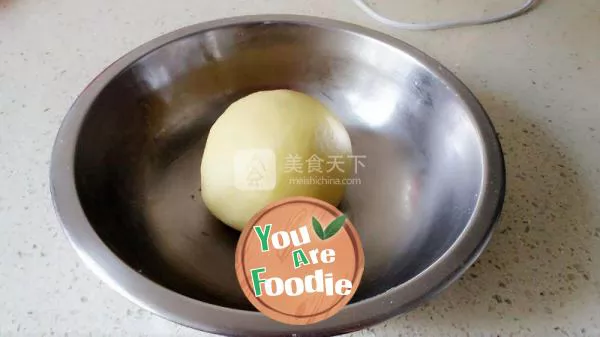
Step 7 . Gently form dough.

Step 8 . Two of them are made of dough with green and orange pigments, and two cookie mouths of different sizes are used to button out the buttons on the plate.
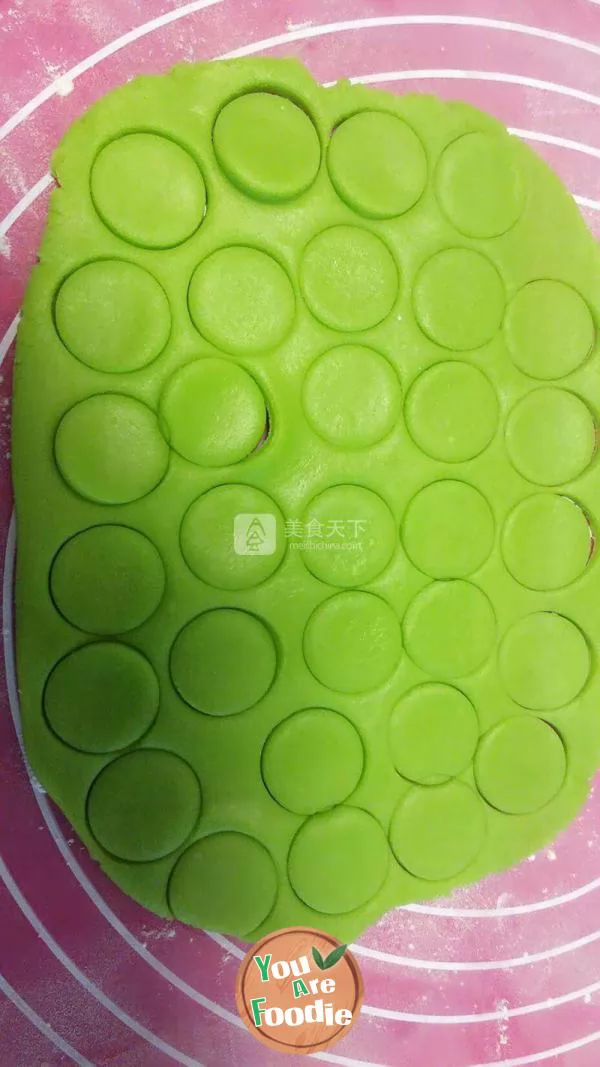
Step 9 . Roll out the 3mm thick dough with one of the colors, and then press it with a circle with a smaller size on the outer ring of the cookie mouth (it should be well pressed and removed), and then pierce the two buttonholes with toothpicks.
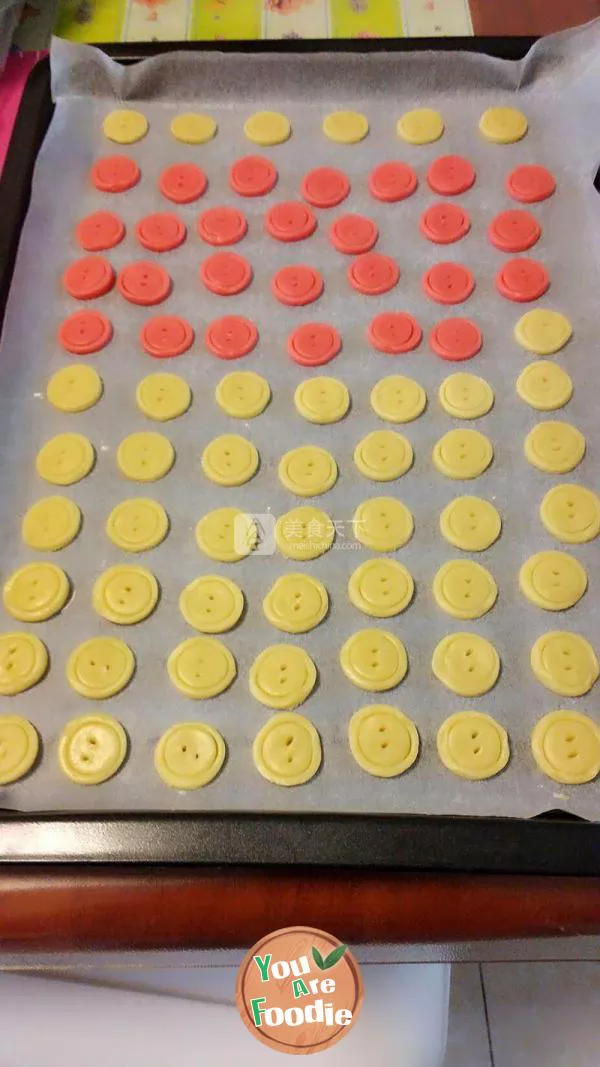
Step 10 . Button biscuits of different colors have been made.

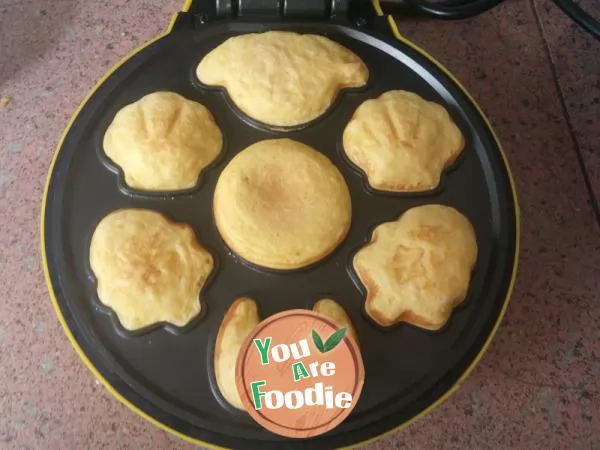
Step 11 . Put it into the oven and heat it up and down for 170 degrees, bake it for 15 minutes, bake it for 8 minutes, look at the color and heat (the ovens are different), and observe and adjust it according to the color and the degree of ripeness.
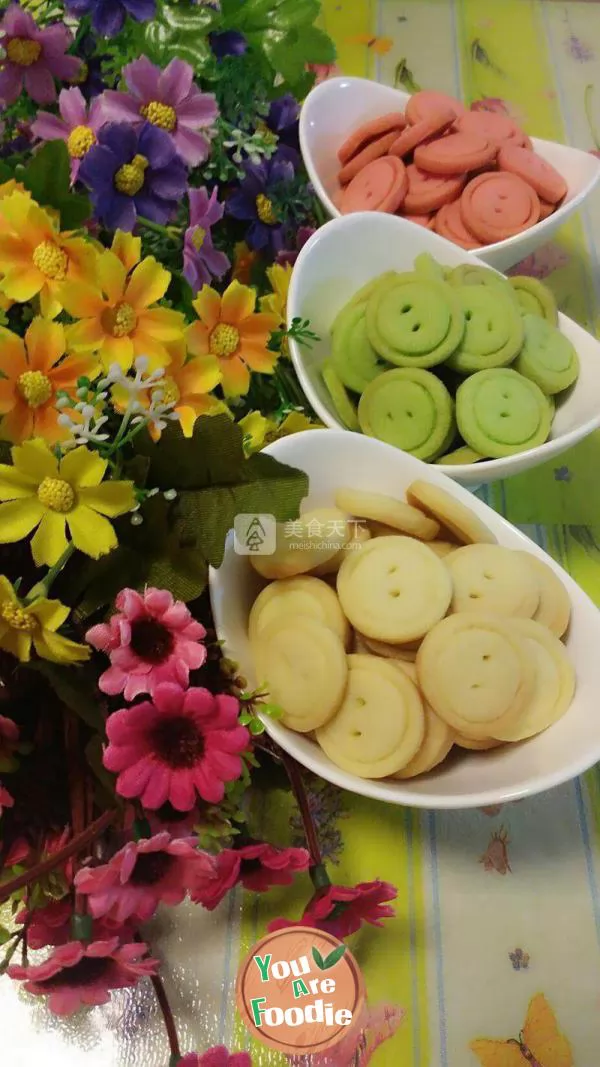
Step 12 . Bake the cookies and put them on a plate when they are cool (I used a small Yuanbao bowl).
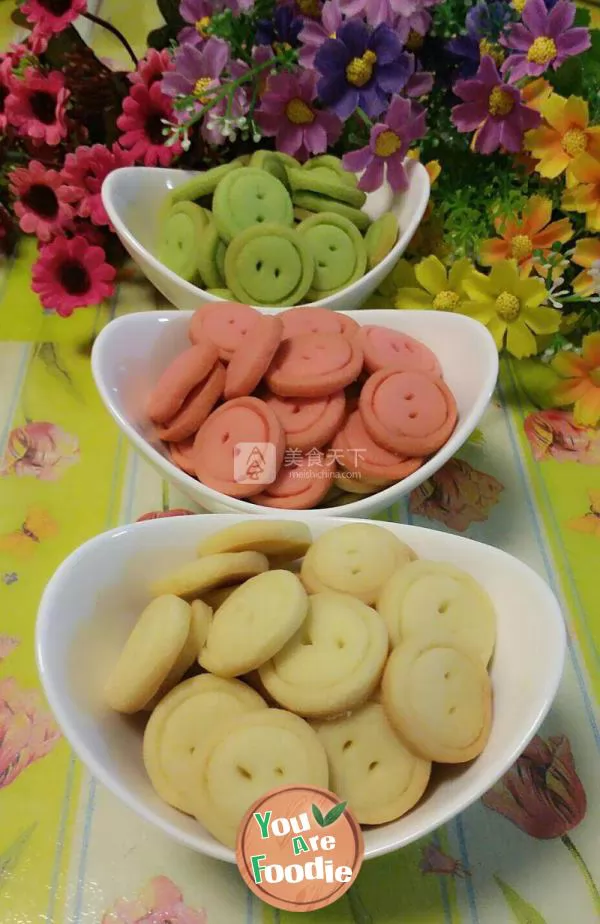
Step 13 . This casual snack is crisp and delicious, suitable for everyone.
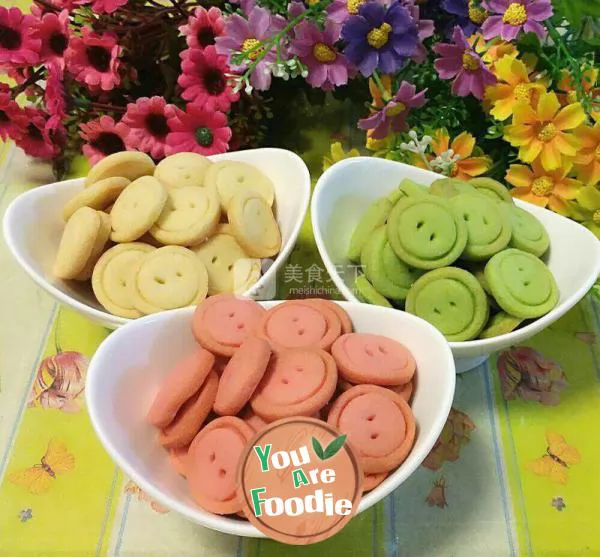
Step 14 . Homemade cookies can not only meet the interest of creativity, but also add interest to the family table. You might as well try it.
* Information is provided from the Internet, If there is a copyright infringement, Please contact administratoryouarefoodie.com, We will deal with as soon as possible, Thank you!