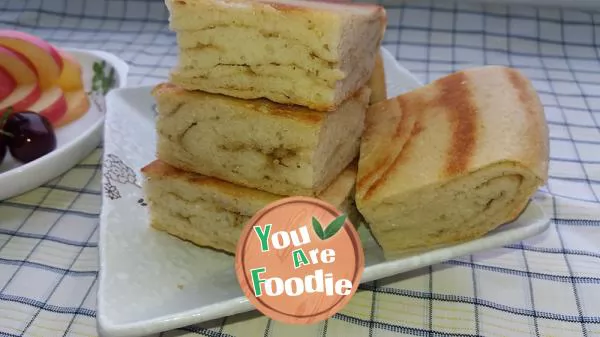
Bean dregs dough cake
The nutrition of soybean is very rich. It's a pity to throw away the leftover bean dregs from making bean curd. What should we do? How can I eat steamed buns, pancakes and flower fat? I'm going to try making a big thick cake of hair noodles. I didn't expect it to be very successful. Since my nephew took away our electric cake pan, the big thick cake with hair noodles disappeared from our table. Although the pan and pressure cooker can also be made, I am always afraid that the technology is not in place and cannot be done well. Recently, there are a lot of bean dregs left in making bean curd. It's a pity to throw them away. You can't finish steaming steamed bread. Pancakes finally made me a recipe! Two thick cakes can be baked with bean dregs at one time. This time I baked two pieces of cake at the same time. There were two flavors, one was sesame flavor with scallion, the other was sesame flavor with salt and pepper. Use a pan on one side of the fire and a pressure cooker on the other, which saves time. However, we should focus on two purposes, concentrate on them, and do not be distracted, otherwise the consequences will be very serious. This time, I reduced the amount of oil used in pancakes. I just lightly brushed a thin layer of oil on the pancakes. There was no need to pour oil in the pot. The pancakes were not greasy.Use the minimum fire throughout the whole process. Because the cake is thick, you must not worry. You must be patient. If you do more at one time, the time for the third cake to bake will be shorter. Because the pot is already hot, the pot should rotate more frequently to prevent the cake surface from blackening and uneven coloring. The turning time should be advanced. Of course, you can add some pepper leaves to the pancake to increase its flavor.
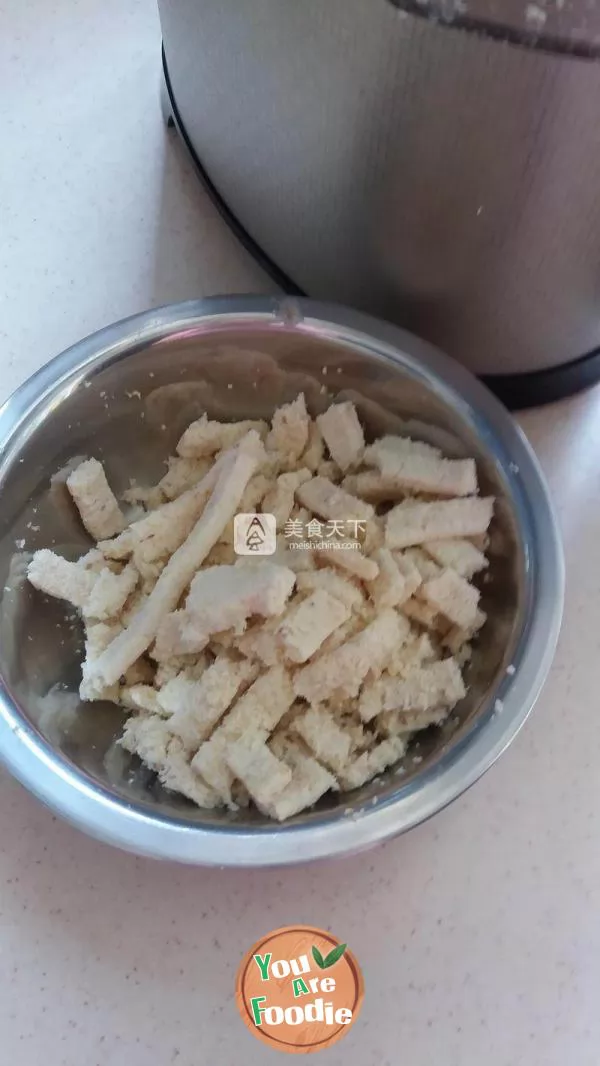
Step 1 . There are 185 grams of bean dregs left in making bean curd. The actual bean dregs are wetter than those in the picture. The picture was not taken, but the previous picture was used.
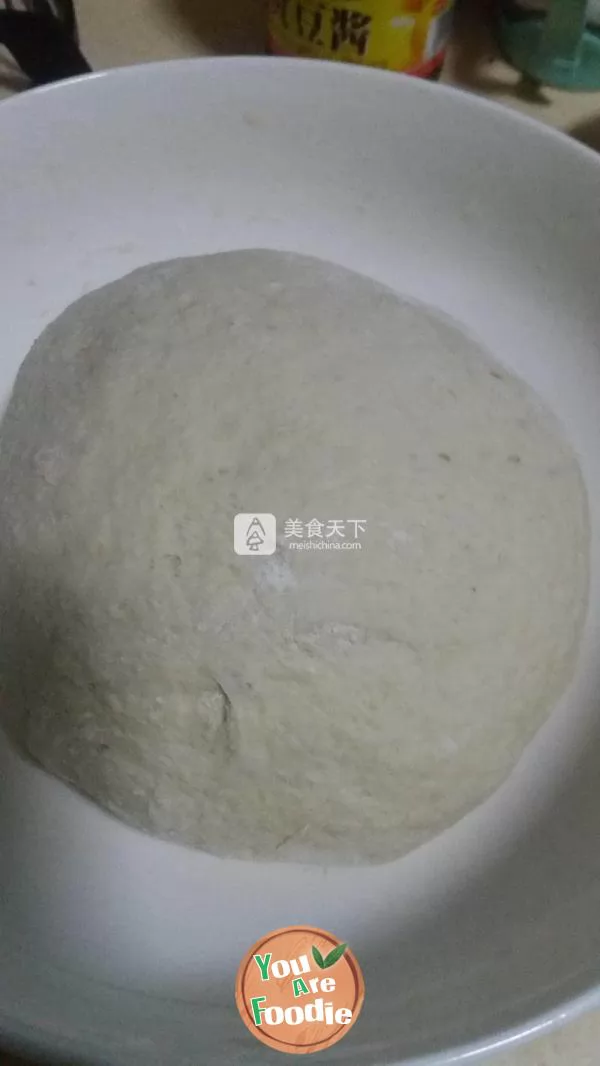
Step 2 . 185 grams of soybean dregs, add 500 grams of flour, 3 grams of yeast, 7 grams of salt, 320 grams of warm water and dough. Don't use up the water at once. There are about 20 to 30 grams of water left. After the dough is reconciled, dip your hand in water and roll the remaining water into the dough a little bit until the dough is full of water. Repeat the above actions until the water is used up, and the dough is very soft.
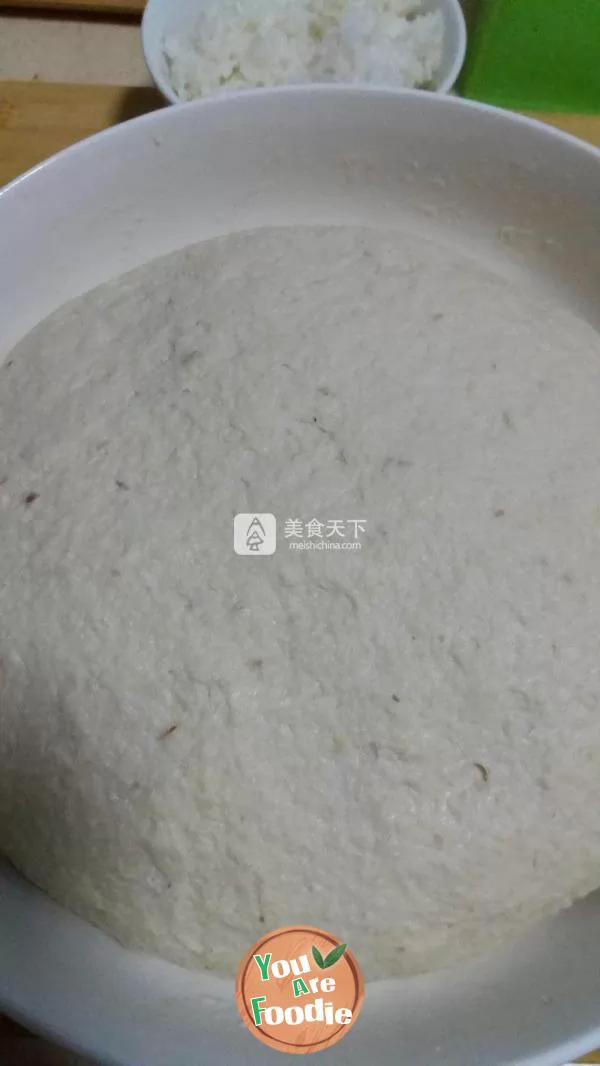
Step 3 . Adjust the water consumption according to the humidity of your flour. Cover the dough and put it in a warm place to ferment until it is twice or 2.5 times larger, and then start making cakes.
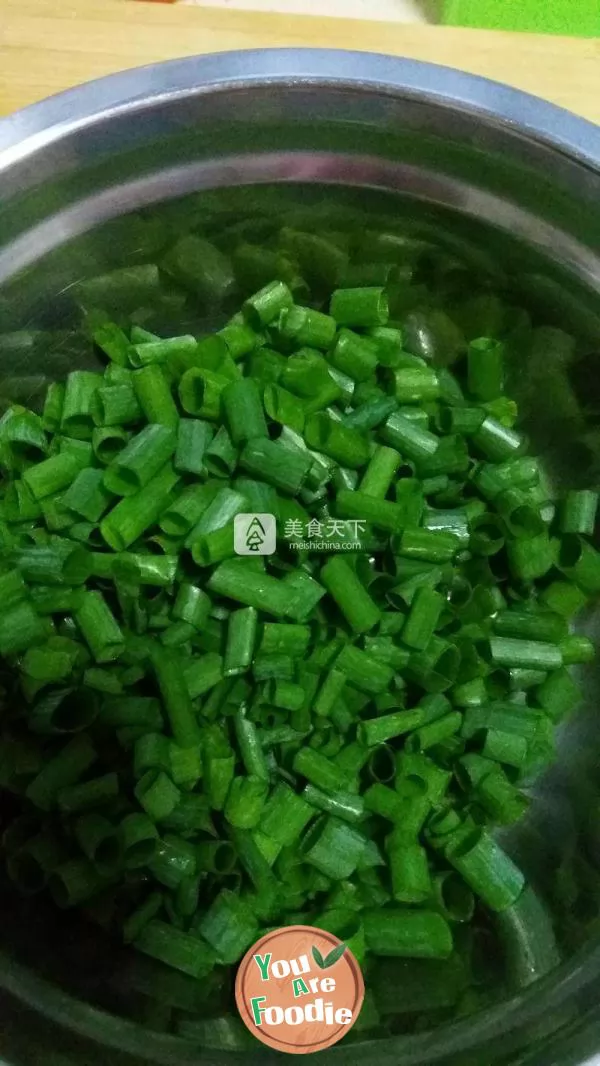
Step 4 . Put a small spoon of oil in the pot. After the oil is hot, add 40g of scallion leaves and stir fry until the scallion leaves become soft and come out of the pot. Add a gram of salt and mix well. Let it cool and stand by.
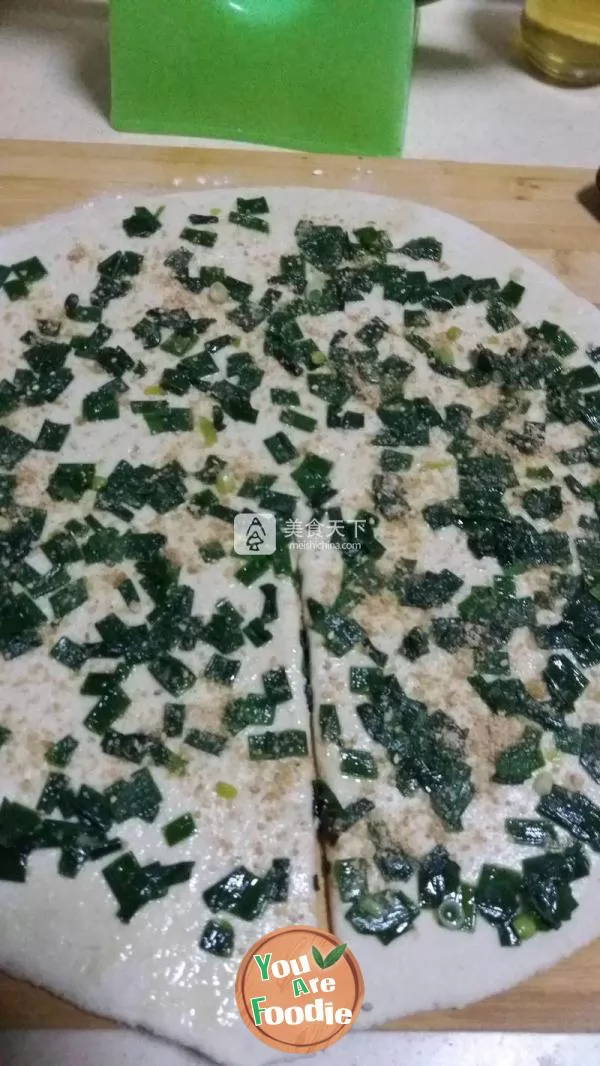
Step 5 . Divide the dough into two pieces evenly and roll them into thick round pieces, about 0.5cm thick. Spread the onion leaf oil evenly on the dough, and sprinkle a little sesame powder on it.
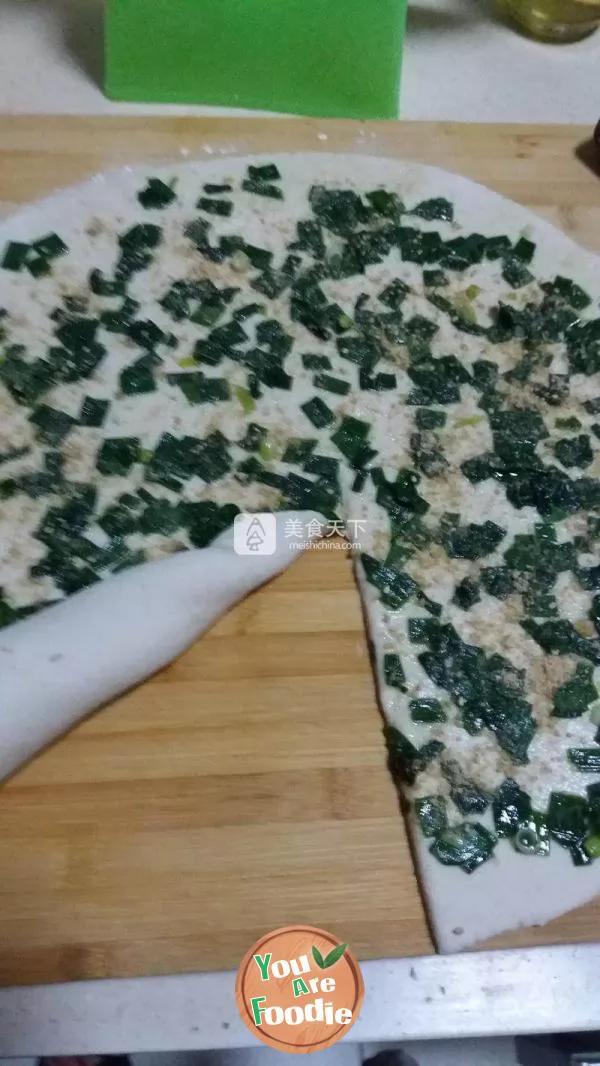
Step 6 . Cut a knife at the radius of the patch and roll it up into a cone.
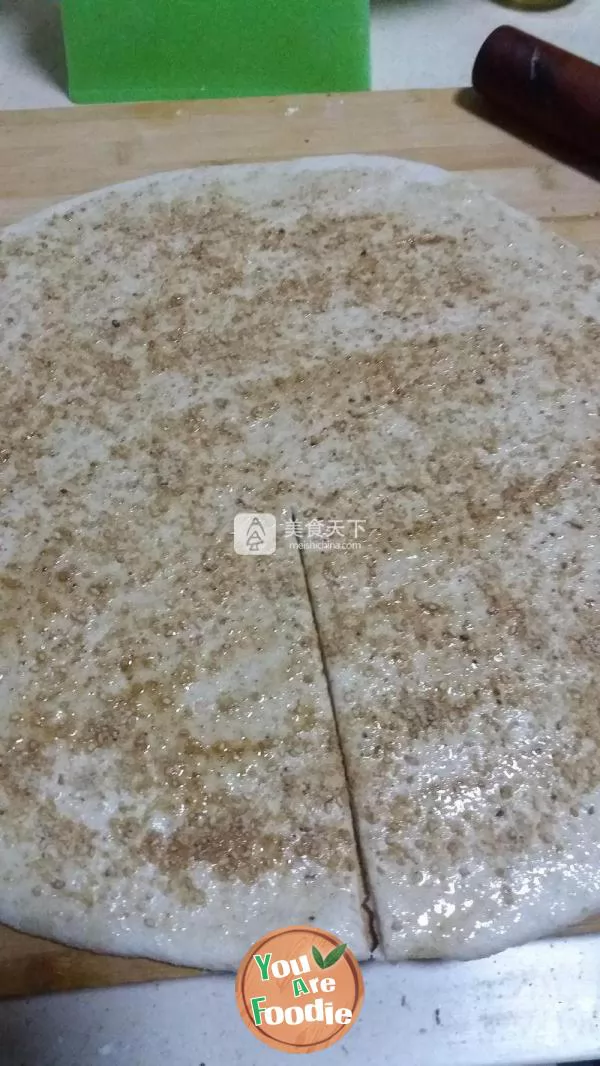
Step 7 . Take another piece of dough, roll it round, brush some oil with a brush, sprinkle 1g of pepper and salt on it, and the remaining sesame powder.
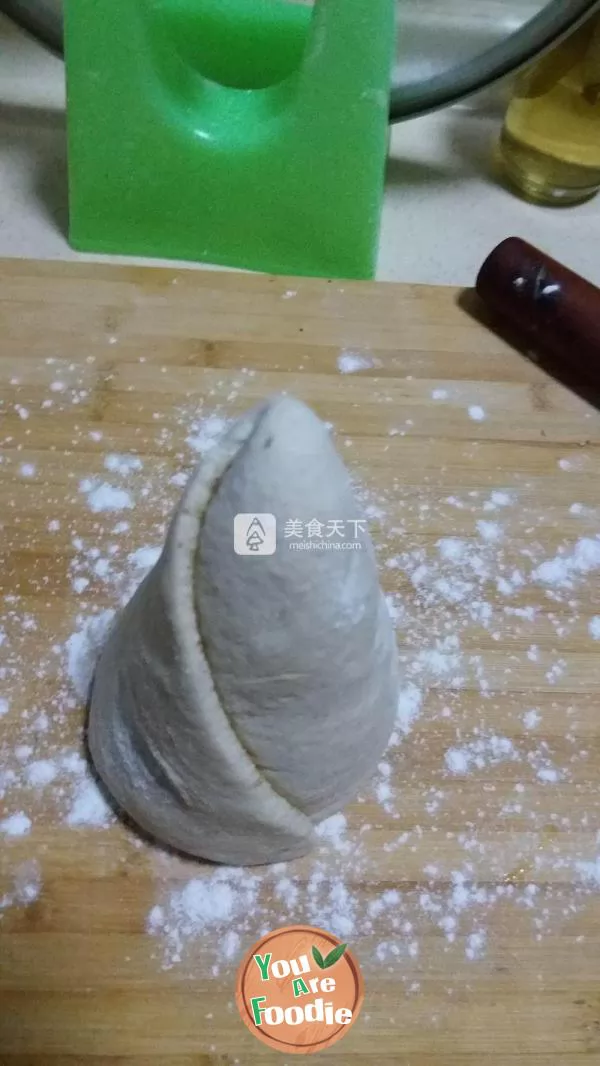
Step 8 . Rolled cone
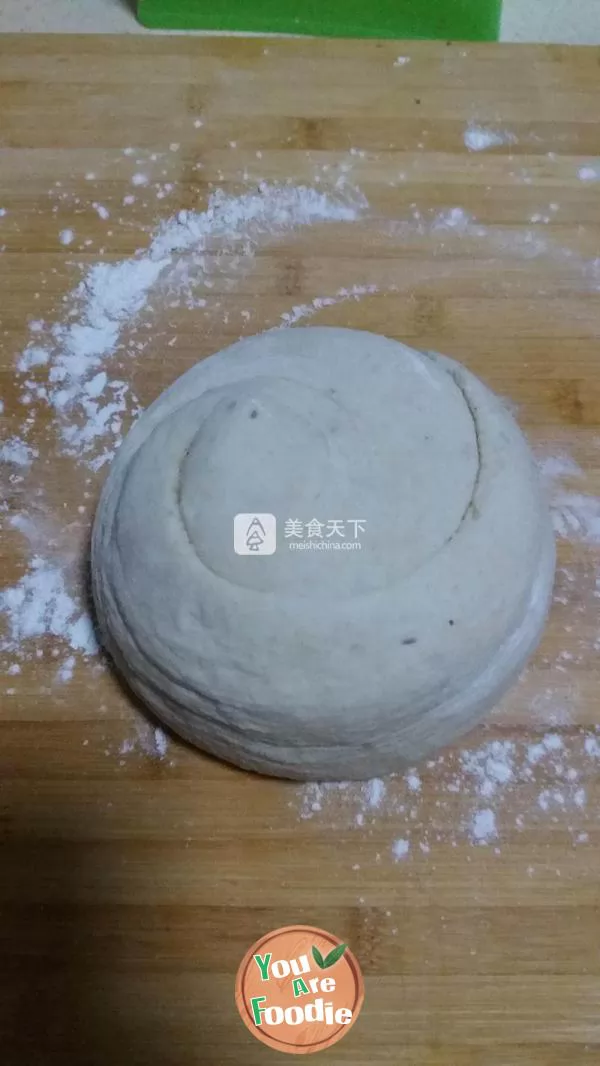
Step 9 . Flatten, roll both sides into thick cakes, about 1.2 cm, save hair for 20 minutes (according to the local temperature, the hair saving time can be appropriately extended when it is cold), and start baking.
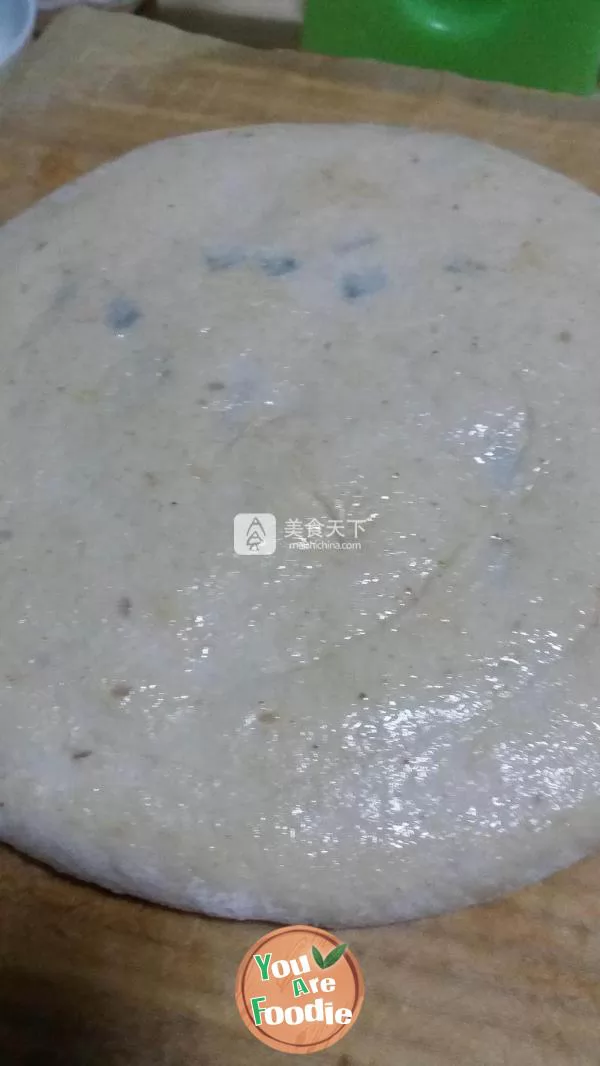
Step 10 . In order to reduce the intake of oil, I gently brushed a layer of oil on the cake with a brush. There is no oil in the pan.
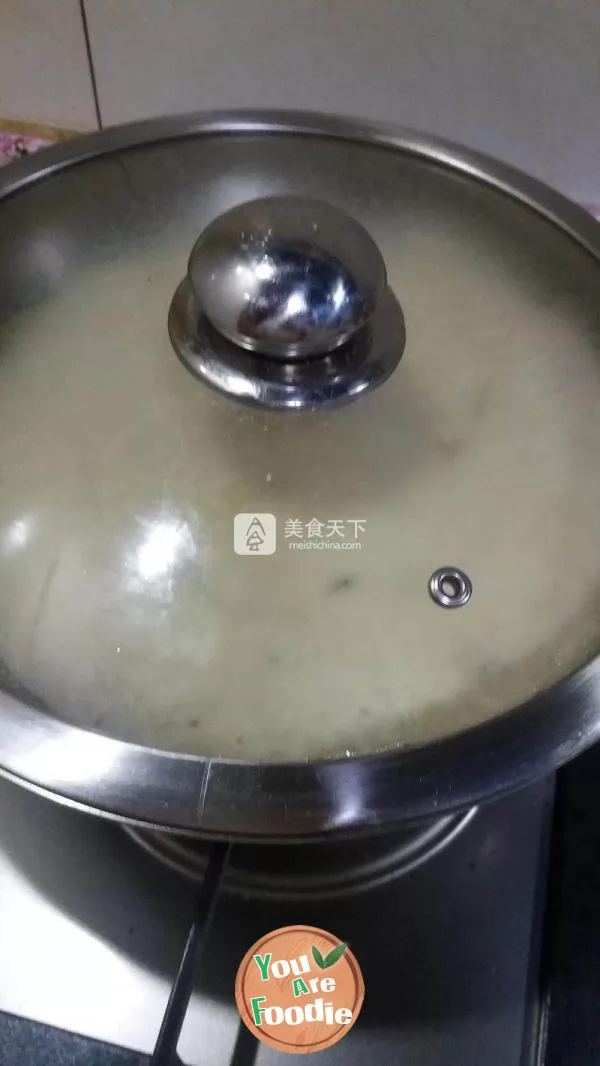
Step 11 . Put the cake directly into the cool pot, and turn the natural gas stove on the smallest fire. In order to heat evenly, the pan should start to rotate in the shape of "meter", once every 20 seconds, and the more it turns behind, the more frequently it has to rotate. Until the sound of drops of water falling on the lid of the pot. Lift the cover, apply a thin layer of oil on the cake surface, and turn it over along the edge with a shovel. The first side will burn for a long time. Relatives should be patient. About 8 or 9 minutes.
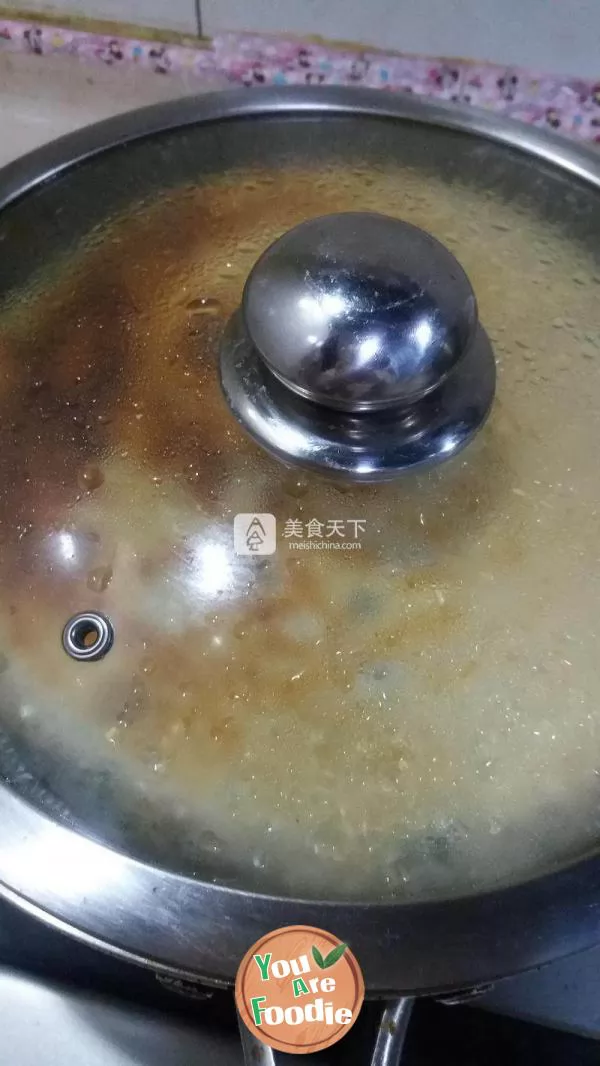
Step 12 . If one side of the cake is light colored like me after turning it over, you can burn the light colored side of the cake after the other side is baked. Because the first side is baked for a long time, the cake is basically mature when turning over. Because the pot is hot on the second side, the time is shorter than when baking the first side. It takes about 4 or 5 minutes. After the second side is painted, it can be cooked.
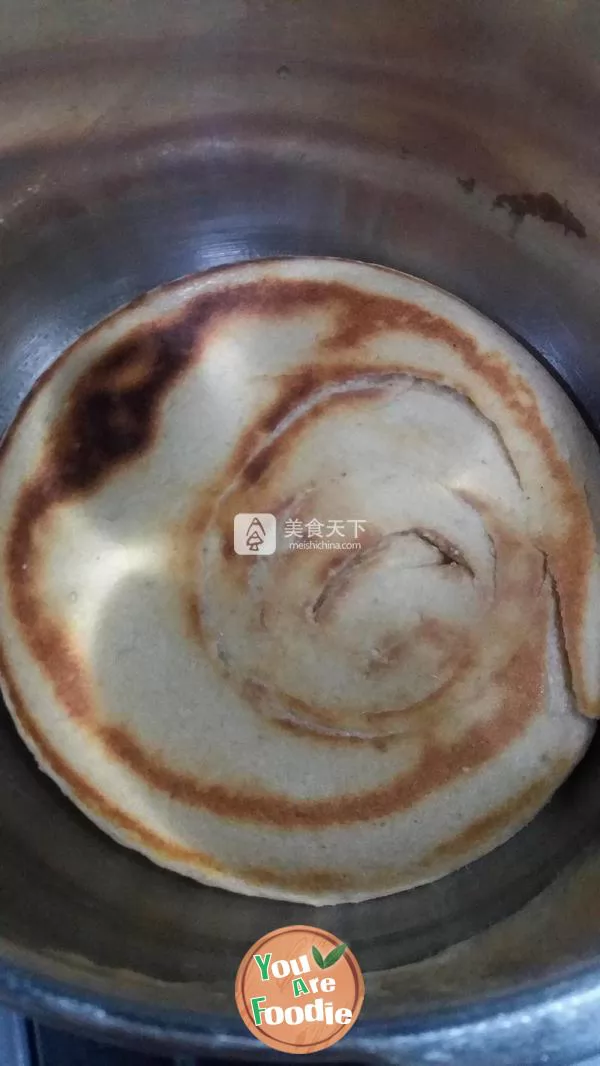
Step 13 . I baked the other cake in a high-pressure cooker with a pressure valve. Because the bottom of the double bottomed pressure cooker is thicker, the coloring is more uniform, and there is no need to turn the cooker. The time is shorter than that of the pan. Because the edge of the pot is high, it is not easy to turn the cake. Parents can tilt the pot a little, so it's easy to turn over. I burned the first side for 6 minutes. The second side has about 3 minutes.
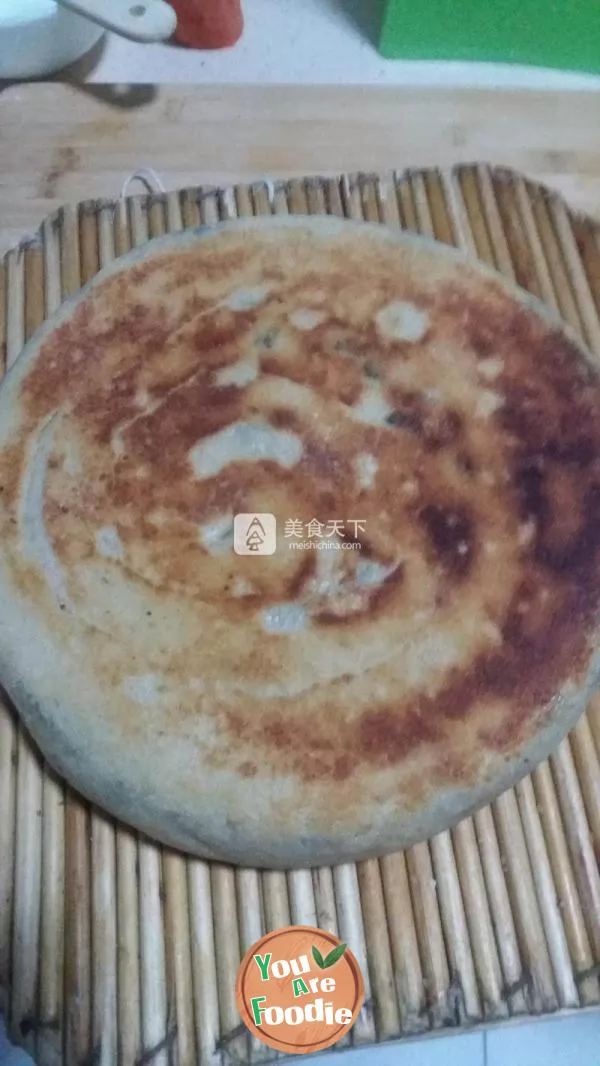
Step 14 . This is a scallion cake baked in a pan.

Step 15 . Block diagram

Step 16 . This is the pressure cooker pancake cutting diagram.
* Information is provided from the Internet, If there is a copyright infringement, Please contact administratoryouarefoodie.com, We will deal with as soon as possible, Thank you!
![[summer cold dishes] sweet garlic](/update/images/foods/86/5486/95486/1653359497_155838.jpg_s.jpg.webp)

