![[three steps, 10 minutes to finish a plate of delicious] Sichuan Mapo Tofu](/update/images/foods/43/6043/16043/1653368117_175833.jpg_s.jpg.webp)

Self made Liangpi
Mother wanted to eat Liangpi for a long time. Early in the morning, our mother and I started working together and started moving.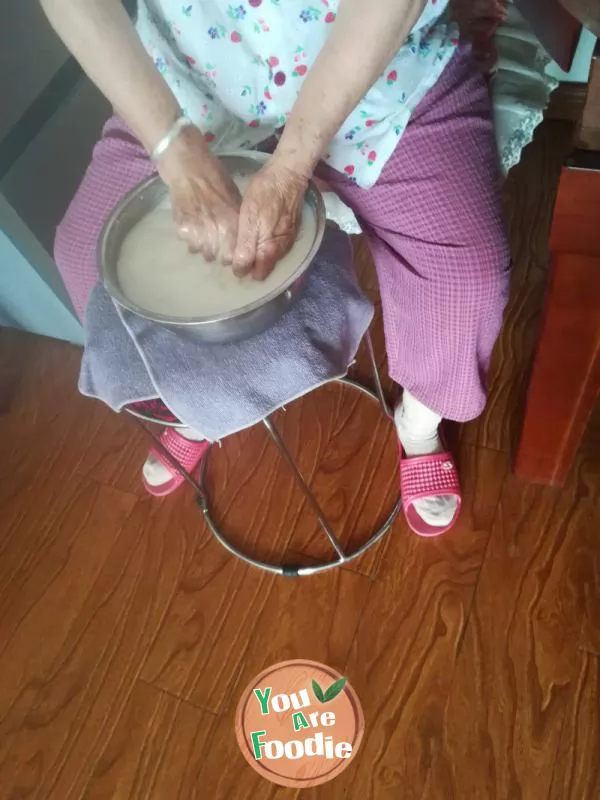
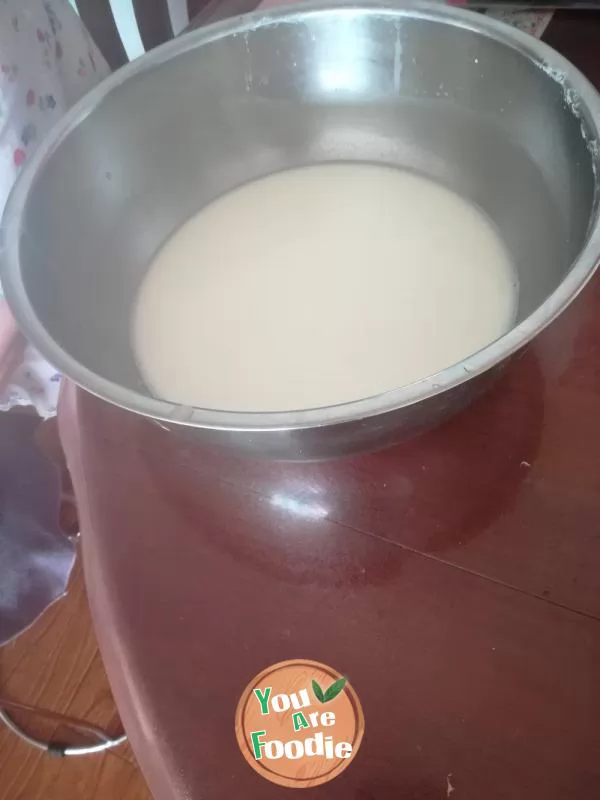
Step 1 . Add water to the flour in the bowl and make a dough for later use.
Step 2 . Add an appropriate amount of water to the dough for the first time.
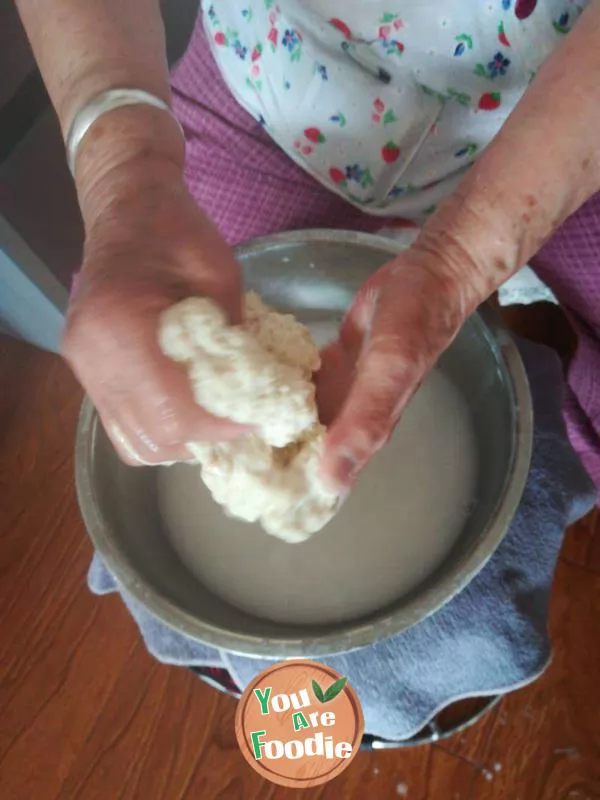
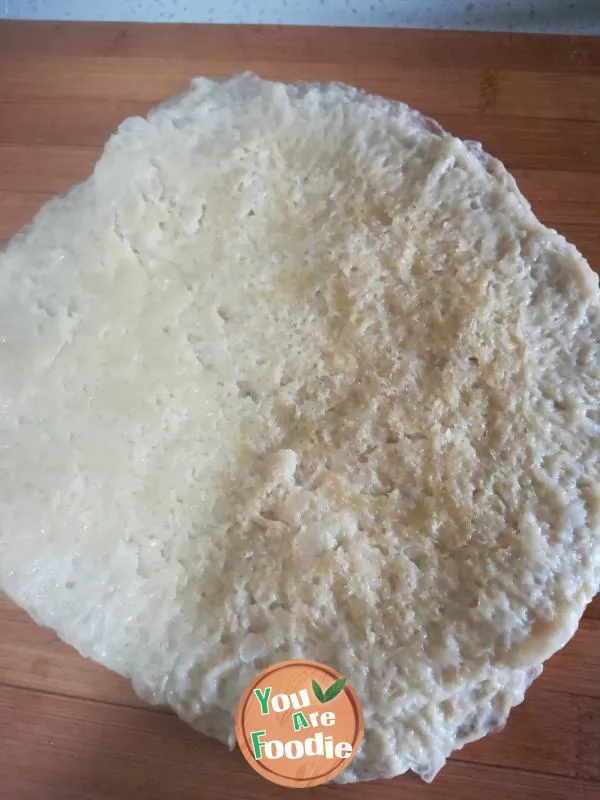
Step 3 . Squeeze out the essence of noodles, add water and pour it into another box for use.
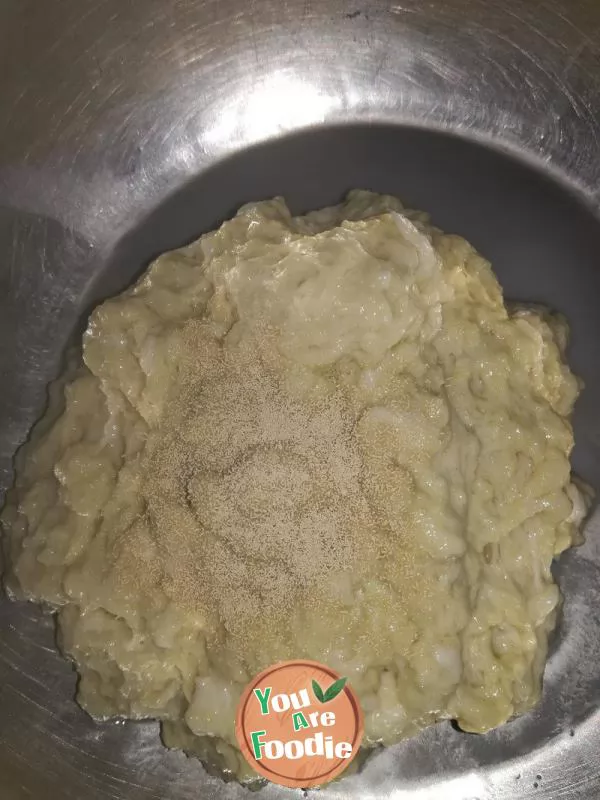
Step 4 . Add baking powder to the noodle soup.
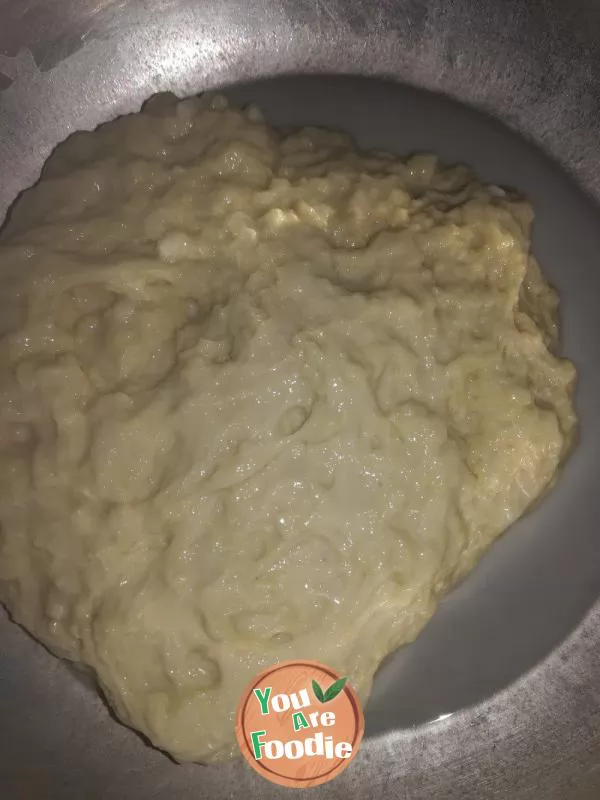
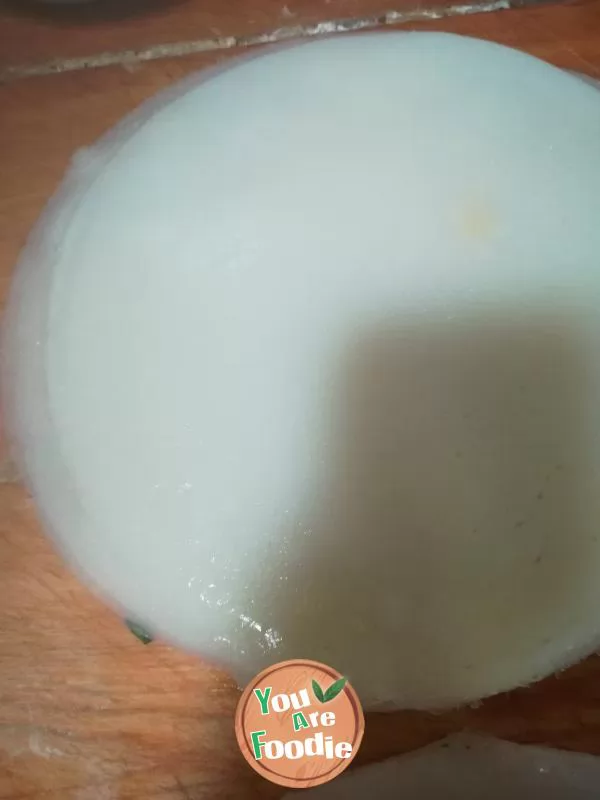
Step 5 . Smooth and wait for fermentation.
Step 6 . Steam the fermented noodles in the pot for 20 minutes and then turn off the heat to cool down.

Step 7 . Add an appropriate amount of water to the pot and bring to a boil.

Step 8 . Apply a layer of oil on the steamed Liangpi mold to prevent it from sticking.
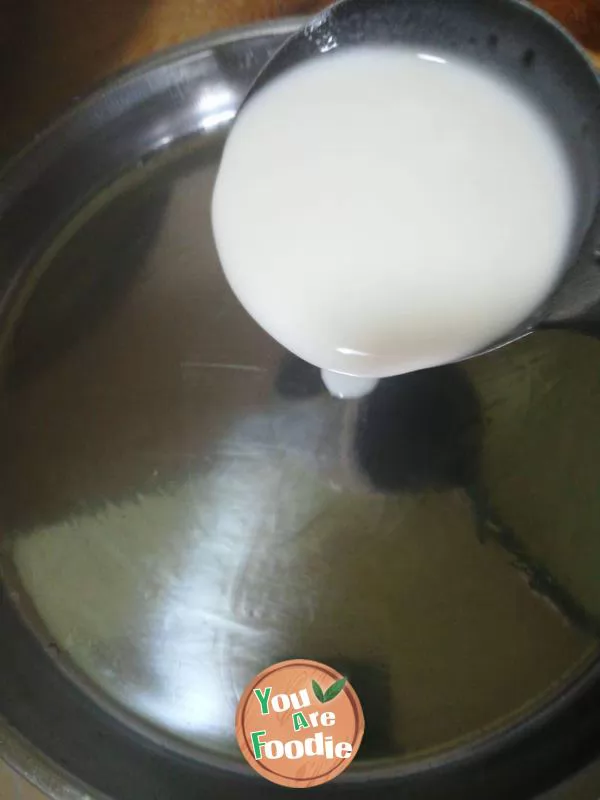
Step 9 . Pour in a spoonful of batter and shake well.
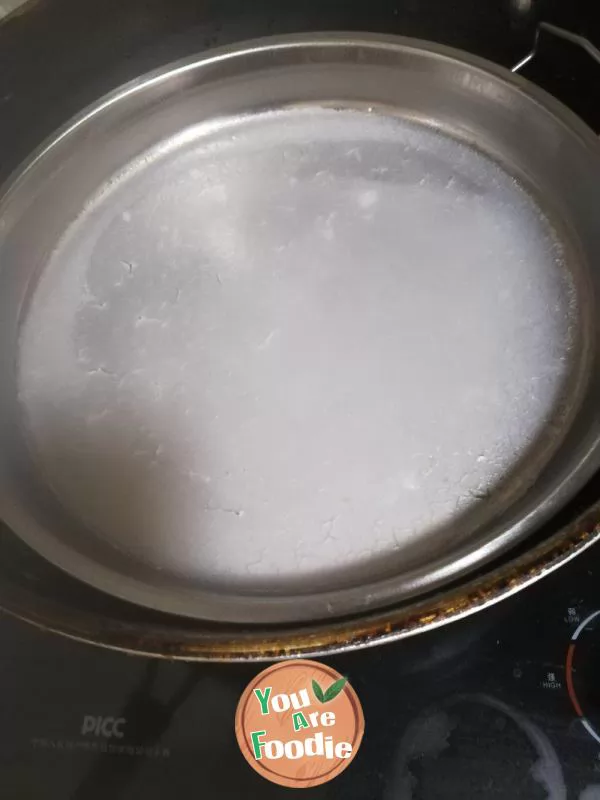
Step 10 . Put it in the pot, cover it with a lid, steam for 2 minutes, and so on.
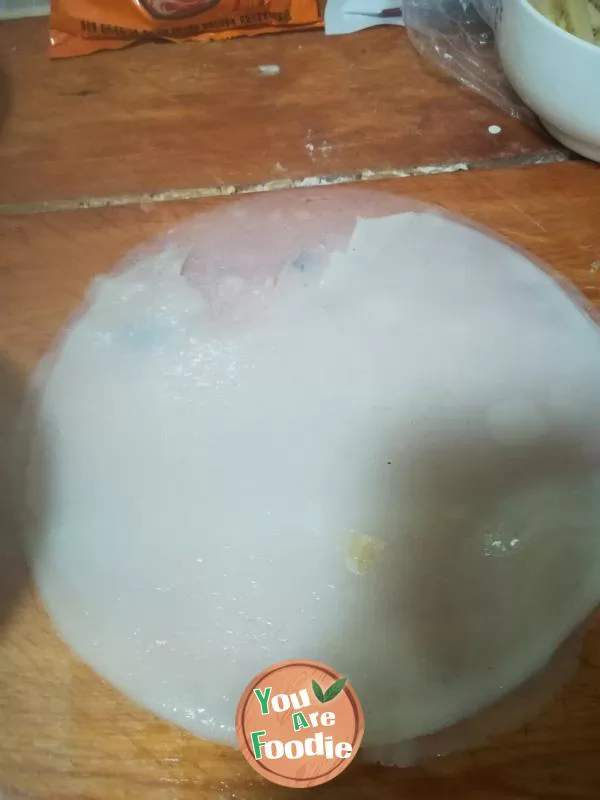
Step 11 . Wipe oil on the cutting board to prevent sticking.
Step 12 . Until the last one.
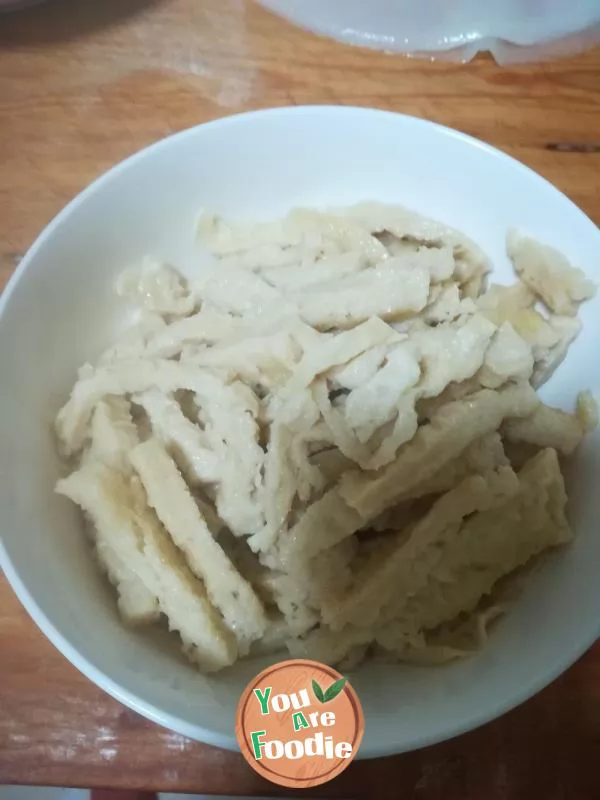
Step 13 . Cut the cooled noodles into long strips for later use.

Step 14 . Cut the cucumber shreds and add your favorite seasoning to eat.

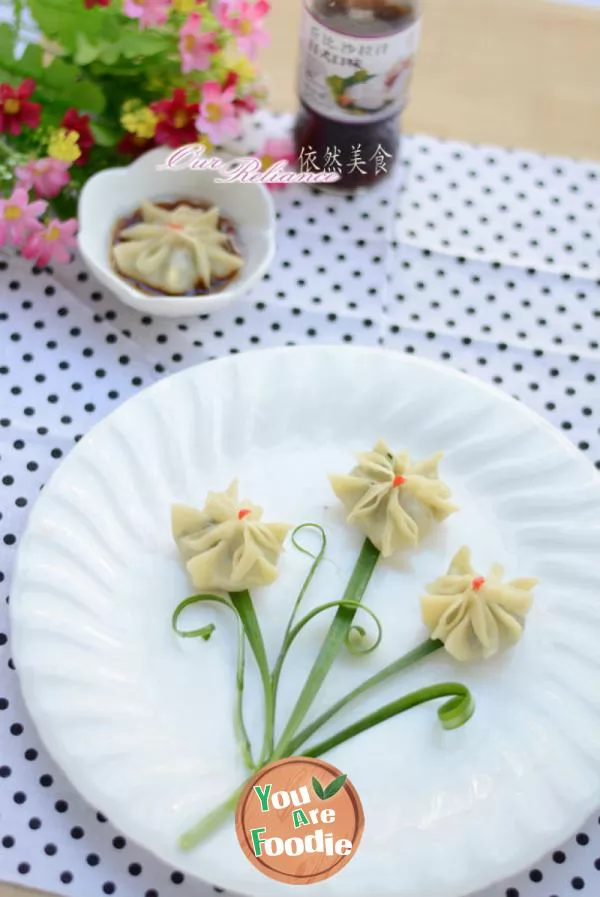
Step 15 . Finished product image.
* Information is provided from the Internet, If there is a copyright infringement, Please contact administratoryouarefoodie.com, We will deal with as soon as possible, Thank you!