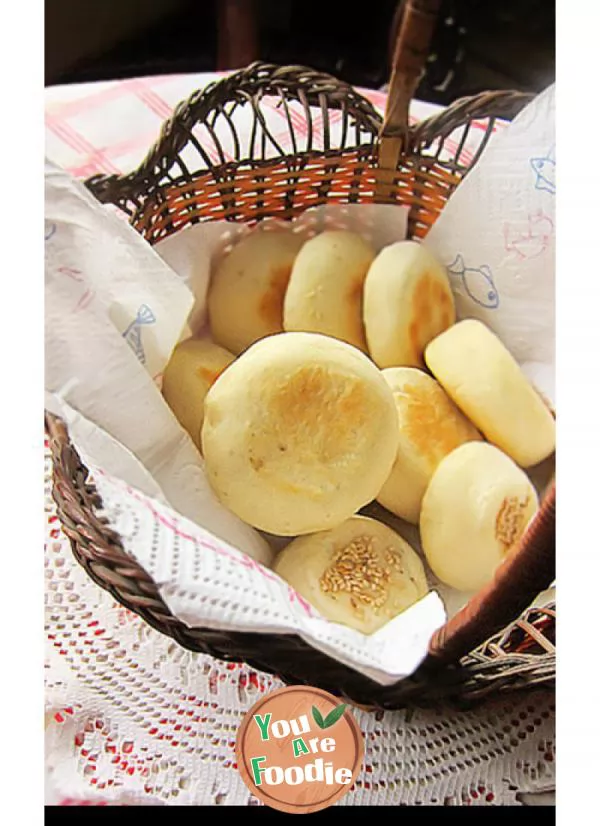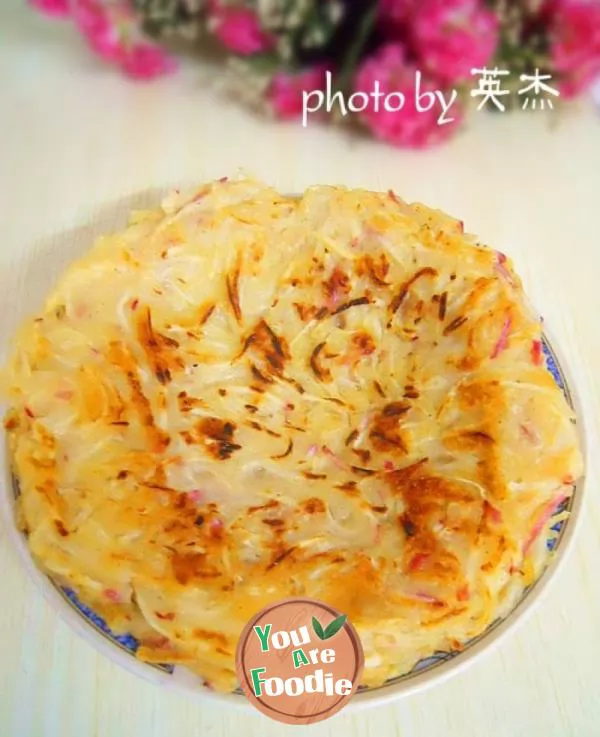
Electric baking pan version biscuit
Children's shoes without oven can also eat crisp and sweet biscuits. The electric biscuit bell version of biscuits is on the stage!1. If low powder is used, there is no need to add clarifying powder. The formula is adjusted to 100g low powder and 100g starch, and the others remain unchanged.2. If you haven't done it with an electric cake pan, please take a small amount of dough and try it out to see the heat, and then do it in large quantities.
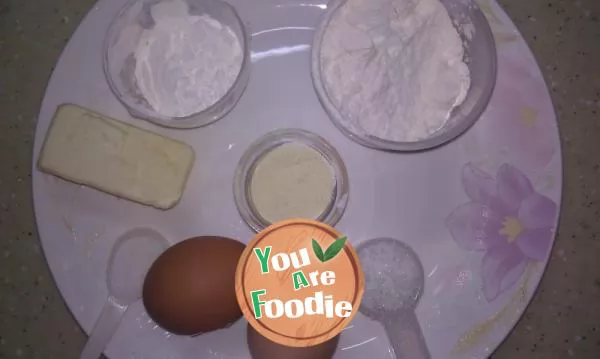
Step 1 . Ingredients: 80g flour, 20g clarified powder, 100g starch, 100g butter, 60g sugar, 1g salt, 2 cooked egg yolks.

Step 2 . Soften butter at room temperature, add sugar and salt and beat.

Step 3 . Sift the flour, cornstarch and starch into the butter.

Step 4 . Put on disposable gloves and mix the powder and butter evenly from top to bottom, left to right, to form snowflakes, so as to avoid looping and rubbing.

Step 5 . Put the egg yolk on the sieve and gently press it with a spoon

Step 6 . Use a spoon to sift the yolk into the flour and butter.

Step 7 . Stir into smooth dough.
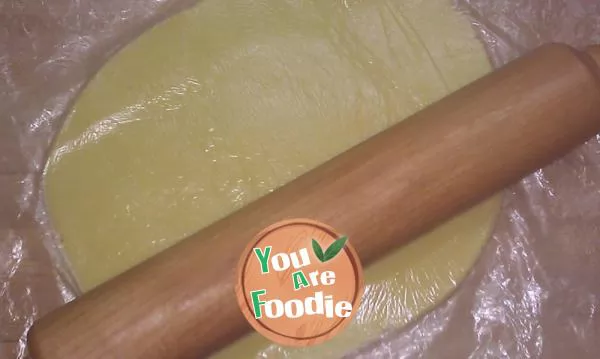
Step 8 . Place the dough in a fresh bag, press it into a pancake shape and refrigerate for 20 minutes.
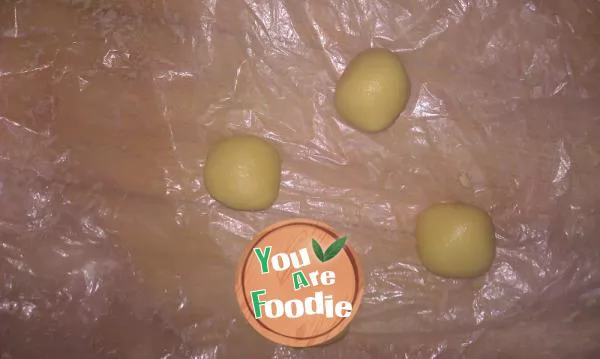
Step 9 . Take a small amount of the refrigerated dough and knead it into a small dough with the size of quail eggs. Try it for a short time.
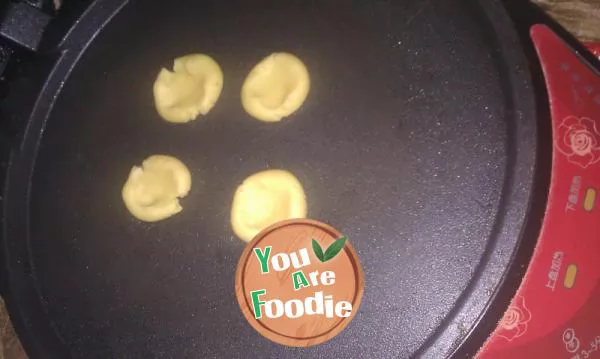
Step 10 . Preheat the electric cake pan up and down for 5 minutes, put in a small ball and press a nest in the middle.
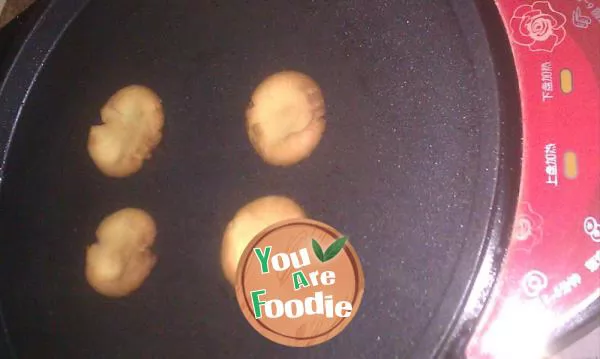
Step 11 . Turn off the power switch, cover the pancake pan, and open the cover in 10 minutes.

Step 12 . The biscuits made after cooking are really crisp and dross. The power of each household's electrical appliances is different. Try a small amount first to master the heat. (The heat in my pot is a little bigger, and adjust it in the next pot)
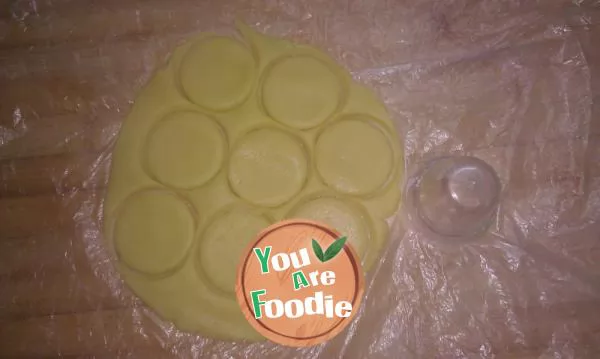
Step 13 . The rest of the dough is rolled into thin pieces every other bag, and the mold is pressed into a round shape.

Step 14 . Use chopsticks and the handle of the milk powder spoon to press out the eyes and mouth of a smiling face into a smiling face shaped biscuit embryo.

Step 15 . Put the biscuit germ into the preheated electric biscuit pan.

Step 16 . Adjust the time according to the heat of the last pot experiment. Preheat for 5 minutes, turn off the heat, and put the cake into the pan for 8 minutes.

Step 17 . The finished product is crisp and dross.
* Information is provided from the Internet, If there is a copyright infringement, Please contact administratoryouarefoodie.com, We will deal with as soon as possible, Thank you!
