
Raisin Scone
1. Personally, I think Sikang needs to be thicker before it tastes good. I've made it a little thinner this time.2. The oven time and temperature should be determined according to the temper of the oven.3. With reference to the opinions of other friends in the gourmet world, I rubbed the dough more and baked it very soft.
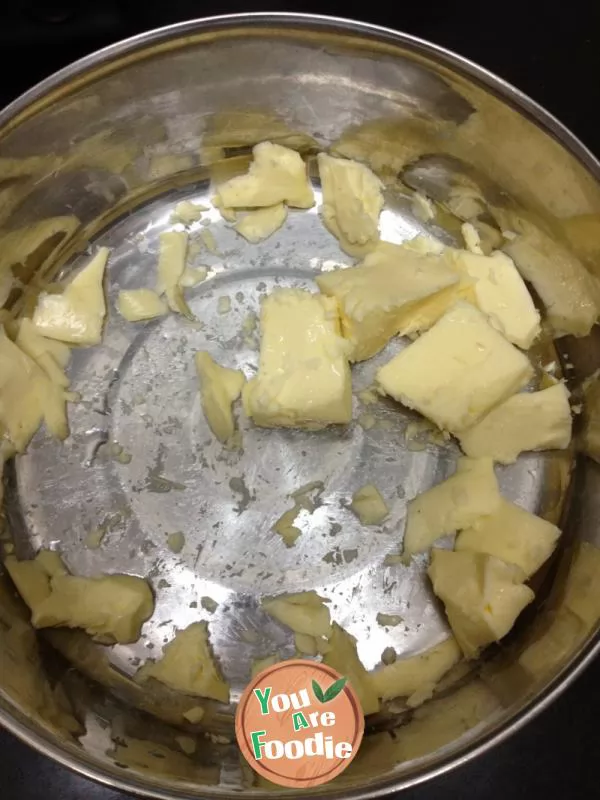
Step 1 . Chop butter and soften at room temperature
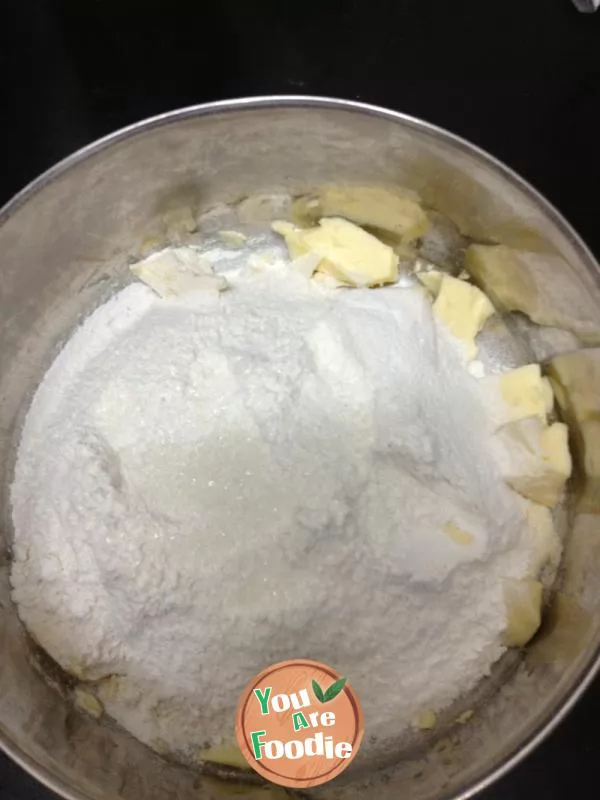
Step 2 . Sift in self generated flour, add white sugar and salt
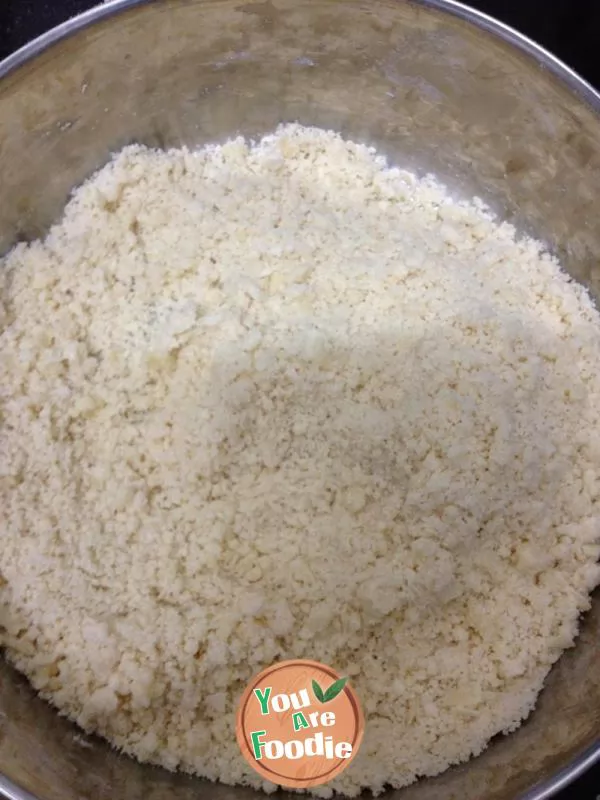
Step 3 . Pinch the powder and butter from step 2 into a loose powder shape by hand
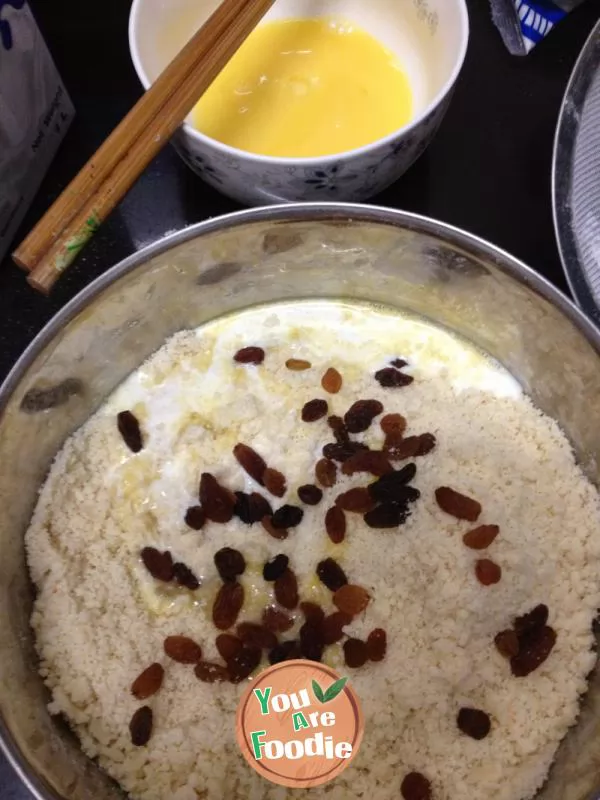
Step 4 . Pour in milk, egg mixture, and raisins (pour half of the egg mixture and leave a small half to brush the surface of the cookies)
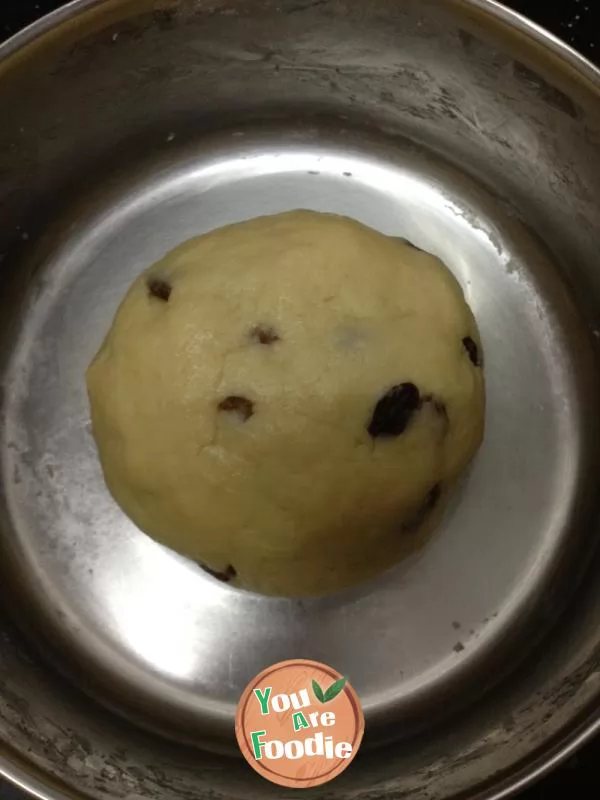
Step 5 . Stir well and knead into a smooth dough
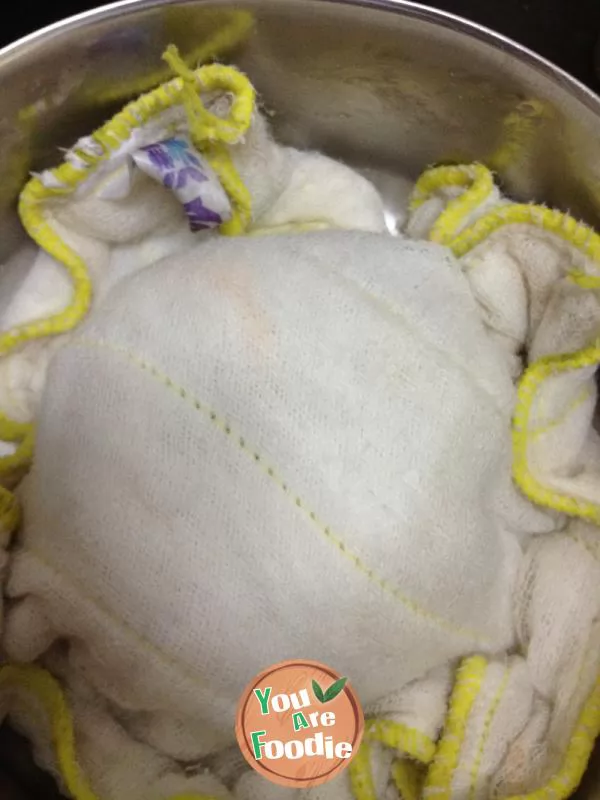
Step 6 . Cover with a damp cloth and let it rise for 20 minutes (it's hot now, so the hair growth time can be shorter, but longer in winter)
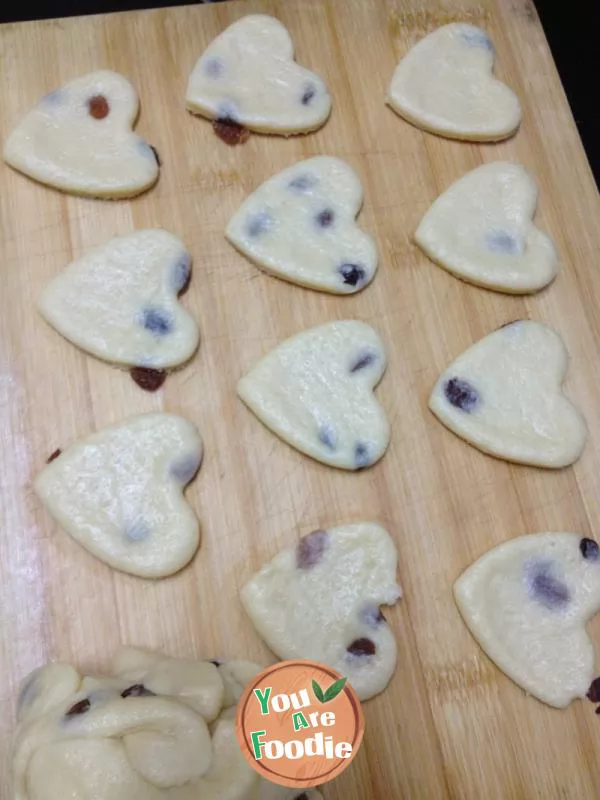
Step 7 . After kneading the dough that has risen, roll it into thick slices of 0.5 centimeters and mold them with cookies
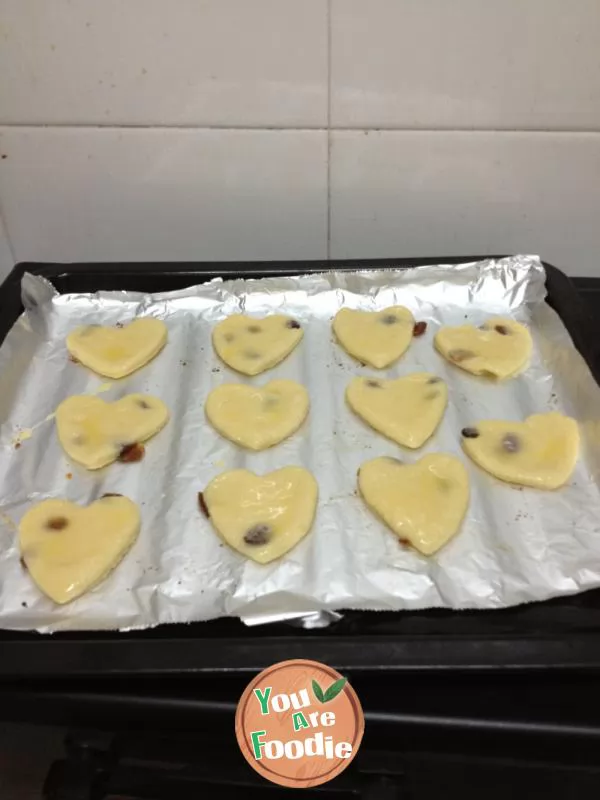
Step 8 . Place the baking tray with aluminum foil and brush the surface with egg mixture

Step 9 . Preheat the oven to 120 degrees Celsius, over high and low heat, in the middle layer, for 10 minutes. Bake until the surface is golden brown and the cake has doubled in size
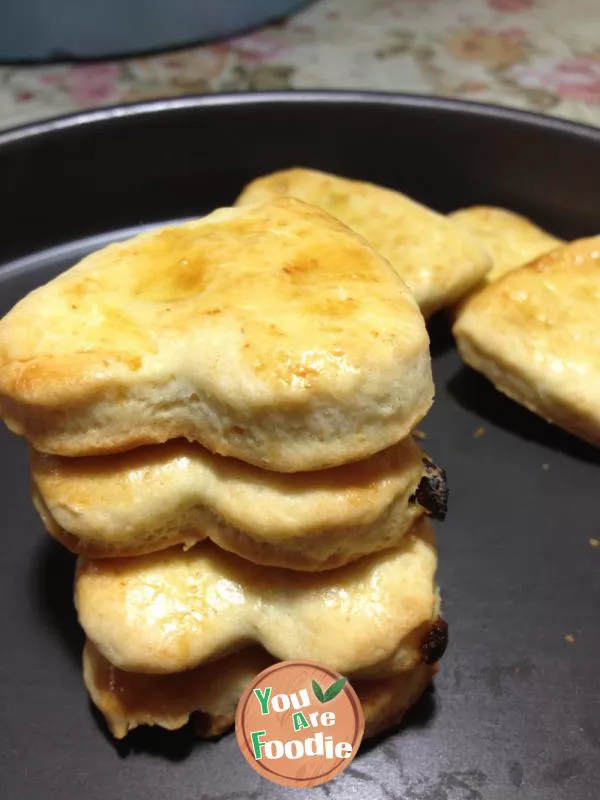
Step 10 . Another finished product image
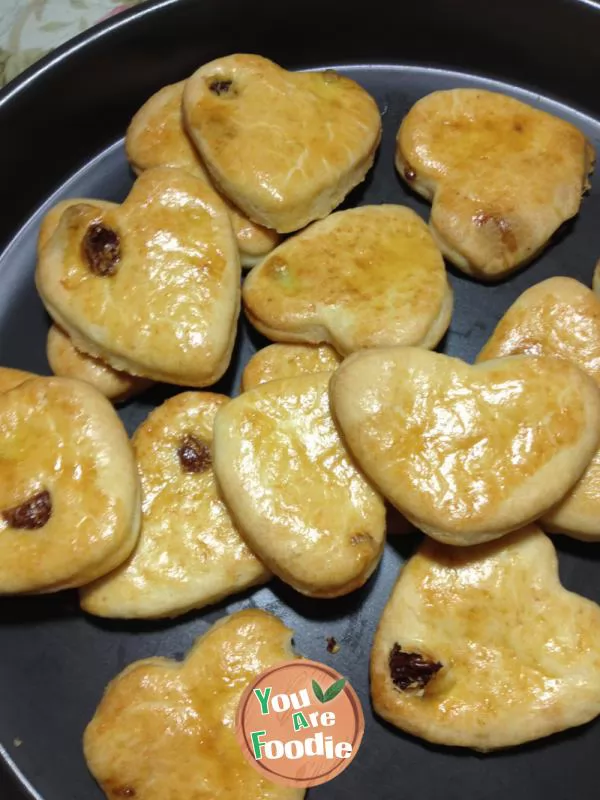
Step 11 . There are also finished product drawings
* Information is provided from the Internet, If there is a copyright infringement, Please contact administratoryouarefoodie.com, We will deal with as soon as possible, Thank you!