Pumpkin pie

Step 1 . Slice the pumpkin and steam it in the pot
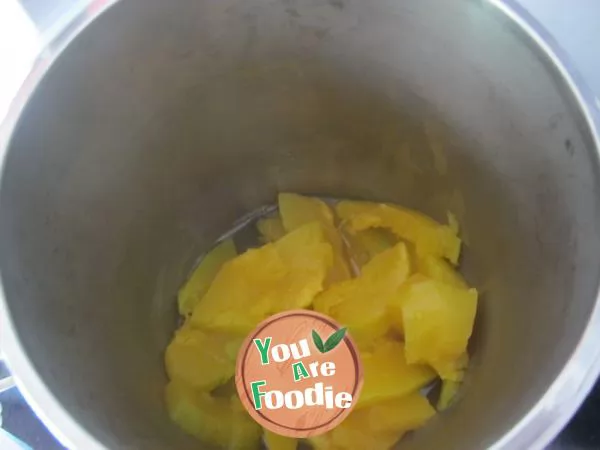
Step 2 . Put the steamed pumpkin into the soybean milk machine, press the juice button, and grind it
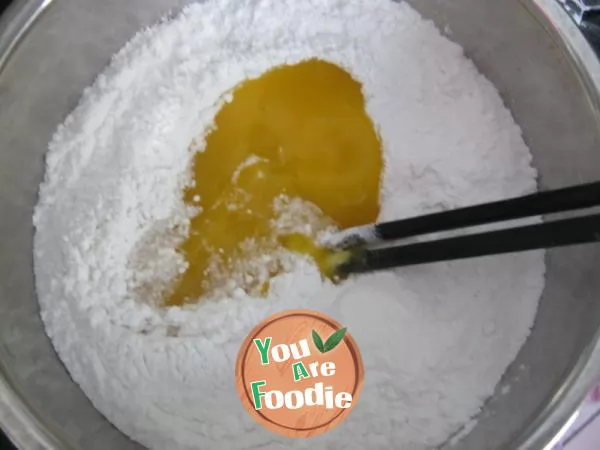
Step 3 . Pour the beaten pumpkin paste into the mixed glutinous rice flour and rice noodles. Adding more clarified noodles makes pumpkin cakes more chewy. Those who like soft and glutinous cakes can put less clarified noodles and more glutinous Rice noodles
Step 4 . Quickly mix with chopsticks to form a sticky flocculent texture (because my family doesn't like sweet things, the bean paste filling is naturally sweet, so no sugar is added here. For those who like desserts, you can add an appropriate amount of sugar here)
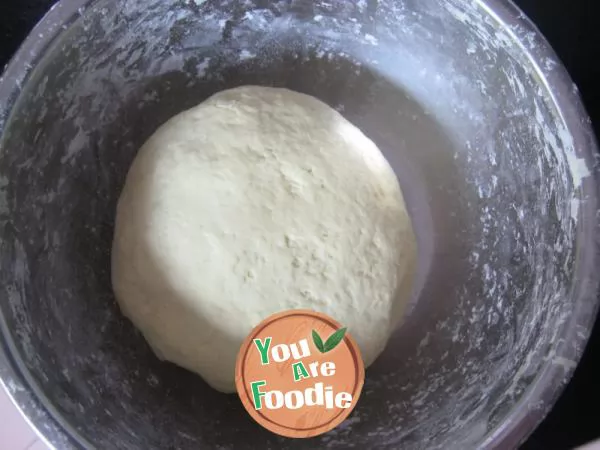
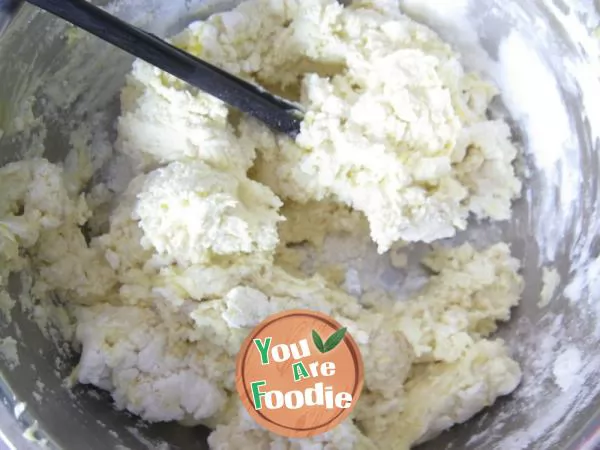
Step 5 . Knead the dough into a smooth dough
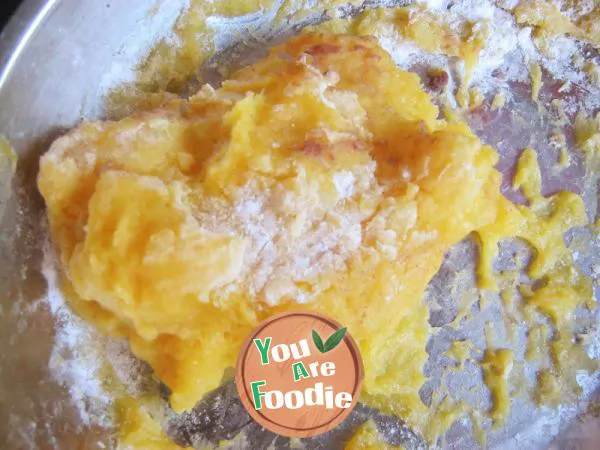
Step 6 . Steam the dough in a pot. While the dough is still warm, put oil on your hands and take out a small piece of dough (in the picture, I accidentally spilled some glutinous rice flour, but there is no need to add glutinous Rice noodles here)
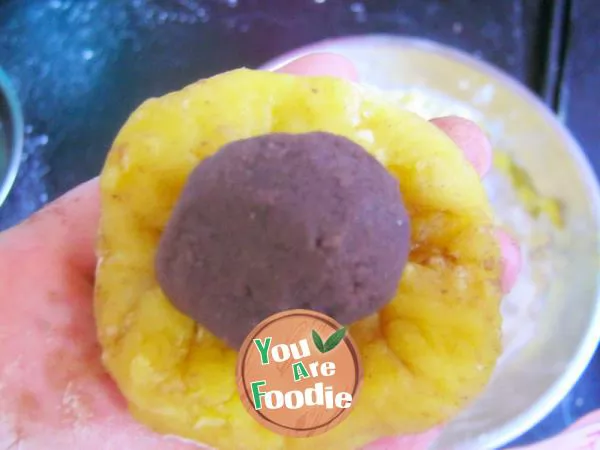
Step 7 . Add homemade bean paste filling that has been rolled into a ball shape to the dough (the recipe for bean paste filling can be found in the bean paste filling recipe I previously posted), and wrap it in
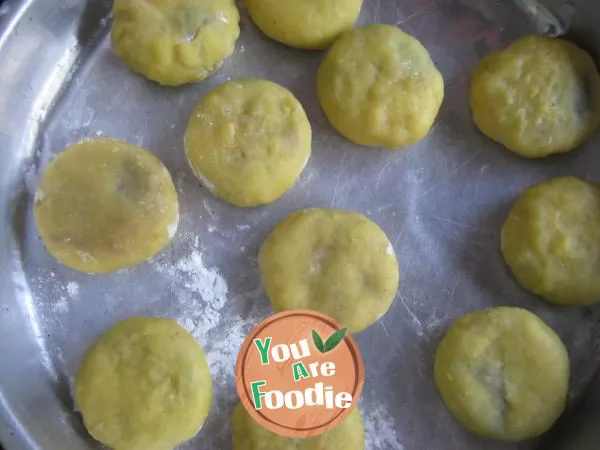
Step 8 . Gently press the dough of the bean paste filling that was just wrapped in it flat, and it will form a pancake shape
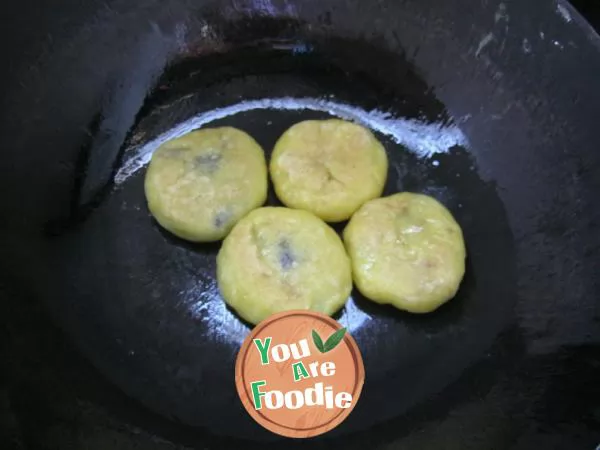
Step 9 . Add an appropriate amount of oil to a flat bottomed pan, add pumpkin cakes, and fry carefully over low heat (not too much oil, as everything inside is cooked. Pumpkin cakes can easily get burnt, so fry slowly over low heat)
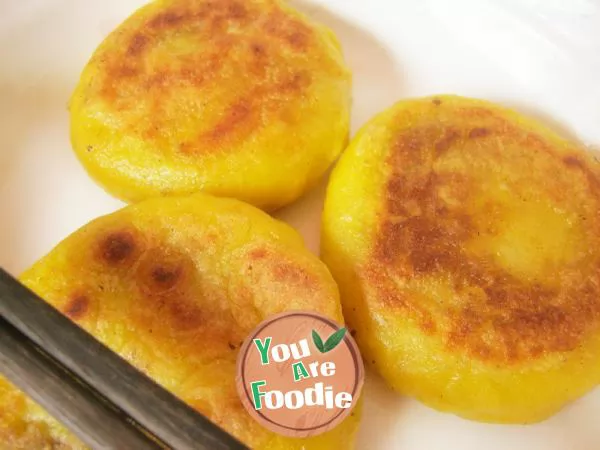
Step 10 . Fry until both sides are golden brown, then you can put it on the plate and eat it
* Information is provided from the Internet, If there is a copyright infringement, Please contact administratoryouarefoodie.com, We will deal with as soon as possible, Thank you!
![[Summer fresh cold drink] green tea ice cream](/update/images/foods/44/2444/32444/1653371855_716690.jpg_s.jpg.webp)