

Cocoa snow bag
This cocoa bread is covered with crispy granules on the surface. Does it look like the ground is covered with the first snow? So it's called snow bag. Someone asked if there was anyIn order to make the crispy grains have a crispy taste, half of the sugar is fine and half is coarse
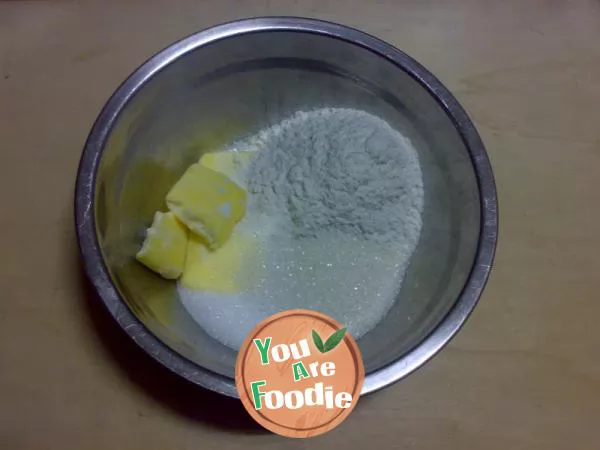
Step 1 . Mix the pastry materials together
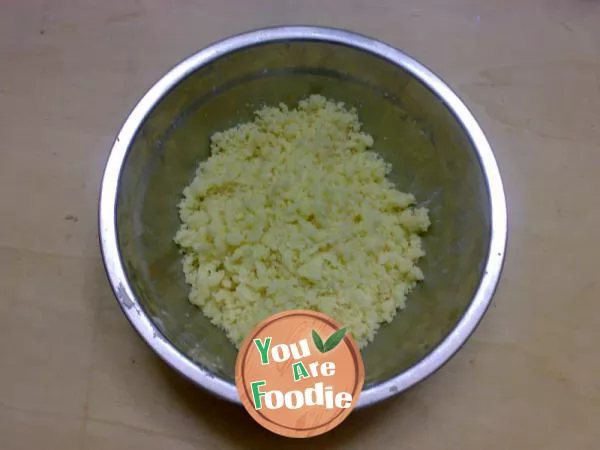
Step 2 . Mix them into fine pieces by hand and put them in the refrigerator for refrigeration
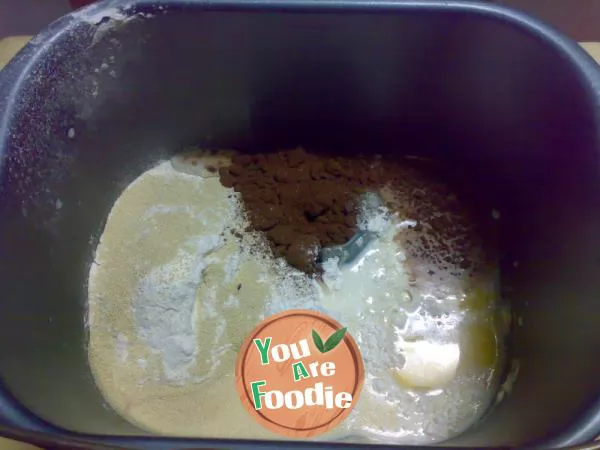
Step 3 . Put all the main materials into the bread machine except butter
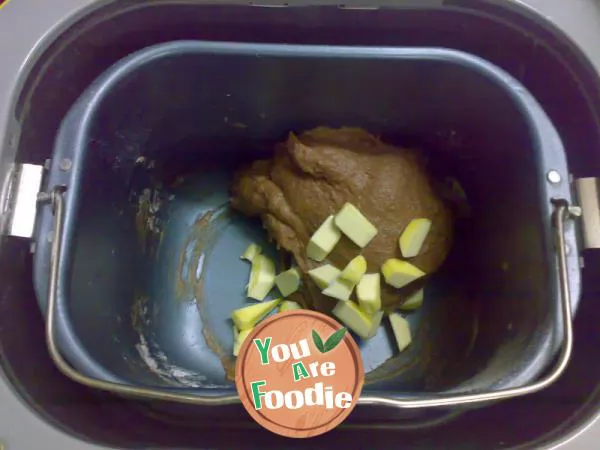
Step 4 . Mix the dough thoroughly and add butter
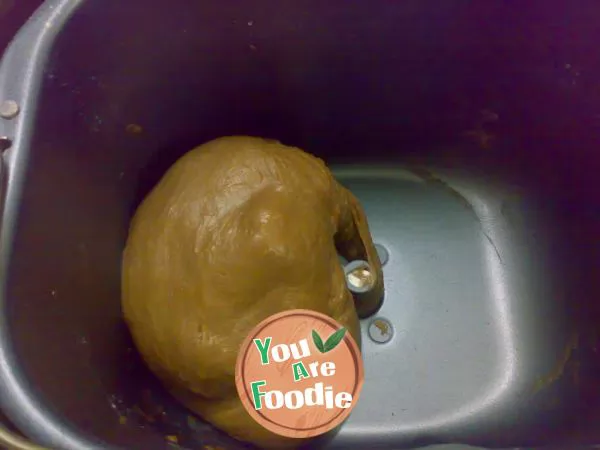
Step 5 . Mix all materials until the film can be pulled out
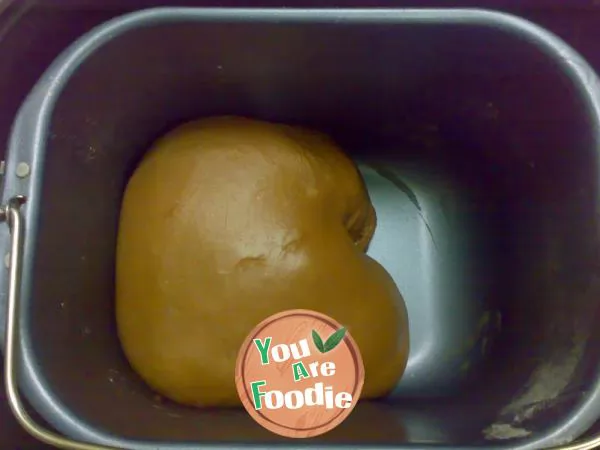
Step 6 . Fermentation is 2.5 times larger (due to limited time, I only took it out after about 1 time)
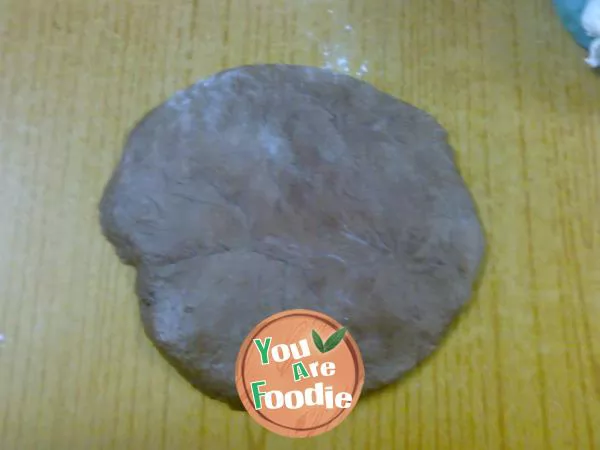
Step 7 . Take out the dough and exhaust
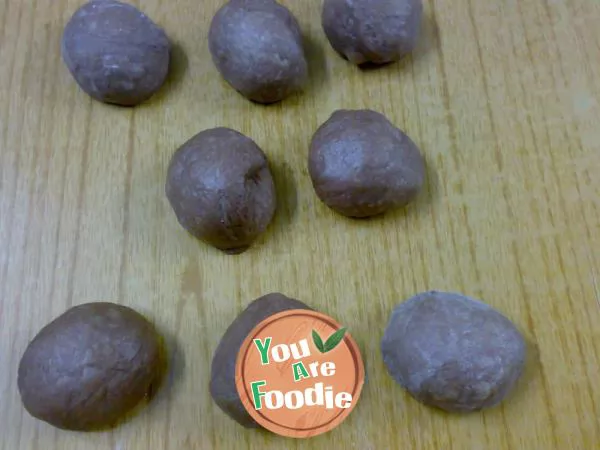
Step 8 . Divide the dough into 8 equal parts and let it relax for 10 minutes

Step 9 . Flatten the small dough by exhausting air
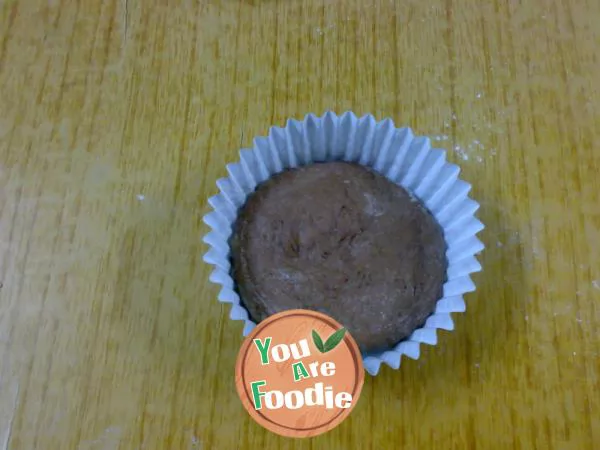
Step 10 . Insert paper holder
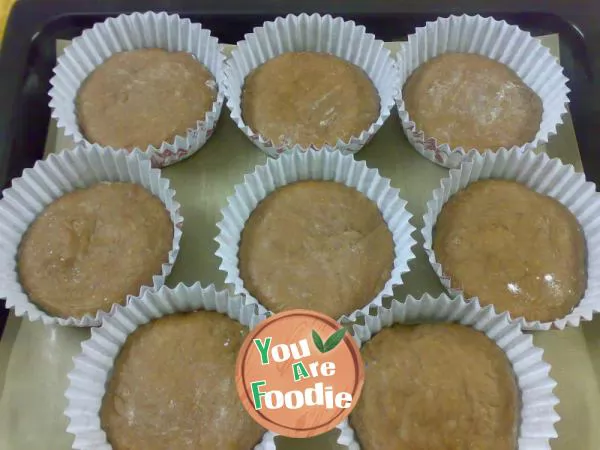
Step 11 . Fermentation to twice the size
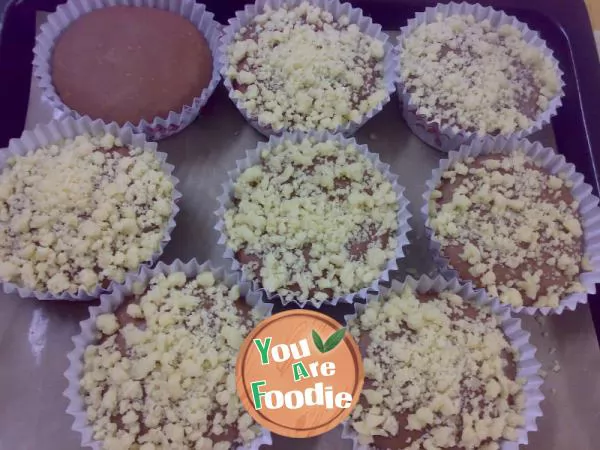
Step 12 . Spray some water on the dough or spread the egg liquid, and sprinkle the frozen crisp
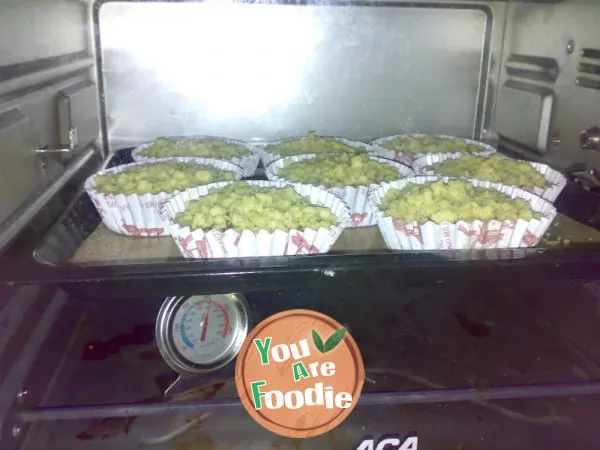
Step 13 . The middle layer of the oven is 180 degrees, 15-20 minutes
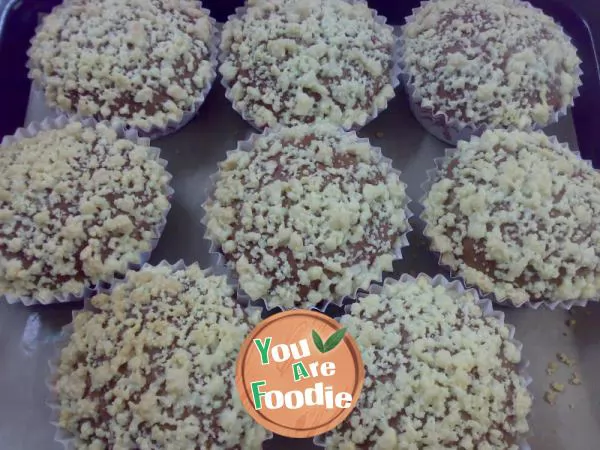
Step 14 . Out of furnace

Step 15 . Cocoa snowflake bag
* Information is provided from the Internet, If there is a copyright infringement, Please contact administratoryouarefoodie.com, We will deal with as soon as possible, Thank you!


![[Cantonese cuisine of eight major cuisines] Invigorating Qi, nourishing Yin, anti-aging and calming the mind -- Juxian babaosu soup](/update/images/foods/49/8049/98049/1653361077_617922.jpg_s.jpg.webp)