
Pineapple Bun
Pineapple buns have always been my favorite. I like the crispy pineapple skin and the soft bread, although there is no stuffing inside. (hehe! I thought pineapple buns were packed with pineapples.)Making bread and kneading is the key. It must be kneaded until the membrane can be pulled out to make the bread taste delicate
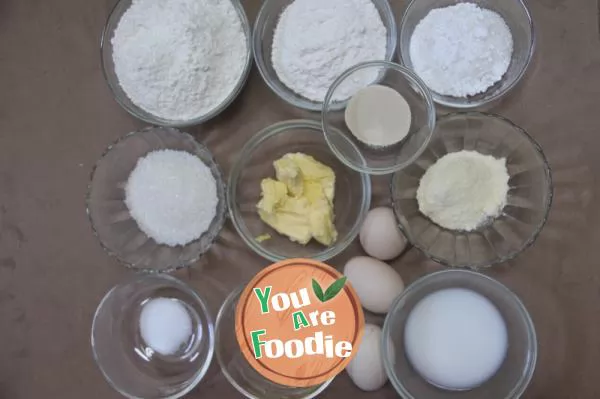
Step 1 . Prepare all materials
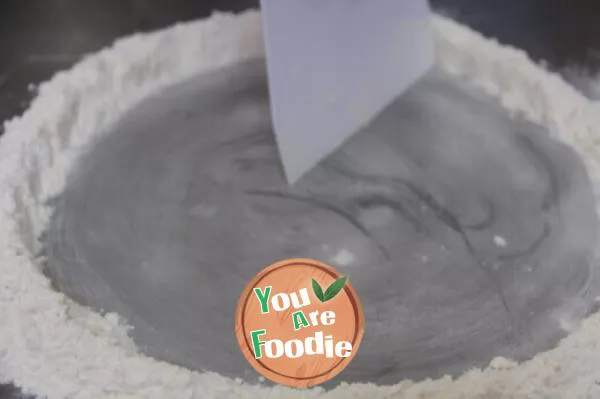
Step 2 . First, mix the flour of pineapple peel with milk powder, pour it onto a press board, and make a hollow circle in the middle
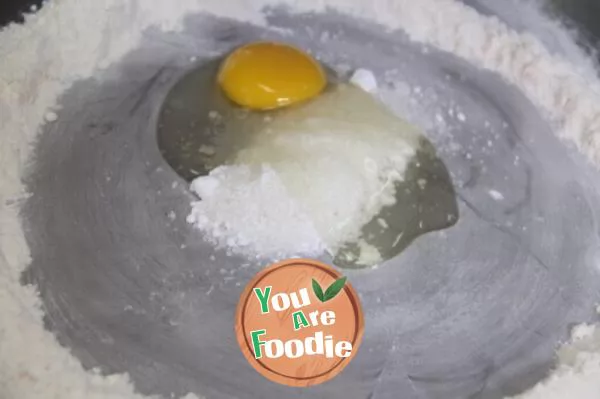
Step 3 . Add white sugar, butter, and eggs and mix well
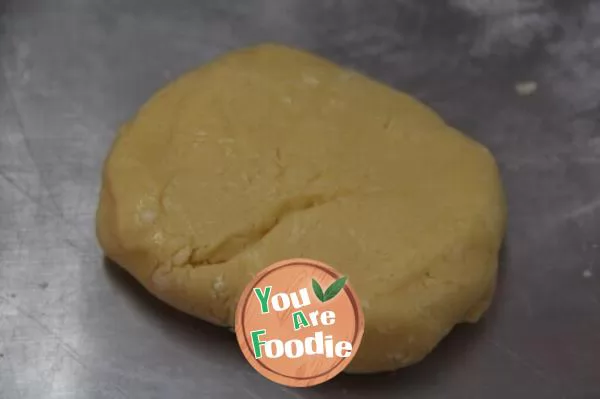
Step 4 . Slowly add flour, fold and mix evenly, cover with plastic wrap and set aside for later use

Step 5 . Then prepare the dough part: mix white sugar, milk, water, and eggs in a mixing bowl and stir evenly

Step 6 . Add high gluten flour, stir with yeast to allow the flour to fully absorb moisture, and knead into a smooth dough

Step 7 . When the dough surface is smooth and non sticky, add butter and salt until the dough is smooth and can be pulled out with a thin film
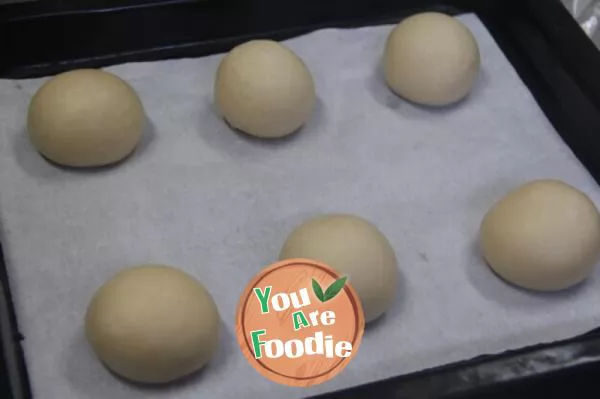
Step 8 . After standing still for 10 minutes, divide the small dough into 10 equal portions of 50 grams each and roll them into a circle (there is only one plate in the picture), then place them in a baking tray for fermentation
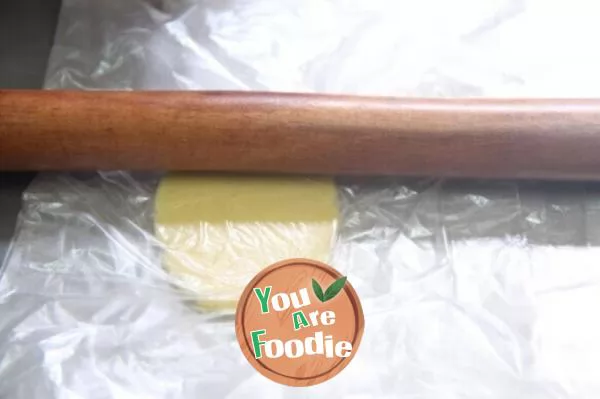
Step 9 . Roll the pineapple peel into circular pieces
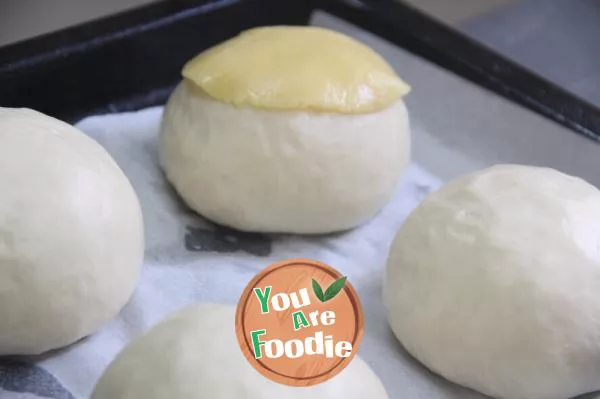
Step 10 . Fermentation until the dough volume is twice as large, then cover it with the fermented dough
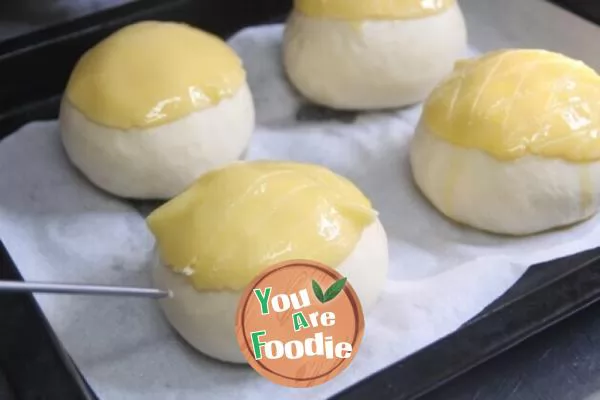
Step 11 . Brush the egg mixture and use a toothpick to scratch the surface of the bread like a diamond shape

Step 12 . Bake in a preheated oven at 170 degrees Celsius and 150 degrees Celsius for 12 minutes (using Changdi Electric Oven CKTF-30GS)
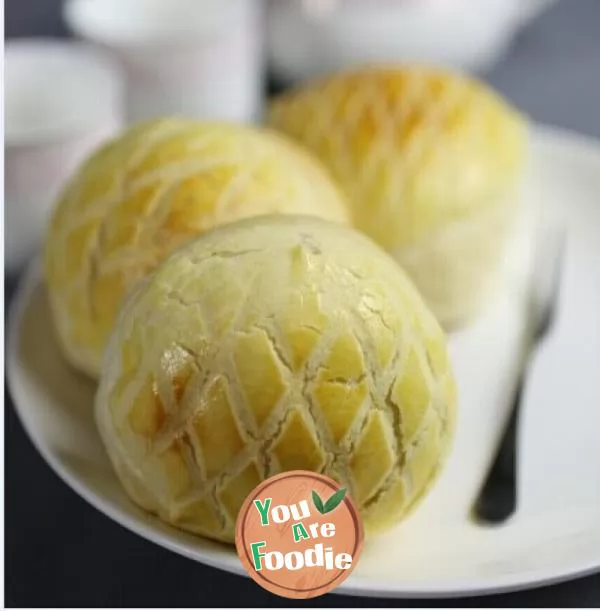
Step 13 . It's out of the oven, with a tempting golden color
* Information is provided from the Internet, If there is a copyright infringement, Please contact administratoryouarefoodie.com, We will deal with as soon as possible, Thank you!