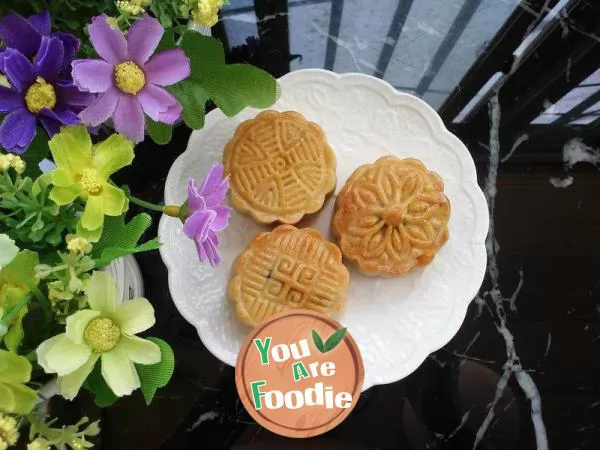
Cantonese moon cakes with various sunken materials
It's the Mid Autumn Festival again. Moon cakes are essential. People who sell them outside are not so confident. They just make them by themselves. In fact, it is not so difficult to make moon cakes. It is just a little troublesome to make them by yourself. However, making the finished products is very fulfilling. Just as there is an activity of baking in the gourmet world, I will also take part in it. For those who are beginning to learn baking, I hope I can help you together.Tip: the moon cake I made is 50g each, so the amount of trapped material in the recipe should be doubled proportionally. Please pay attention to the tips in the following tips!1. The ratio of cake skin to sunken material can be 2:8, 3:7, and 4:6. According to my personal preference, I like those with thicker skin, so in my single moon cake, the cake skin is 20g and sunken material is 30g. According to this principle, the trapped materials are distributed.2. They can be sold on the Internet. Those who are busy and troublesome can directly buy ready-made materials, but they must choose fresh ones with quality assurance.3. For pressing, you should pay attention to the power and method of pressing. A single plastic mold can misplace the flower pieces, push them down together with the raw moon cake embryo, and then remove the flower pieces from the moon cake embryo. In this way, it is easier to maintain the flower shape of the moon cake, and it is very labor-saving to push out the moon cake.4. When baking, you must pay attention to brushing the egg liquid and brush the moon cake patterns with a brush. The finished products have clear patterns, strong three-dimensional sense and beautiful colors.5. Please adjust the oven temperature and time according to your own oven temper.
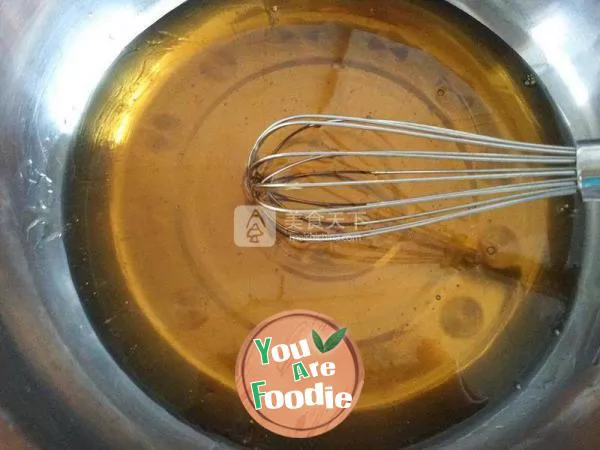
Step 1 . Pour the conversion syrup into an oil-free and water-free basin, add soap water, and stir well.
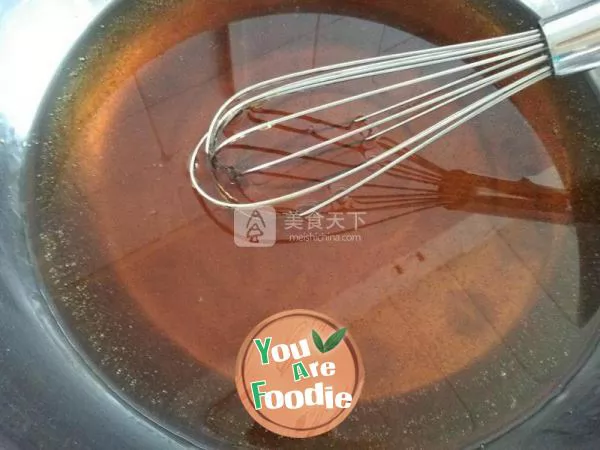
Step 2 . Then add salad oil, preferably corn oil or sunflower seed oil, and stir well.
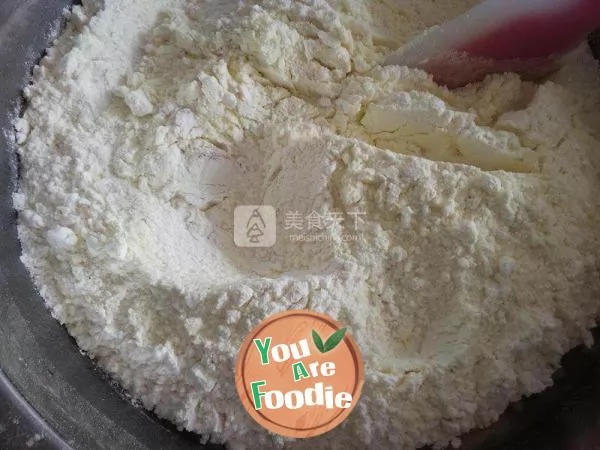
Step 3 . Sift in low gluten flour and milk powder and mix with a scraper until moist.
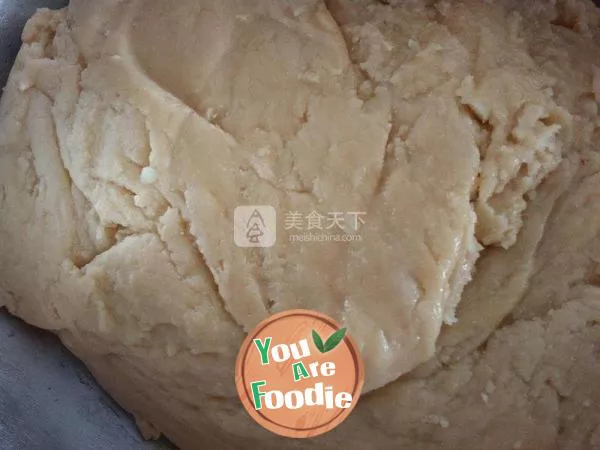
Step 4 . Mix into the moist dough.
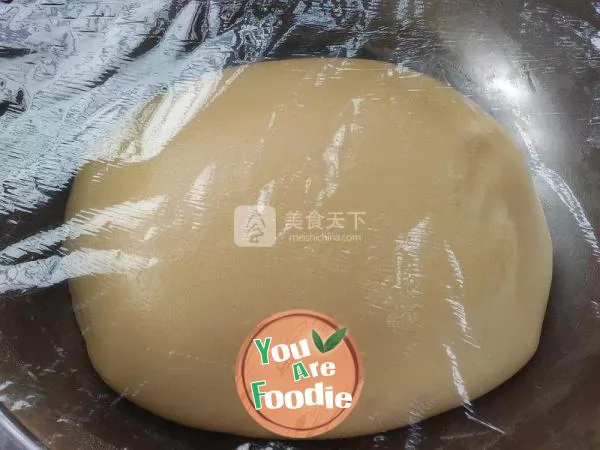
Step 5 . Knead it into smooth dough by hand, cover it with plastic wrap, and wake up for at least half an hour.
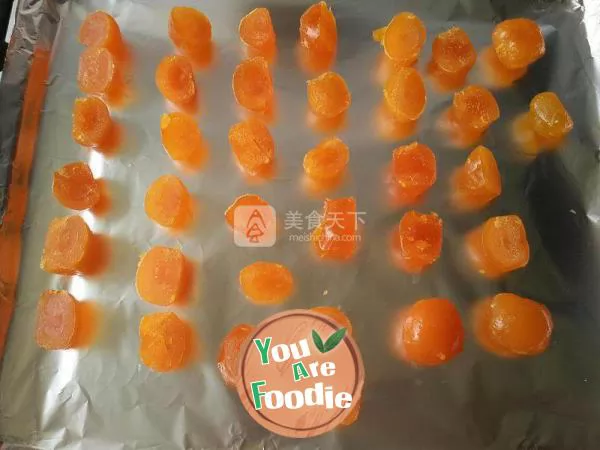
Step 6 . Deal with egg yolk: divide the salted egg yolk into two, or do not separate it. The whole one can be used, according to personal preferences. Put it into the baking pan, bake in the oven for a few minutes, and then see a slight oil.
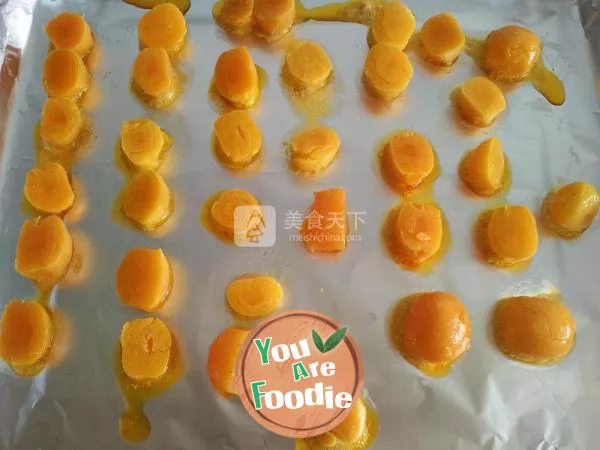
Step 7 . Spray some rum on the surface of the roasted egg yolk. Standby.
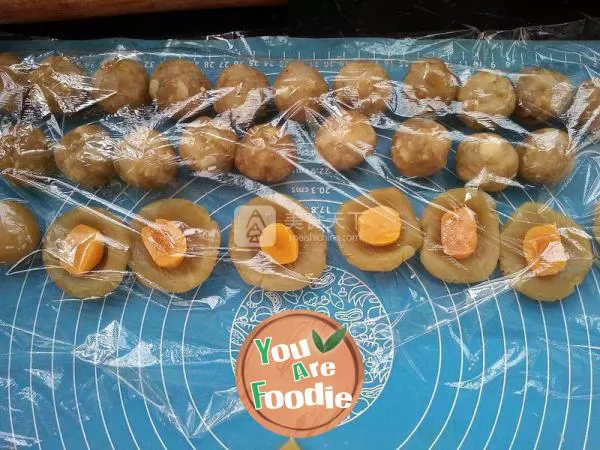
Step 8 . Divide the sinking material: divide the sinking material of pepper, salt and five kernels into 30 grams and knead it into a ball shape. The finished product I make is a 50g moon cake. I like the cake with a later crust, so I have 20g of cake crust and 30g of moon cake filling. You can divide the cake crust and the sunken material in proportion according to your personal preferences. White lotus seed yolk is also called 30 grams each.
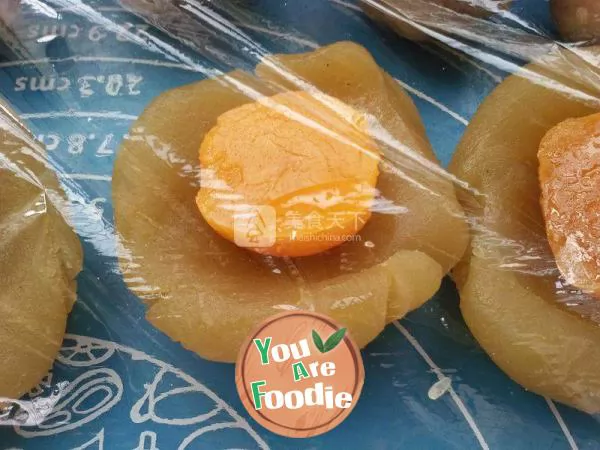
Step 9 . The white lotus seed paste wraps the egg yolk flat. Knead into a ball shape, and the ball after kneading is 30 grams.
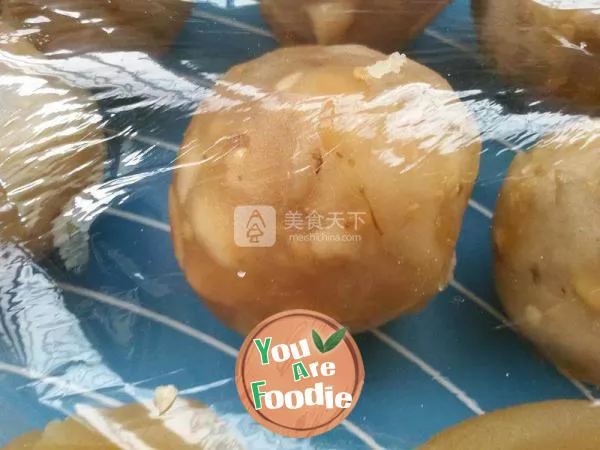
Step 10 . Kneaded pepper and salt with five kernels, and bean paste with sunken ingredients are the same.
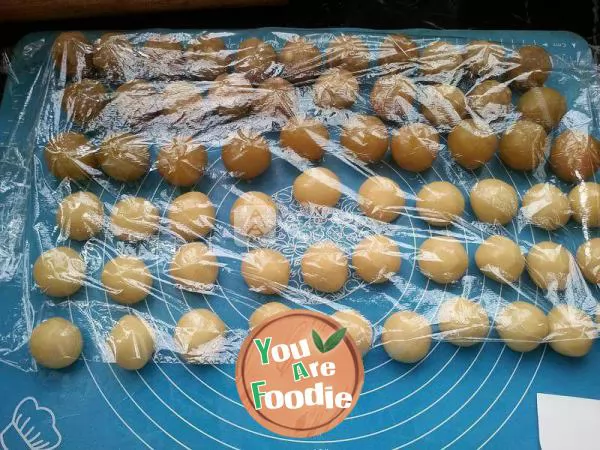
Step 11 . The first line and the second line are round five nuts with pepper and salt. The third line is the kneaded egg yolk with white lotus seed paste. The fourth, fifth and sixth lines are divided into well kneaded and rounded cake skins. The crust is 20g each, and those who like thin crust can be divided into 10g each.
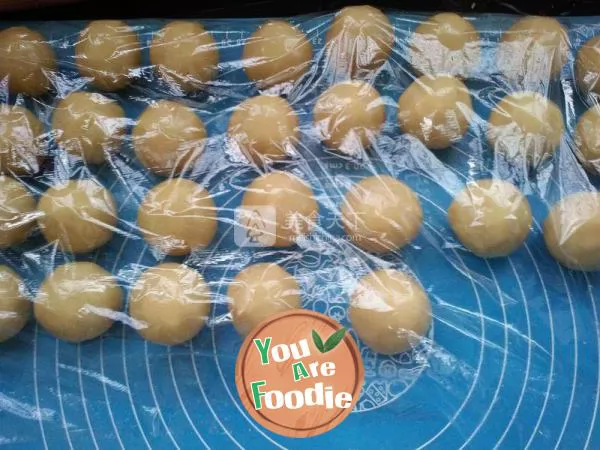
Step 12 . Moon cake embryo wrapped with sunken material.
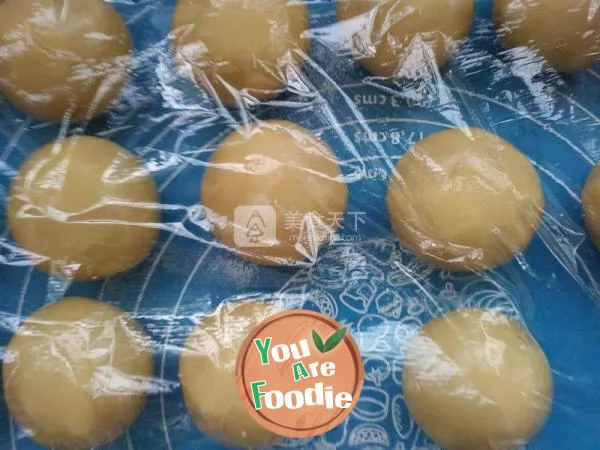
Step 13 . Wrapped moon cake embryo, waiting for pressing and forming.
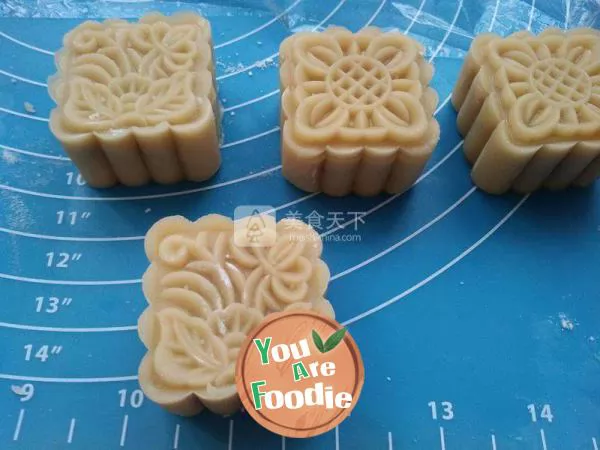
Step 14 . Use the moon cake mold to press. Sprinkle the hand powder inside the mold and the flower pieces. Knock it when using to remove the excess floating powder. Only a thin layer of hand powder on the mold is enough. When pressing, use a little force and gently push the moon cake out to form. Pay attention when pushing. Don't damage the appearance of moon cakes. Do this for everyone. Take some hand powder before pressing each one.
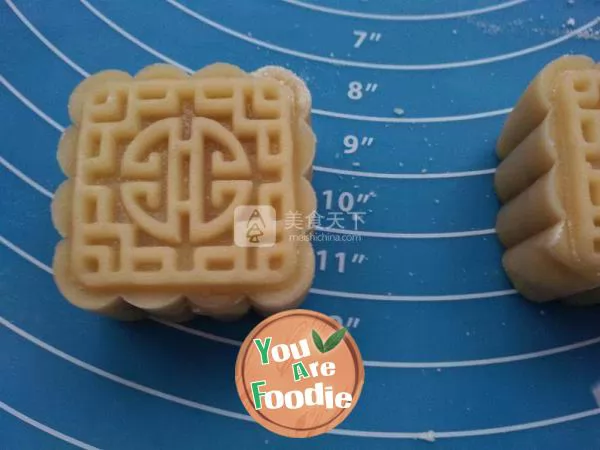
Step 15 . Pressed moon cake embryo.
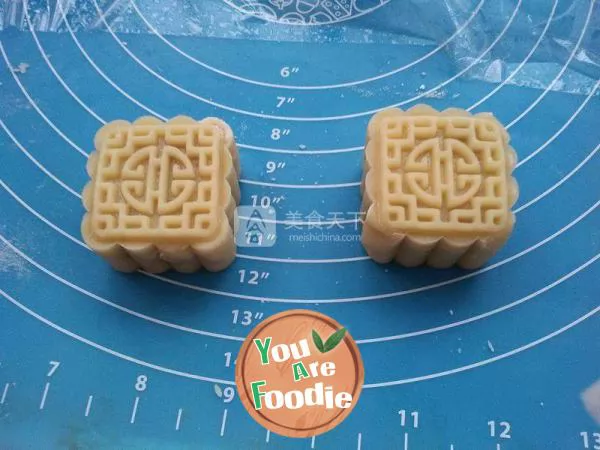
Step 16 . Or pressed moon cake embryo.
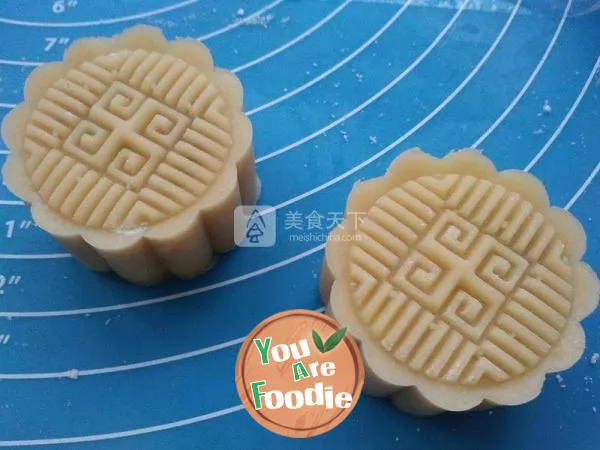
Step 17 . A round moon cake embryo pressed with a mold.
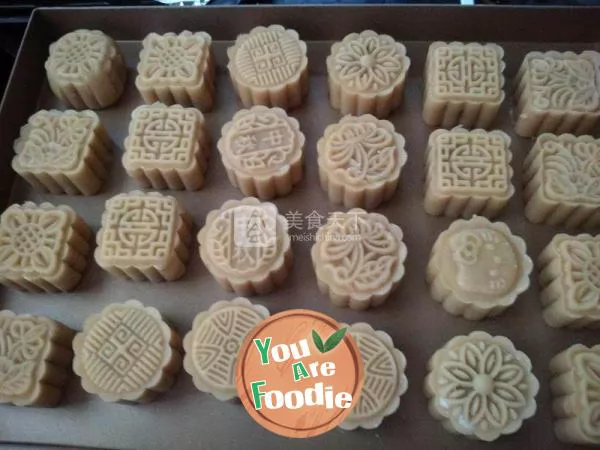
Step 18 . Put the pressed moon cake embryo into the baking pan. The baking tray should be covered with tin foil or oil paper. Mine is a non stick tray, so there is no need to lay anything.
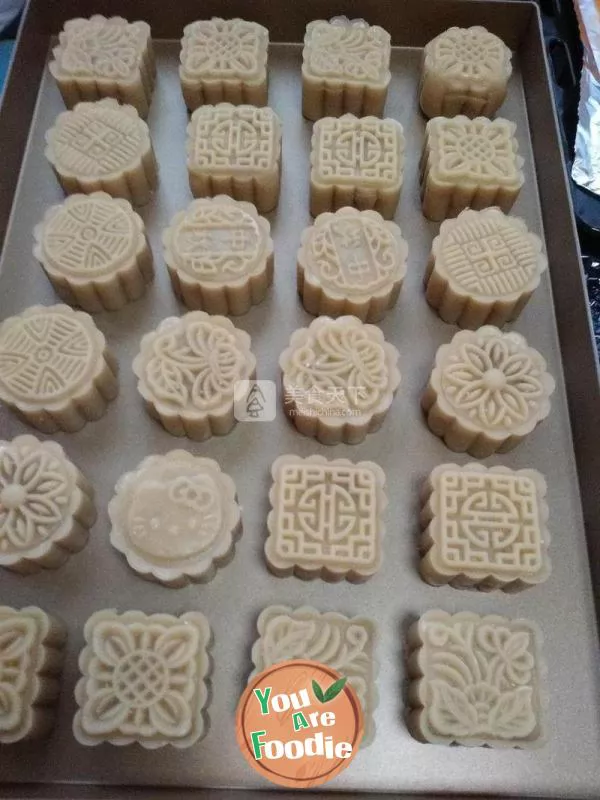
Step 19 . Spray a layer of cold water on the prepared moon cake embryo before baking. It must be sprayed before it is even.
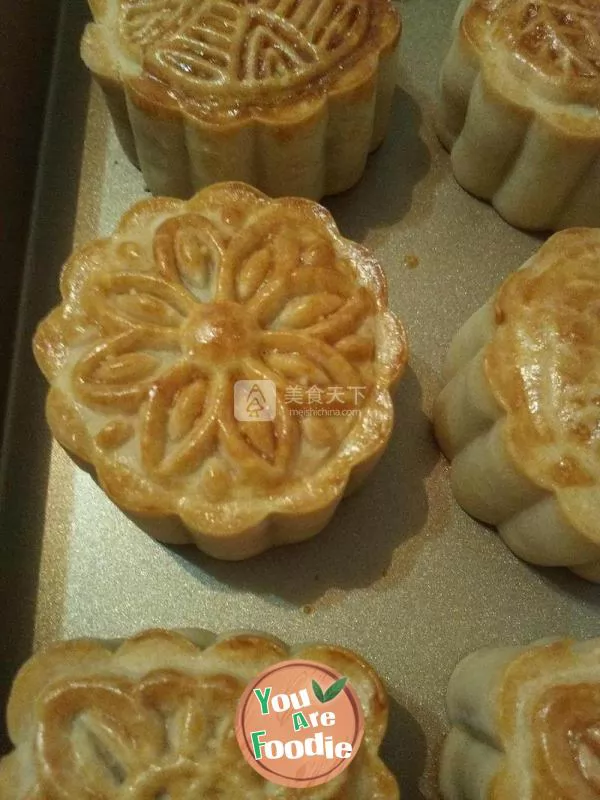
Step 20 . Bake in the oven: preheat the oven for 200 degrees, bake for 5 minutes, take out and brush a layer of egg liquid, which should be thin and uniform. Bake in the oven for another 10 minutes, take it out and brush the egg liquid for a second time. It's best to brush a little with a brush, only with a grain of lace. If the effect of egg liquid on the surface is still not obvious, you can brush it again. After brushing, bake in the oven for about 10 minutes until the surface is golden. Basically, bake for 20 to 25 minutes.
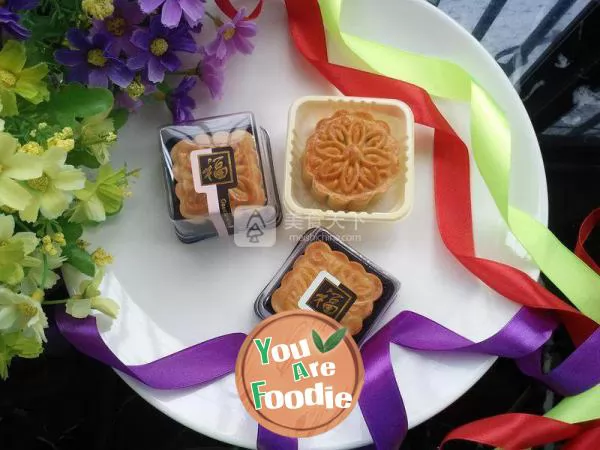
Step 21 . The finished product can be packaged by yourself and sent to relatives and friends.
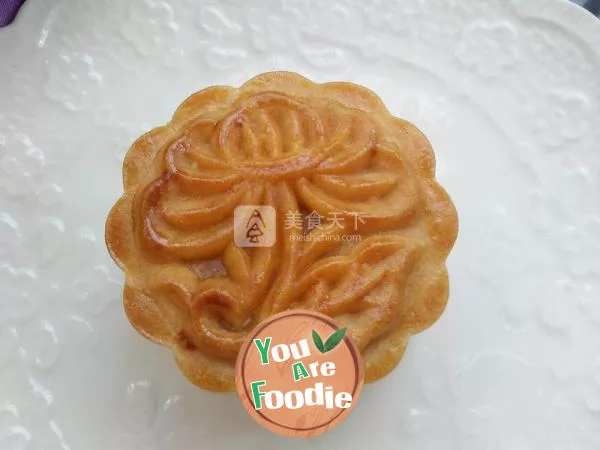
Step 22 . finished product
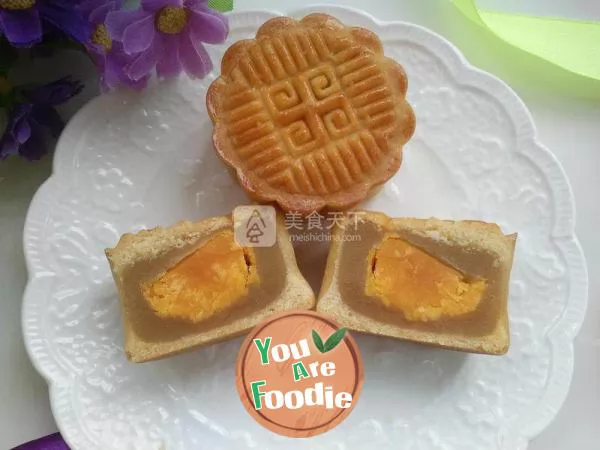
Step 23 . Finished moon cake with white lotus seed and egg yolk
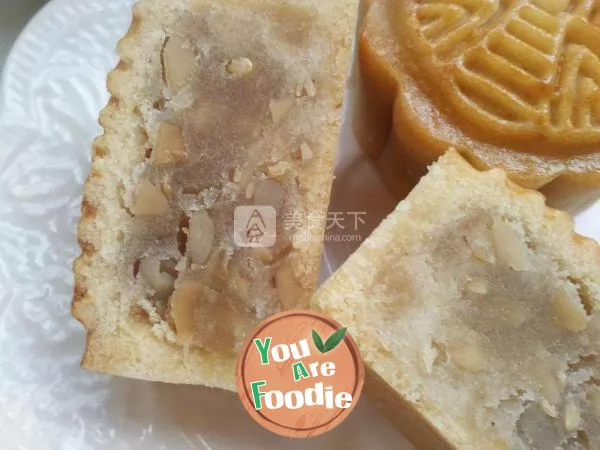
Step 24 . Finished moon cake with five kernels of pepper and salt
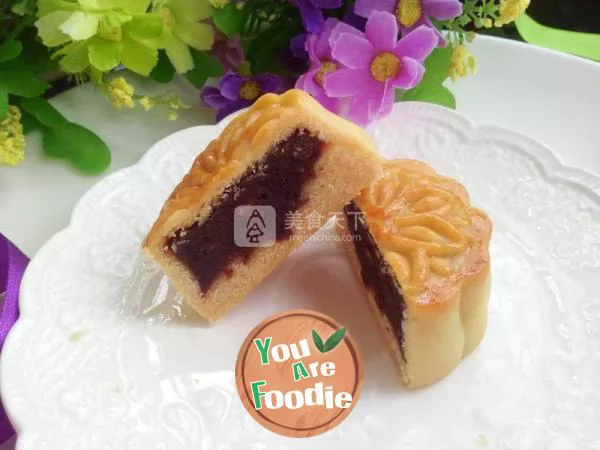
Step 25 . Finished mooncake with bean paste
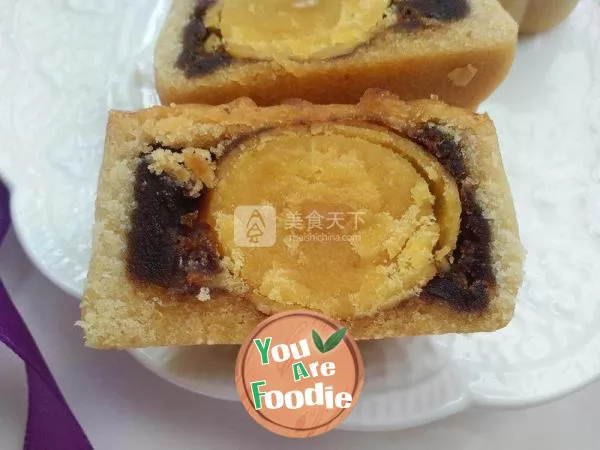
Step 26 . Finished moon cake with bean paste and egg yolk
* Information is provided from the Internet, If there is a copyright infringement, Please contact administratoryouarefoodie.com, We will deal with as soon as possible, Thank you!
