Colorful fruit tart
It was just a little cool, and I couldn't help baking. Now, when the new oven came home, I tossed a few tarts. It is crispy and fragrant. With plenty of fruit, you don't have to worry about getting burned. Drench a little honey again, still can have the effect of Nourishing Yin beauty.Often give yourself some small ideas, even at home can play very exciting. Each of the four tarts is a treat to the family. In addition, this formula can be versatile. Without my small tart plate, you can use a 7-9-inch pie plate. Creativity is up to you!The tarts can also be made into 7-9 pies. Do not over stir the flour to prevent serious shrinkage after baking; The fruit can be put at will, and can also be made into kashida sauce and other fillings; The baking time shall be adjusted according to the actual situation of the oven.
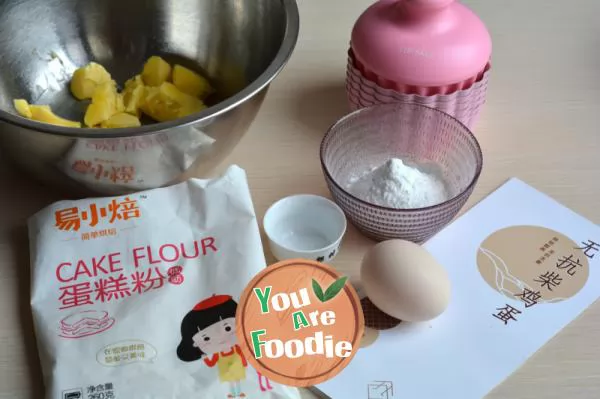
Step 1 . The tarting material is ready, and the butter is taken out in advance and softened at room temperature
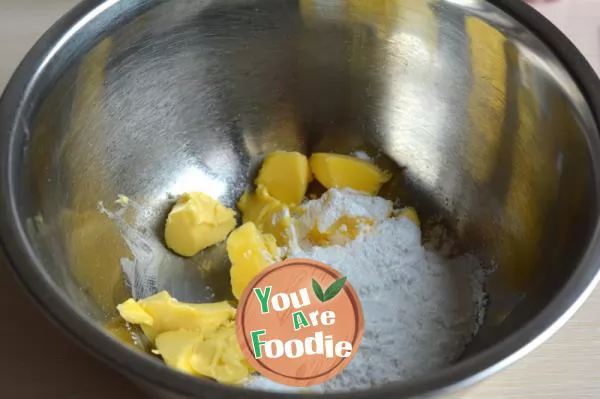
Step 2 . Pour powdered sugar into the butter
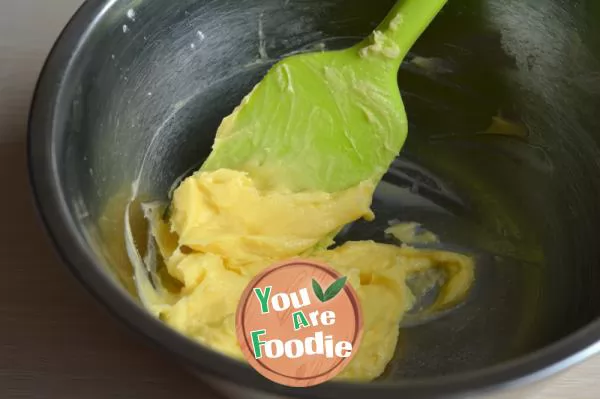
Step 3 . Mix evenly with a scraper
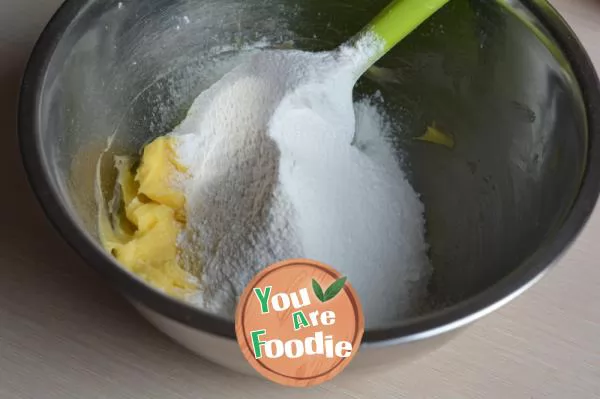
Step 4 . Sift the flour into the butter
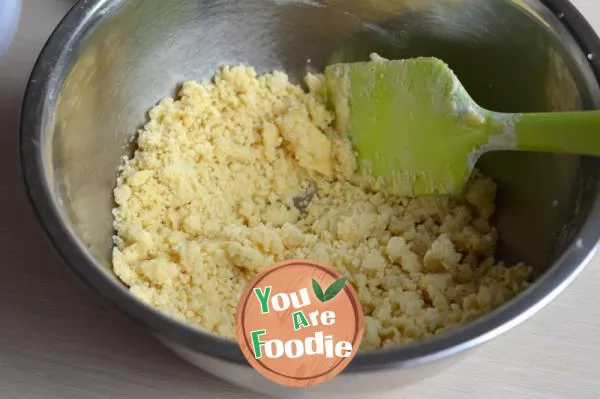
Step 5 . Mix evenly with a scraper, in granular form
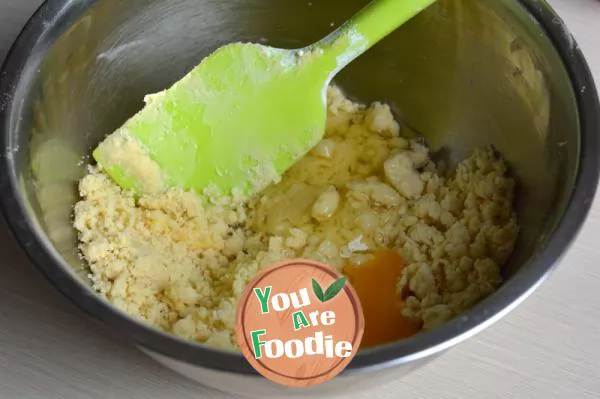
Step 6 . Put the egg yolk and egg white into the basin, and the egg white can also be replaced by the same amount of milk
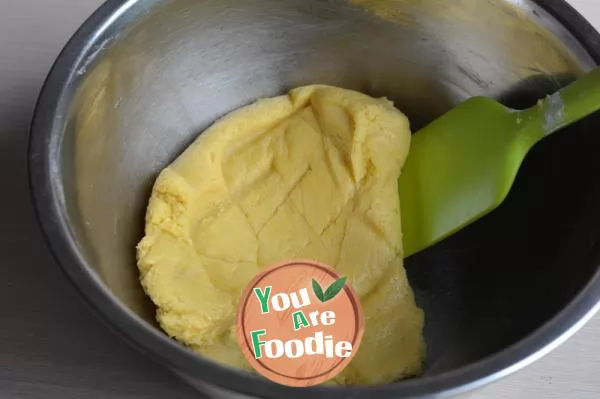
Step 7 . Use a scraper to mix evenly, in the shape of dough, do not stir too much, and then take shape to prevent the finished product from shrinking badly after baking;
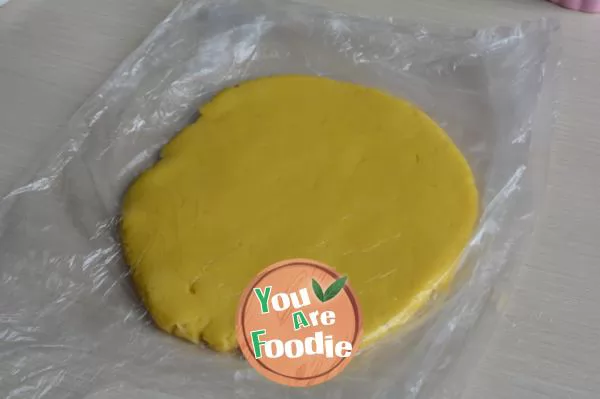
Step 8 . Put the dough in a fresh-keeping bag, press it into a thick cake shape by hand, and refrigerate it in the refrigerator for more than 30 minutes
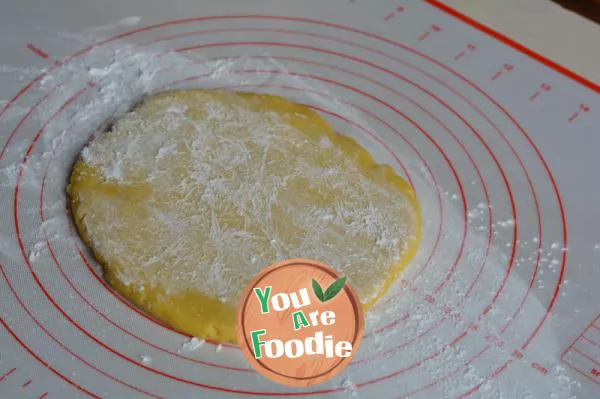
Step 9 . Take out the frozen dough cake and put it on the kneading pad. In order to prevent sticking, sprinkle a little flour on the cake or cover it with fresh-keeping film;
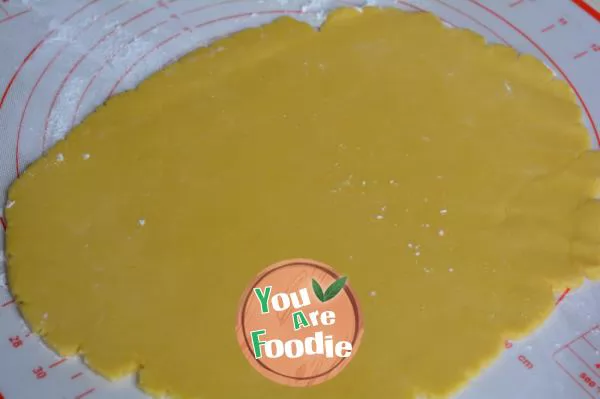
Step 10 . Roll into large pieces with a thickness of about 6 or 7 mm
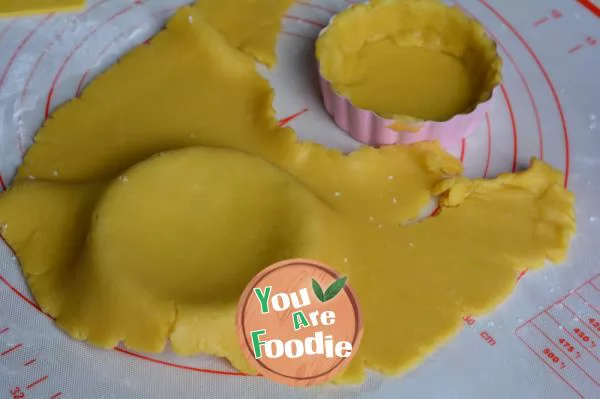
Step 11 . Put the tarting mold under the dough and press it gently with your hand to make the cake skin fit inside the tarting mold
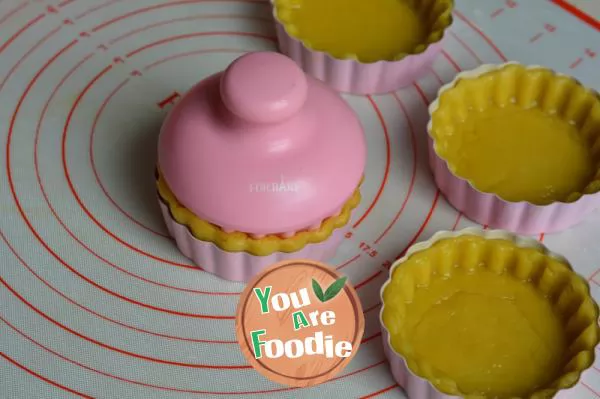
Step 12 . Use up all the dough, or paste and patch all the extra small dough pieces, and then press it with a small mold. Beautiful patterns appear on the inside and the bottom is smoother; At this time, the oven starts to preheat 180 degrees, about 10 minutes
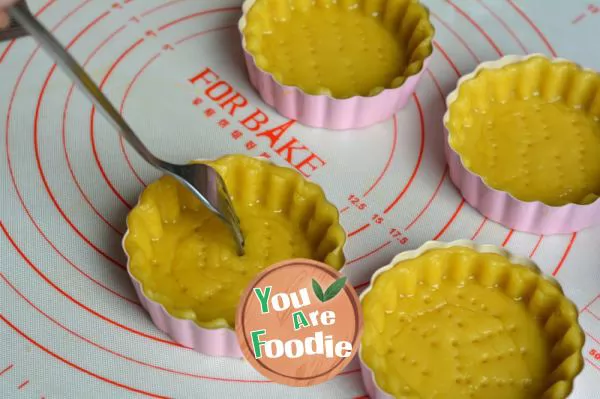
Step 13 . Pierce a small hole in the bottom of the tart with a fork
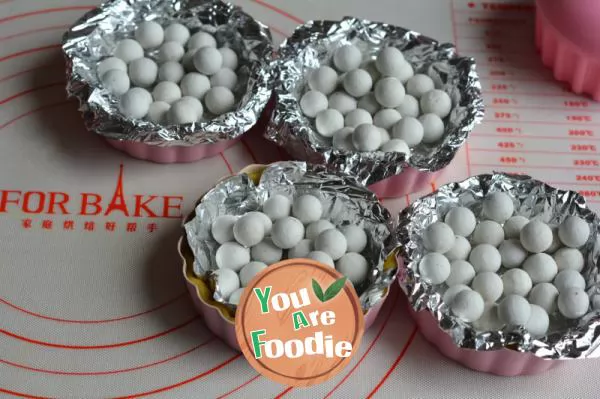
Step 14 . Each tart is covered with a layer of tin foil and then sprinkled with baking stones to prevent the tart from deforming when baking

Step 15 . Put the tarts into the middle layer of the preheated oven, heat them up and down 180 degrees, and bake them for 10 minutes first
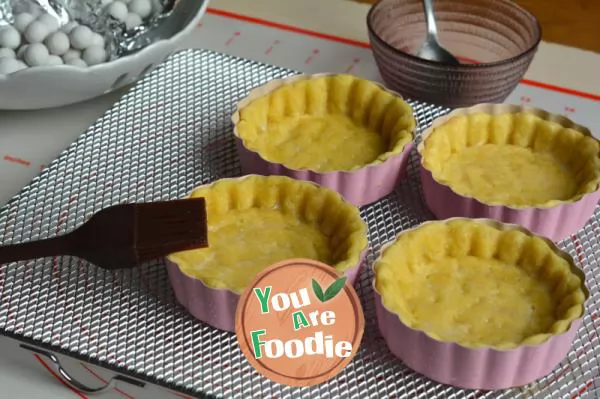
Step 16 . Take it out of the oven after 10 minutes, dry it for two minutes, remove the tin foil and baking stone, and brush a layer of egg white
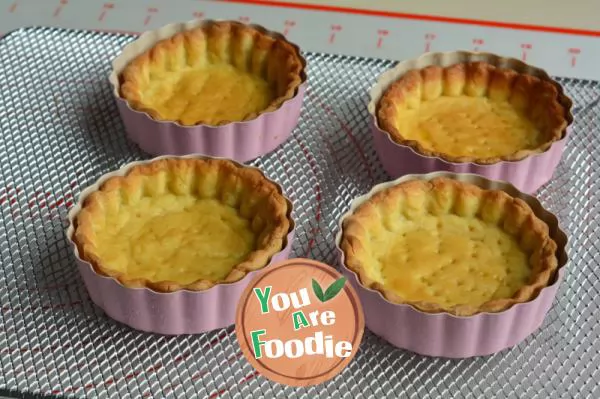
Step 17 . Put the tarts in the middle of the oven again, 180 degrees, heat up and down, bake for about 15 minutes, color the tarts, take them out, put them on the drying rack, and demould them after cooling
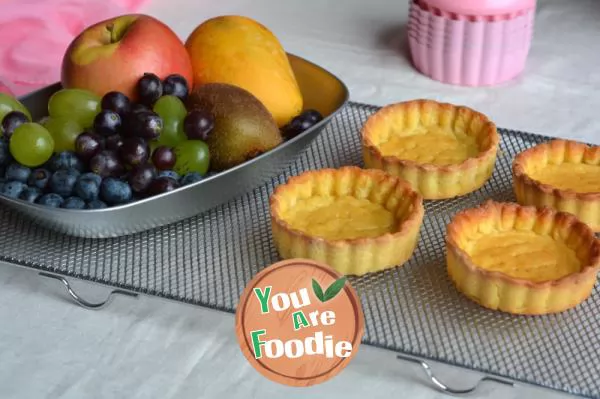
Step 18 . All kinds of fruits and honey are ready

Step 19 . Wash and cut into pieces, put them in tarts, sprinkle with honey and serve
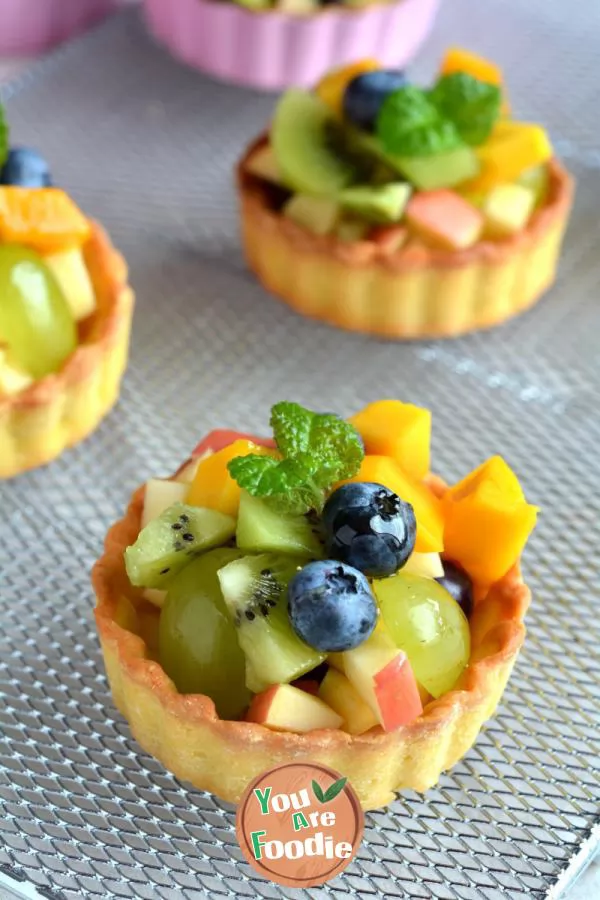
Step 20 . It looks beautiful
* Information is provided from the Internet, If there is a copyright infringement, Please contact administratoryouarefoodie.com, We will deal with as soon as possible, Thank you!
![[three steps, 10 minutes to finish a plate of delicious] Sichuan Mapo Tofu](/update/images/foods/43/6043/16043/1653368117_175833.jpg_s.jpg.webp)
