
Low sugar raisin Scone
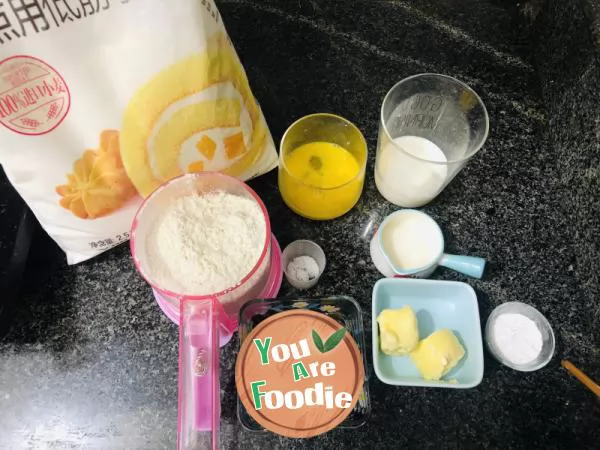
Step 1 . Material preparation.

Step 2 . Beat the eggs into the bowl.

Step 3 . Add milk and stir well.

Step 4 . Add sifted low gluten flour to the bowl.

Step 5 . Sugar and salt.

Step 6 . Mix the baking powder evenly.

Step 7 . Add butter (preferably softened).

Step 8 . Wear gloves to rub evenly to large particles.

Step 9 . Add raisins.

Step 10 . Knead it a few times to form a smooth dough, but don't over stir it.

Step 11 . Cover with plastic wrap and refrigerate for half an hour.

Step 12 . Take out the oil paper and roll it into a pie shape.

Step 13 . Cut into 8 equal parts, like the shape.

Step 14 . Brush with egg liquid.

Step 15 . Preheat the oven at 180 ° C for 10 minutes, and bake the middle layer at 180 ° C for 20 minutes (the temperature of the baicui oven used will be higher than other temperatures). Check the coloring situation, and remember to cover with tin foil to avoid pasting.

Step 16 . It's coming out.
* Information is provided from the Internet, If there is a copyright infringement, Please contact administratoryouarefoodie.com, We will deal with as soon as possible, Thank you!