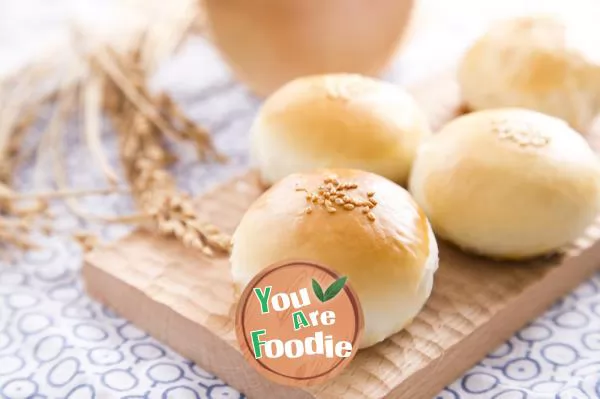
Mooncakes with meat
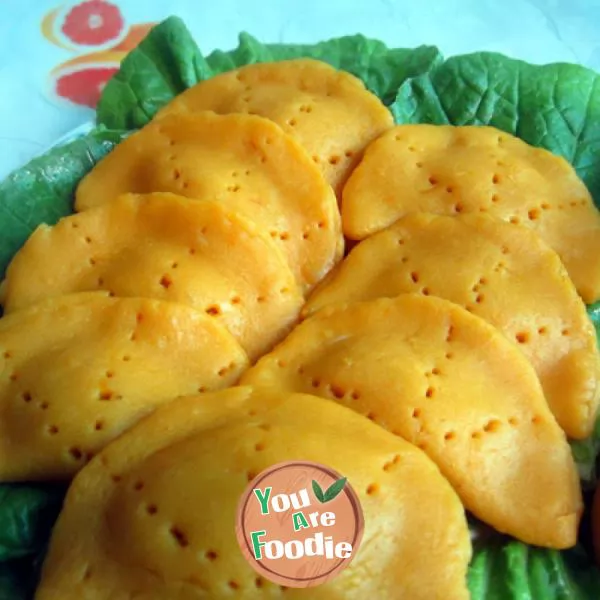
You can make fresh meat moon cakes at home if you don't want to slap them!"The layers of pastry are soft, but they imply a bit of crispness; they are soft, but they are also potentially tough. The special taste of this kind of powder is tender and seven meat and eight vegetables comes entirely from the meat filling. During the baking process, the heat slowly infiltrates the rich meat juice into the layers of pastry. It is not as juicy as fried buns, but it has a sense of juice. If you bite it down, the pastry is mixed with meat fragrance. You really 'won't put a slap on the face'."——ShenhongfeiShenhongfei, a Shanghai gourmet, really expressed the common aspiration of Shanghai and even the whole Jiangsu and Zhejiang provinces for fresh meat moon cakes. Hold it in your hand and take a hot bite. It is crisp, fresh and fragrant. It fills your mouth. With the rich layers of Zizi and oil, everything around you seems to be floating.Around the Mid Autumn Festival, there must be a lot of people in front of all the time-honored brands. I don't want to stand in line. It's better to learn the DIY Method of selling fresh meat moon cakes with get √ fresh to fly, and spend a happy festival with the children's families with my own skills.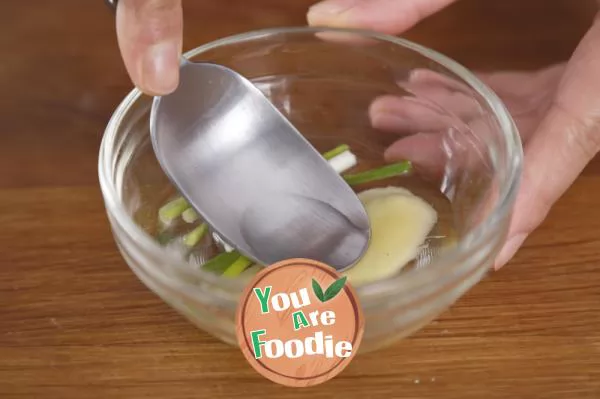
Step 1 . 10g scallion, 10g ginger slices, 60g water, press out the juice with a spoon, and take 10g scallion and ginger water.
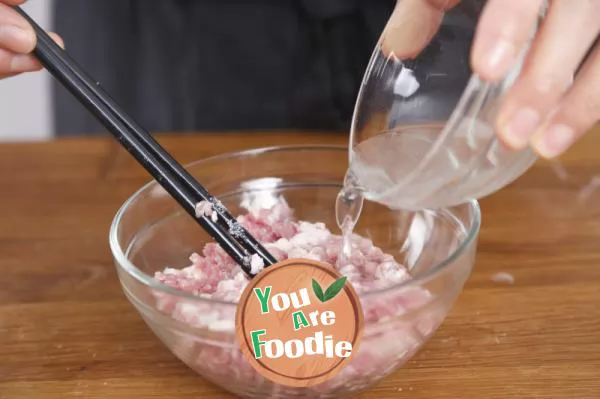
Step 2 . Add salt to the minced pork in the front leg, mix well, add spring onion and ginger water, and stir vigorously in one direction with chopsticks (about 1 minute).
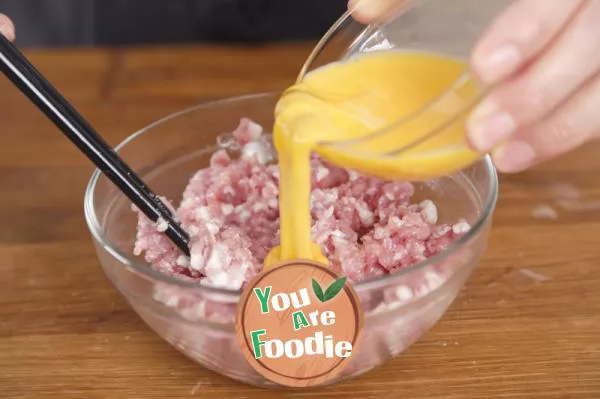
Step 3 . Add the whole egg liquid and stir it in one direction with chopsticks (about 2 minutes).
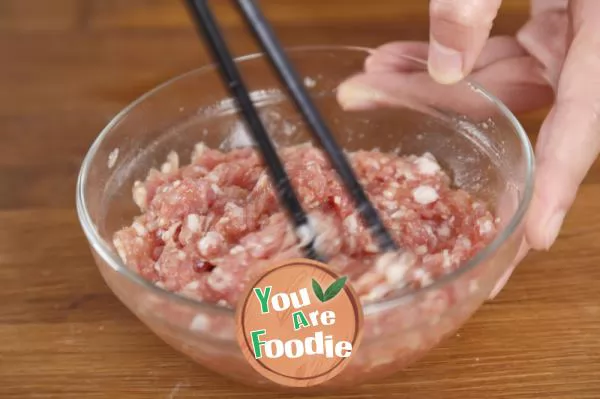
Step 4 . Add soy sauce, soy sauce, cooking wine, sugar, pepper and sesame oil. Continue to use chopsticks to quickly stir the meat stuffing in one direction until it is strong. At this time, it is in a sticky state. Put the meat stuffing into the refrigerator and refrigerate it for standby.
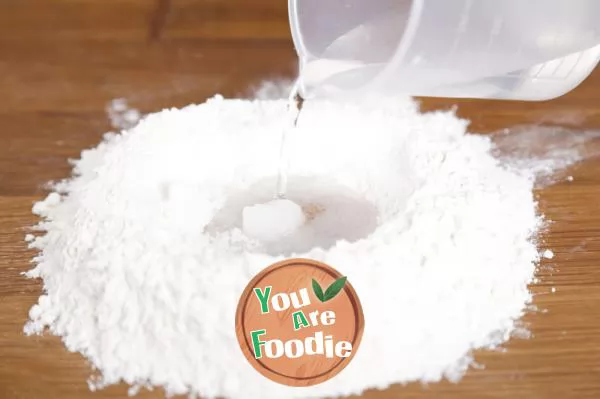
Step 5 . Put the medium gluten flour on the chopping board in the shape of a large flat pit (there is no flour in the middle). Put the sugar in the middle, add water, and let the sugar dissolve.
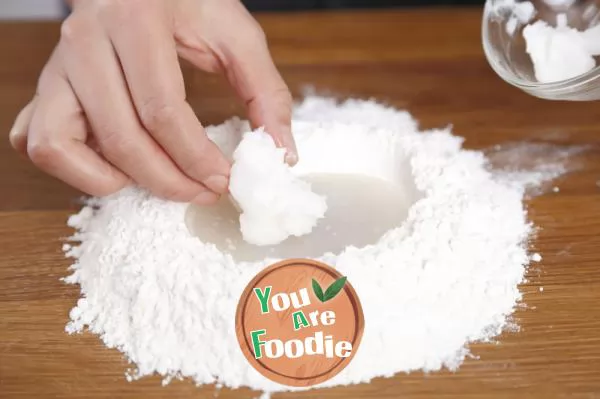
Step 6 . Add lard and mix the lard and sugar water by hand to form emulsion. Then mix the rest of the flour with it.
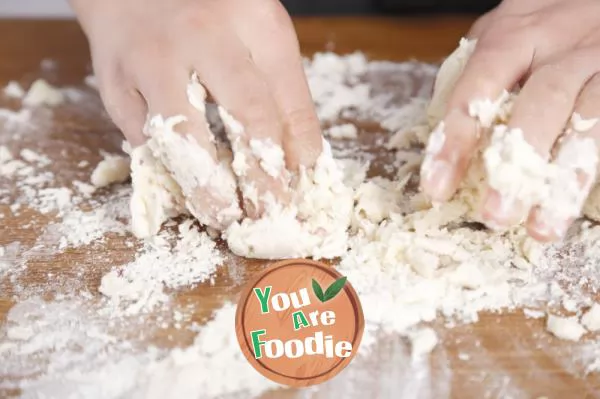
Step 7 . It is fully mixed in a thin and soft irregular fragment shape.
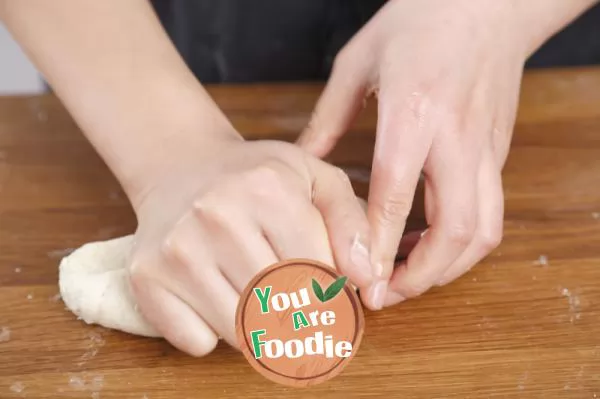
Step 8 . Knead the dough on the chopping board with more force quickly (about 3-5 minutes).
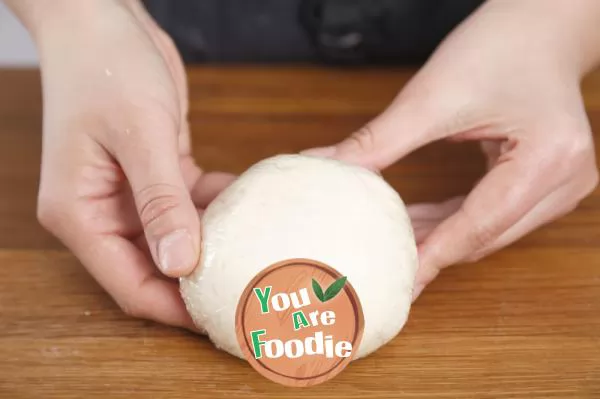
Step 9 . When it becomes a soft and smooth dough with uniform texture, it becomes water and oil noodles. Wrap the dough with plastic wrap and let it stand for 20 minutes.
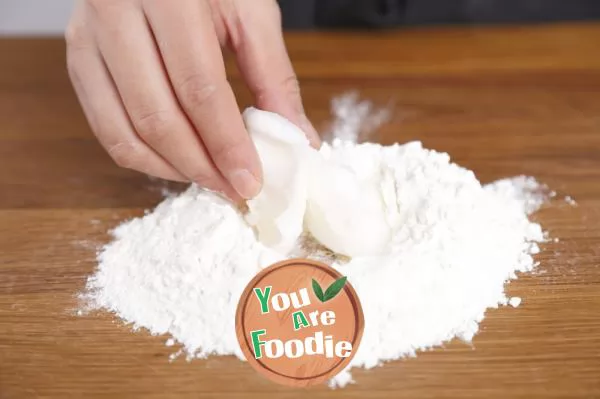
Step 10 . When the water and oil noodles are standing, take another low gluten powder and add lard.
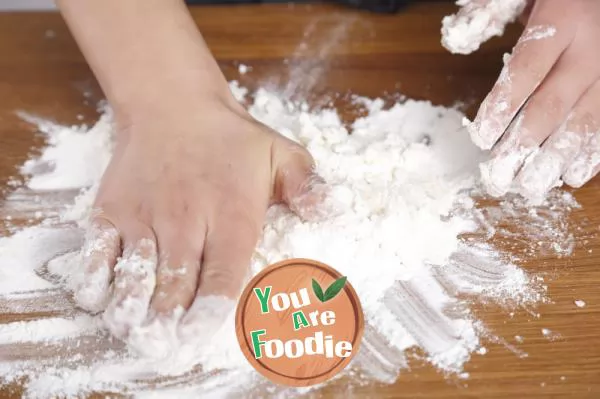
Step 11 . Push the lard and flour forward with the palm root. Push and rub until there is no white powder and the dough has uniform color. (too much dry pastry will become soft and sticky)
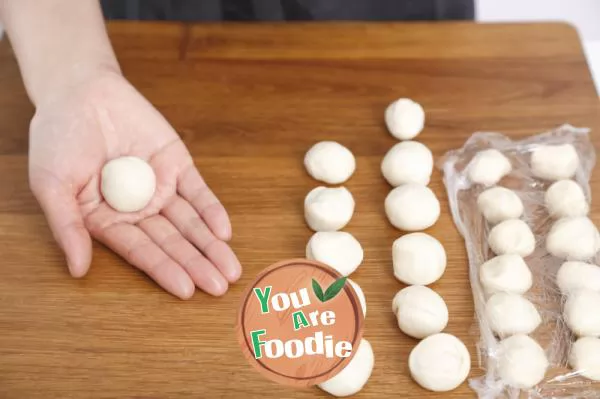
Step 12 . Divide the water and oil noodles and dry pastry into 12 parts, and twist them into balls respectively (cover the dough with fresh-keeping film to prevent dry skin).
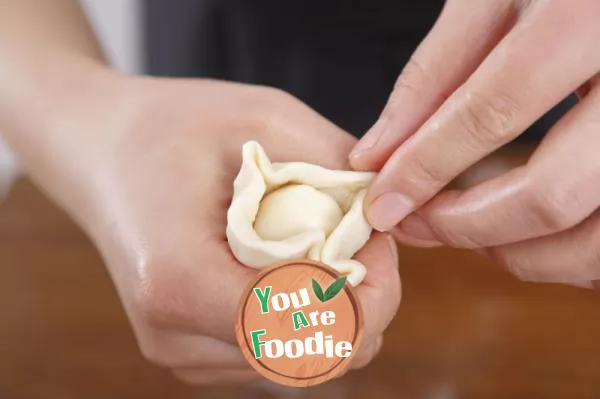
Step 13 . Divide the water and oil noodles and dry pastry into 12 parts, and twist them into balls respectively (cover the dough with fresh-keeping film to prevent dry skin).
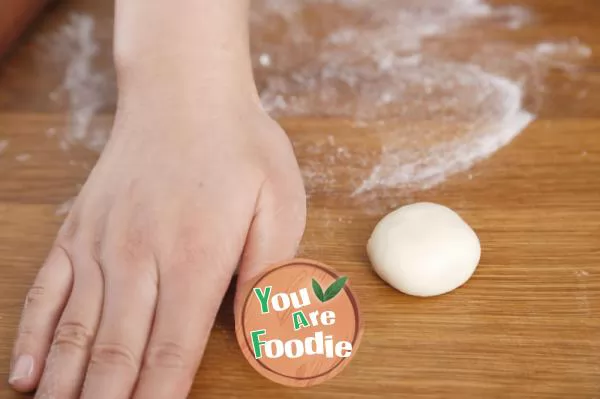
Step 14 . Close the mouth downward, press it into a round billet, and complete 12 pieces in turn (cover with fresh-keeping film to prevent drying).
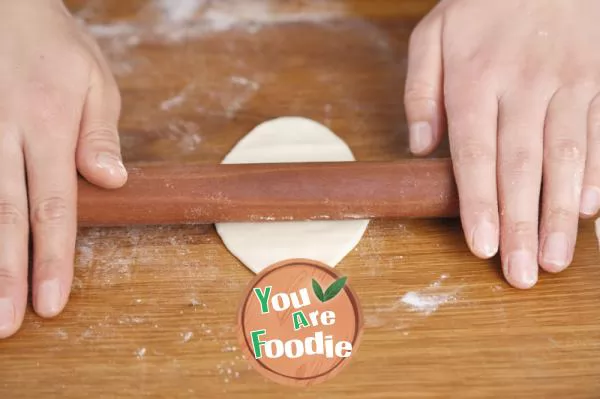
Step 15 . Take a dough blank and use a rolling pin to push it up and down horizontally to roll it into a long oval shape. (pay attention to dusting the chopping board to prevent sticking)
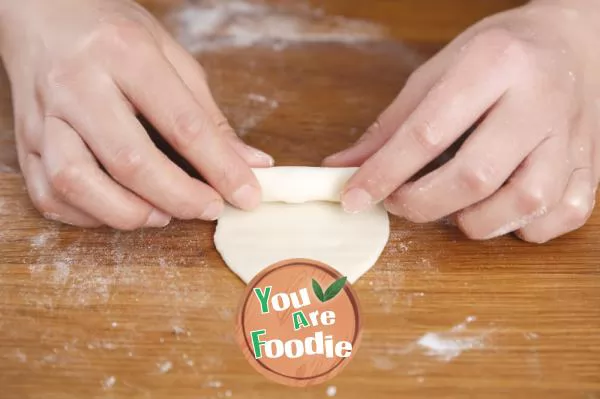
Step 16 . Roll up the rolled dough from top to bottom and complete 12 pieces in turn. Roll up the rolled dough from top to bottom and complete 12 pieces in turn.
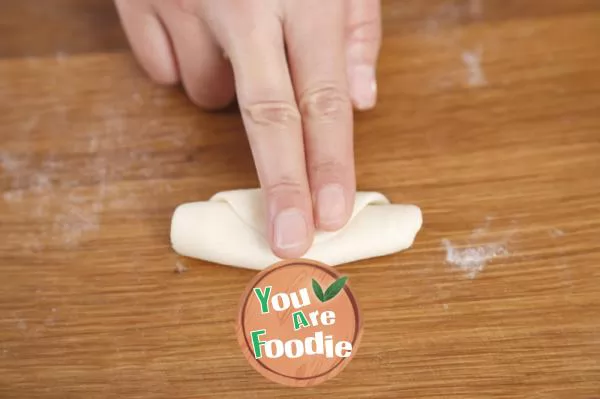
Step 17 . Take a rolled dough and press it flat with the necking up.
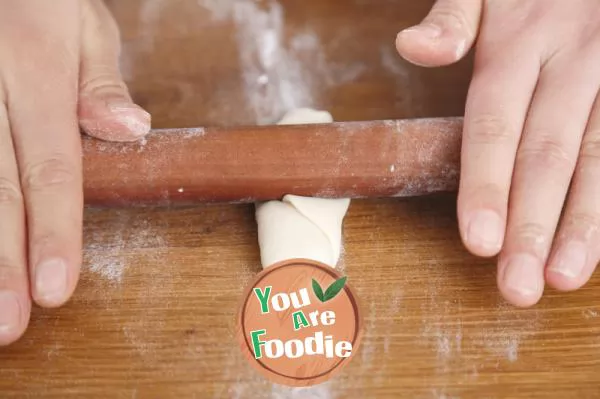
Step 18 . Roll it into a rectangular shape along the long side.
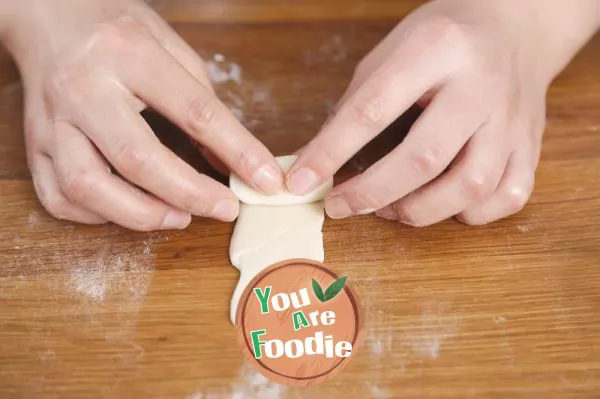
Step 19 . Roll up the dough again from top to bottom. After all dough is crisped, cover it with fresh-keeping film to prevent it from drying.
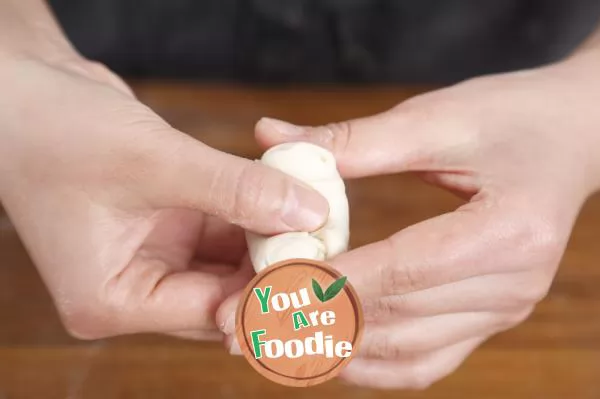
Step 20 . Take one side of the dough, with the closing up facing up, gently press it in the middle of the dough, and then use your fingers to close the cut surface of the crisp layer to the middle as shown in the figure.
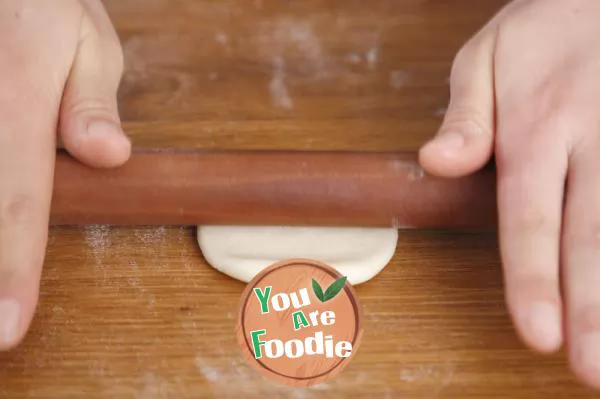
Step 21 . Press the dough with the palm, and then roll it into a round dough with a diameter of 10-11cm (smooth side down). So far, all the opening steps are over, and the next step is to wrap and shape the stuffing.
* Information is provided from the Internet, If there is a copyright infringement, Please contact administratoryouarefoodie.com, We will deal with as soon as possible, Thank you!


