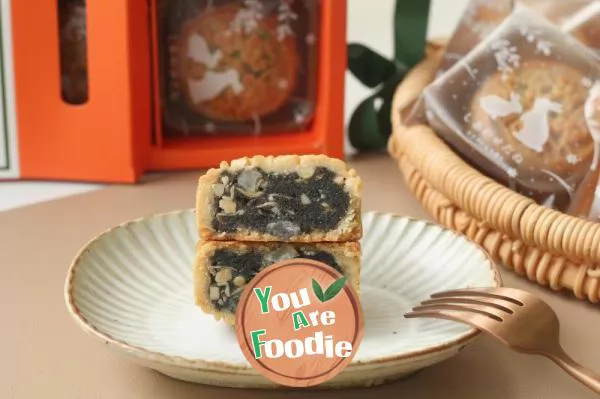
Wind oven version: pepper and salt black sesame cantonese moon cake, salty and fragrant! The crust is universal!
How can there be no moon cakes in the Mid Autumn Festival! Cantonese moon cakes made every year! The cake skin is universal, with clear lines and fast oil return speed. Novices are not afraid of overturning! Pepper and salt black sesame filling, salty and fragrant taste, delicious and not greasy! A thin layer of cake skin is wrapped with salty and fragrant filling! Classic and delicious!be careful:1. The formula can make 19 80g mooncakes! Stuffing can replace your favorite flavor!2. Skin: filling ratio: 1:92:83:74:6 is OK! Novice advice: 30g skin + 50g stuffing, which is easy to operate.3. Egg liquid: it must be few and few, and the finished product lines are clear! Nice color! I won't have a black face!4. Preservation: do not touch the moon cakes directly after baking, which will affect the shelf life. Bottom support + deoxidizer + machine sealed bag! It can be stored at normal temperature.5. Furnace temperature: the temperature can be increased by 10 ℃ after shaping in open hearth.
Step 1 . Prepare materials. Sugar free syrup is used.
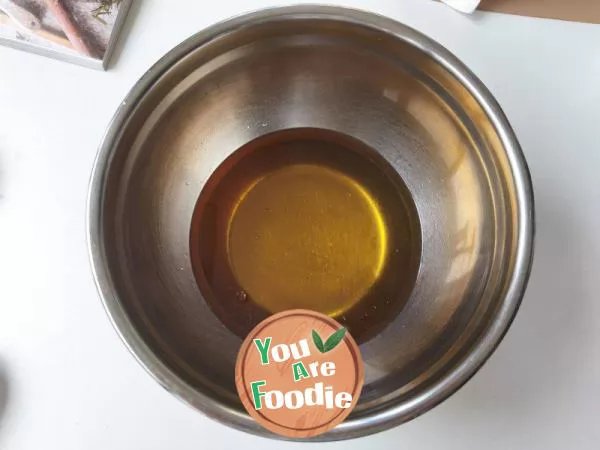
Step 2 . Pour peanut oil, syrup and soap water into a clean basin.
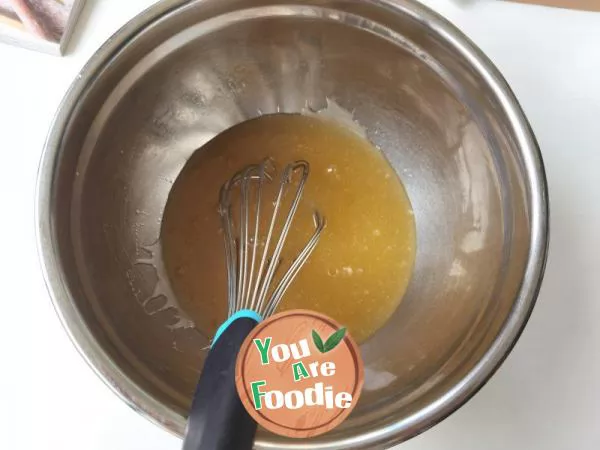
Step 3 . Stir the eggs evenly with the manual egg beater. Emulsion state.
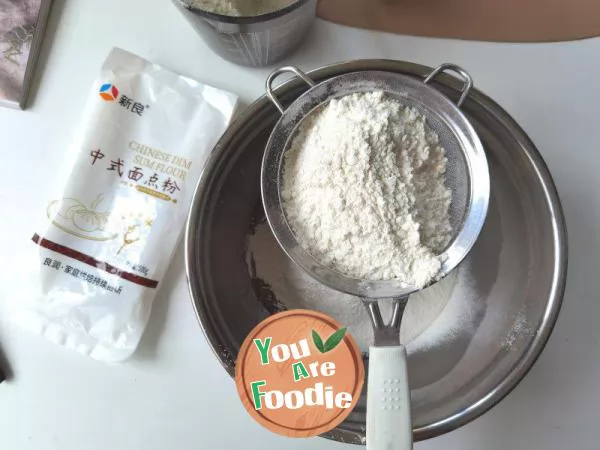
Step 4 . Sift in medium gluten flour (different brands have different water absorption, 10-20g can be reserved, depending on the situation).
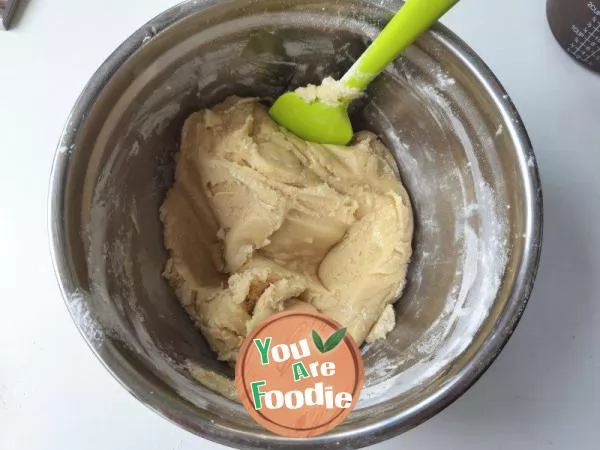
Step 5 . Cut and mix until there is no dry powder.
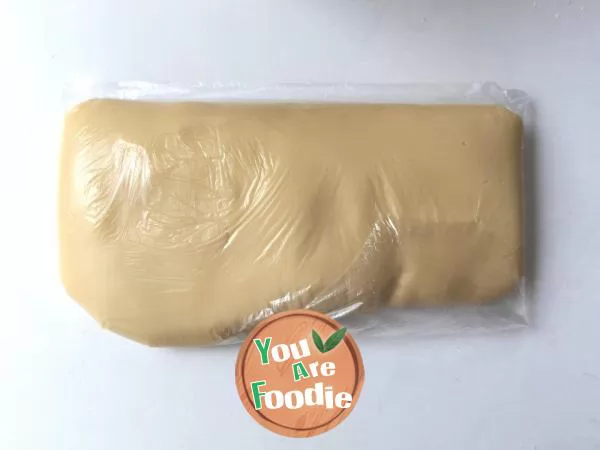
Step 6 . Put into a fresh-keeping bag, fold and press into a uniform dough. Refrigerate and wake up for 2-4 hours.
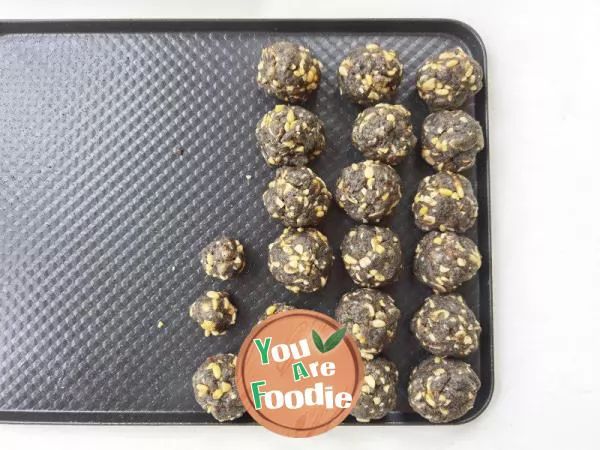
Step 7 . Fill 50g each, round and set aside.
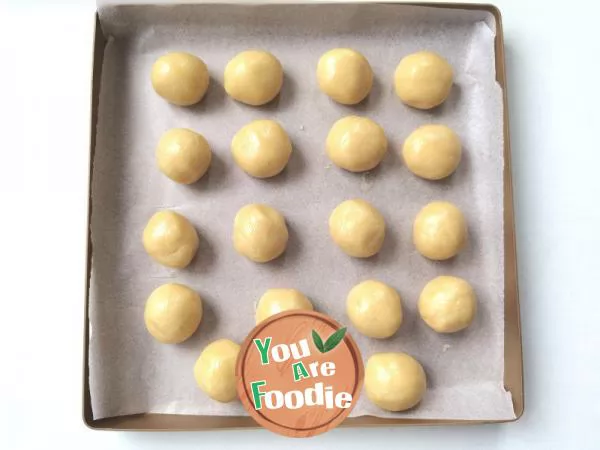
Step 8 . Wake up the cake skin, divide it into 30g pieces, and cover it with plastic wrap to prevent dry skin.
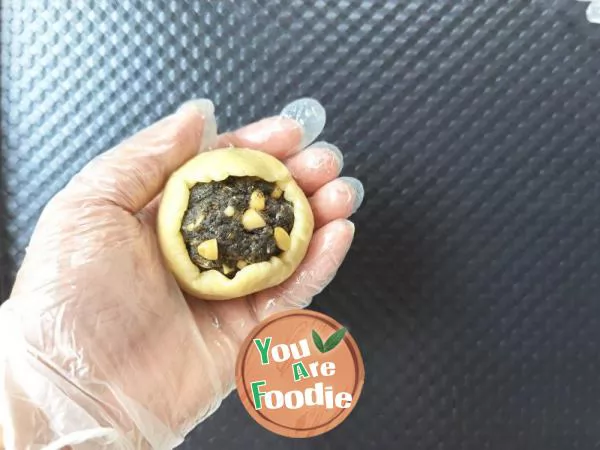
Step 9 . Wear PVC gloves throughout. Rub the pie skin into a circle, place it in the palm of your left hand, press it into a thin circle with the palm of your right hand, put the filling ball on it, and let the pie skin fit on the filling ball.
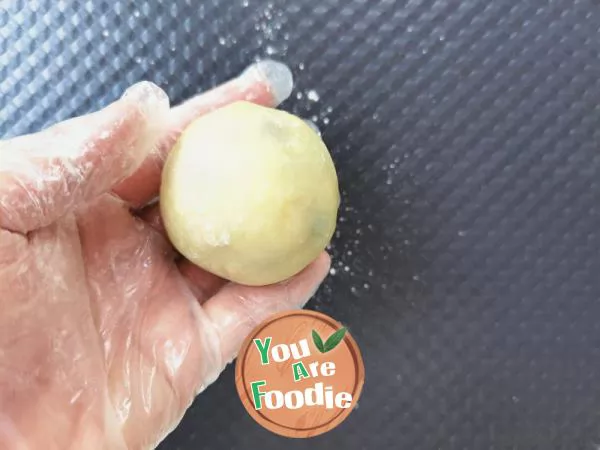
Step 10 . Slowly close the crust, and be sure to slow down. The crust is thin and easy to break if it is too fast.
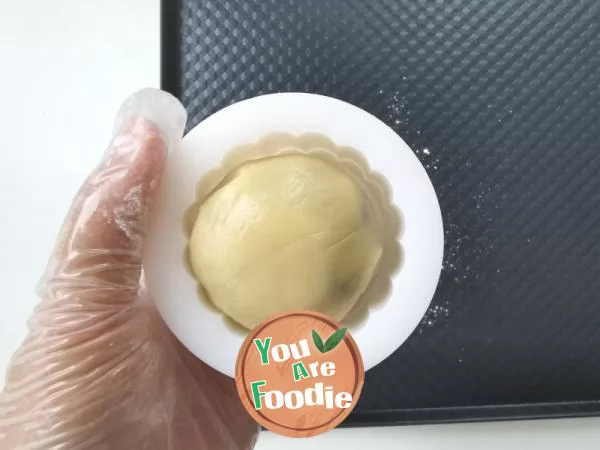
Step 11 . Close the mouth and pat a thin layer of corn starch. Rub evenly. Put in the mold.
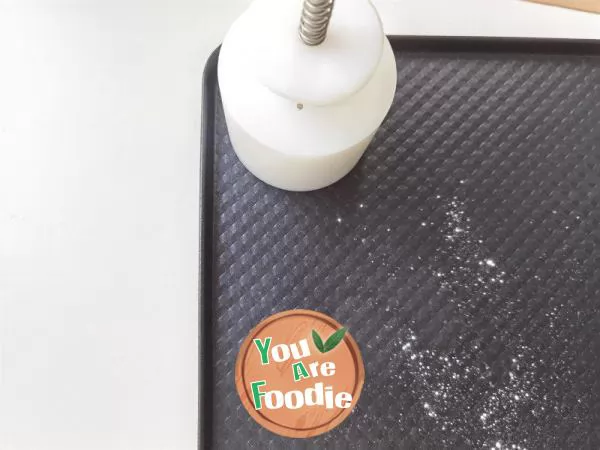
Step 12 . Preheat the oven. The air oven mode is 210 degrees. The preheat time must be enough. The mold is buckled on the non stick baking tray and pressed evenly for 1-2 times.
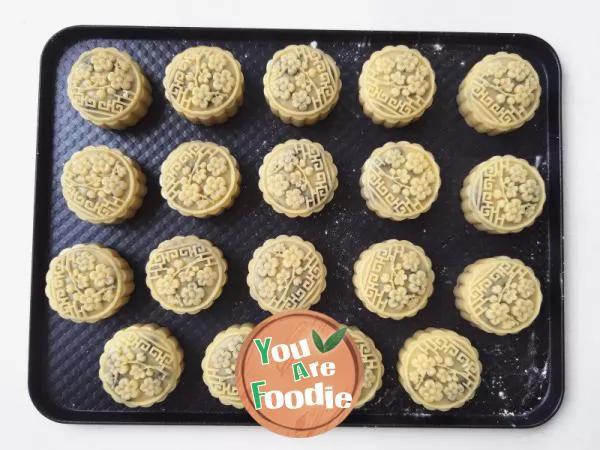
Step 13 . Lift the mold, easily demould, predict the position, and do not move after pressing. Press them in turn.

Step 14 . After all the packages are wrapped, spray 1-2 times with the spray pot suspended in the air to let the pure water fall on the surface of the moon cake evenly to prevent the skin from cracking when baking. Put it in the middle of the oven and set it at 210 ℃ for 7 minutes.
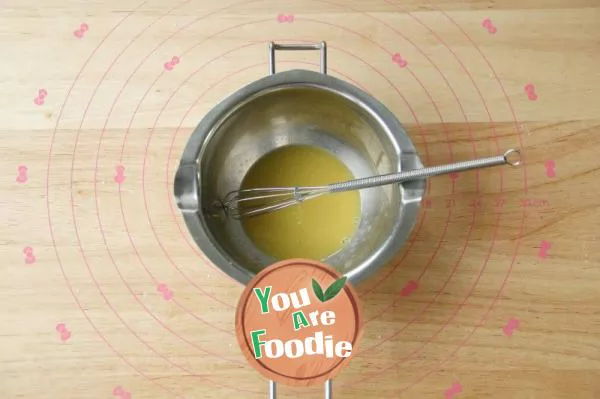
Step 15 . Sift the egg yolk, add 2G of purified water and 1 drop of syrup, and stir well.
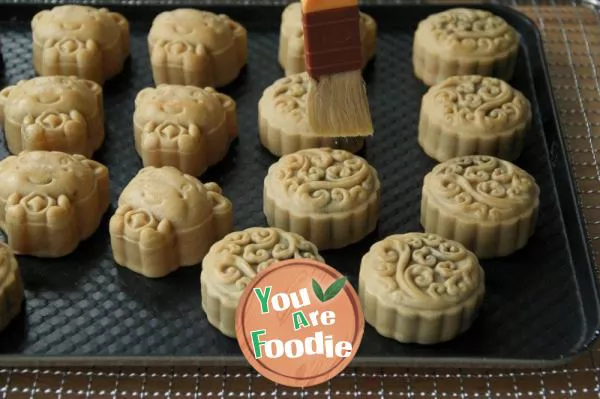
Step 16 . Take out after baking, turn the air oven to 165 ° C and continue to preheat. Put the moon cake in the hand temperature, dip the egg liquid with a wool brush and scrape it on the edge of the bowl (novices can put the wool brush dipped with egg liquid on the oil paper and scrape it gently with a scraper to scrape off the excess egg liquid), then quickly brush the egg liquid on the surface of the moon cake, brush it for 1-2 times, and be sure to be thin.
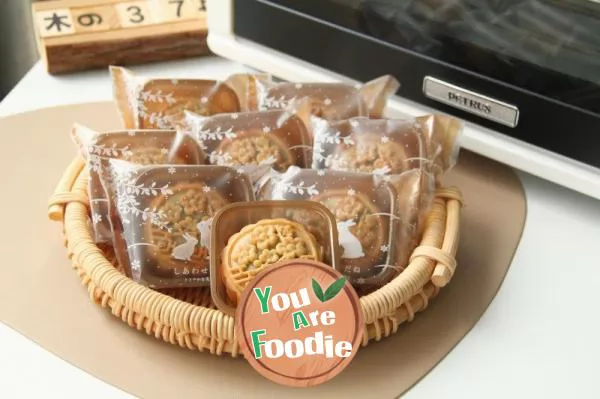
Step 17 . Put into the oven and bake at 165 ℃ for 12 minutes. Bake cold to hand temperature, machine seal and pack, wait for oil return!
* Information is provided from the Internet, If there is a copyright infringement, Please contact administratoryouarefoodie.com, We will deal with as soon as possible, Thank you!


