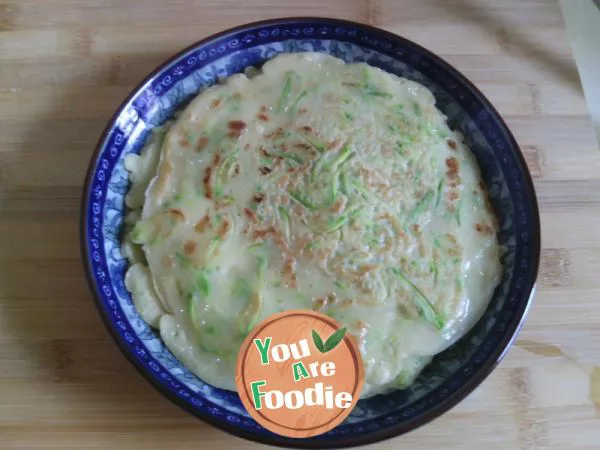

6-inch version of simple Qifeng cake
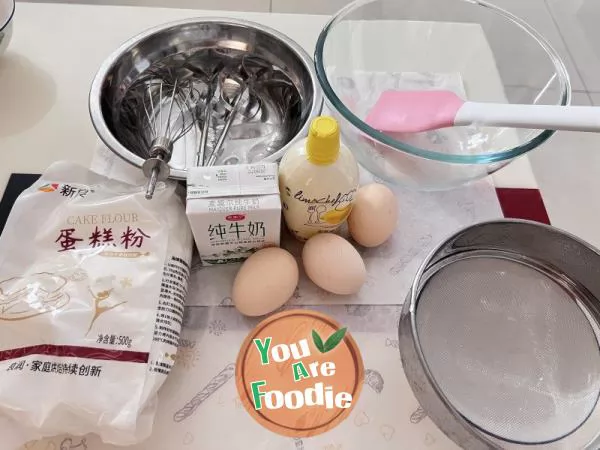
Step 1 . Prepare the above ingredients.
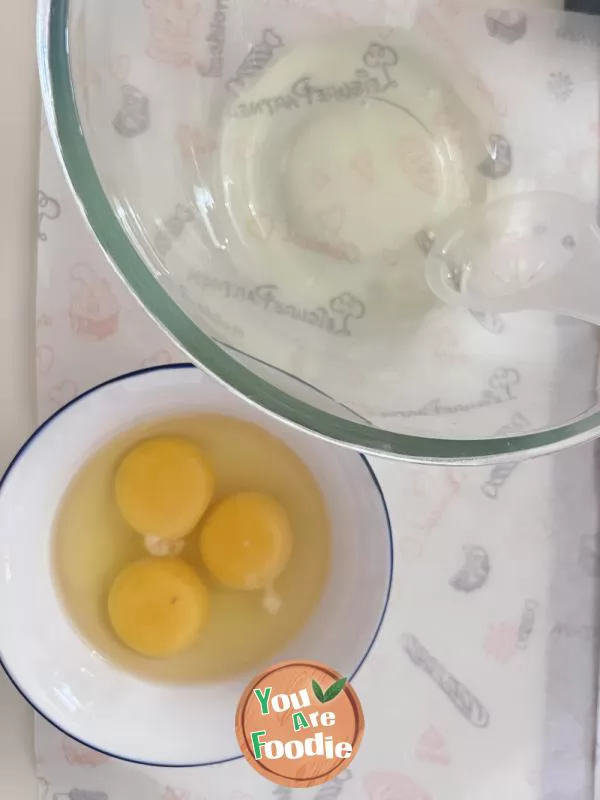
Step 2 . Separate egg white and yolk, freeze egg white for 15 minutes.
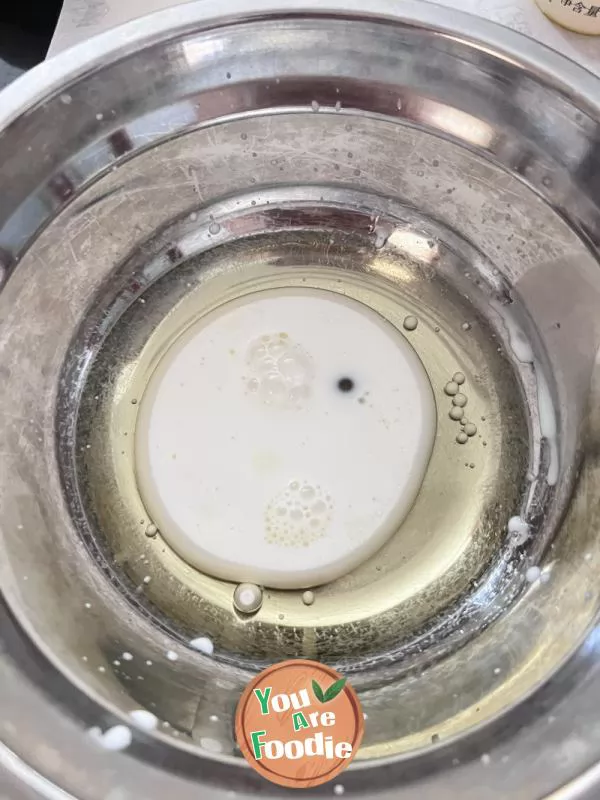
Step 3 . Corn oil mixed with pure milk.
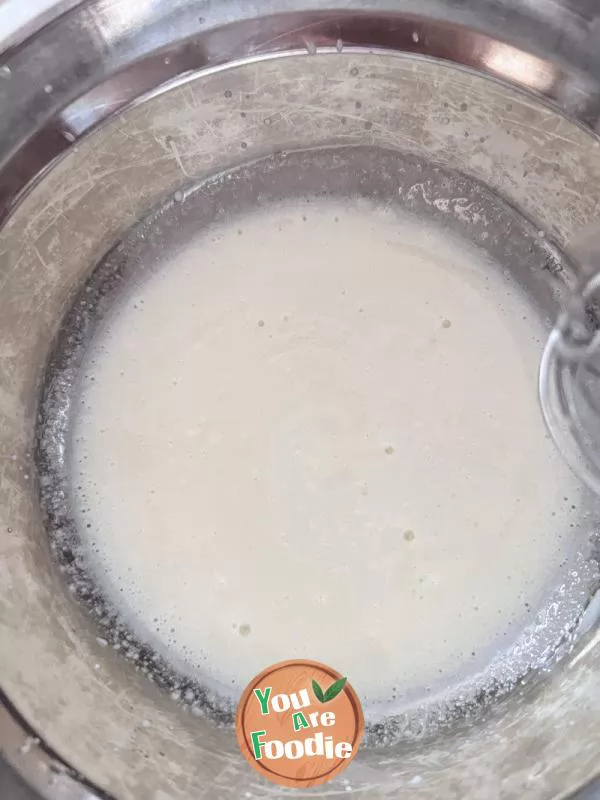
Step 4 . Stir and emulsify.
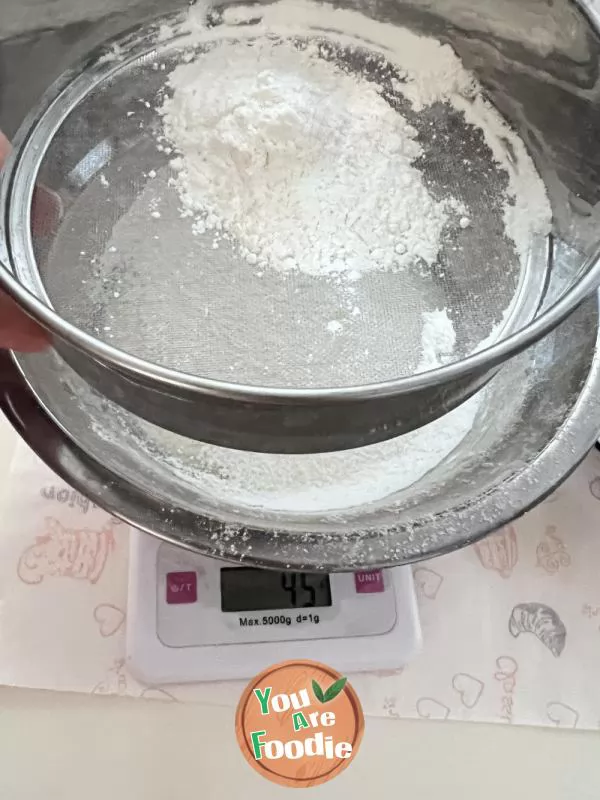
Step 5 . Add low gluten flour.
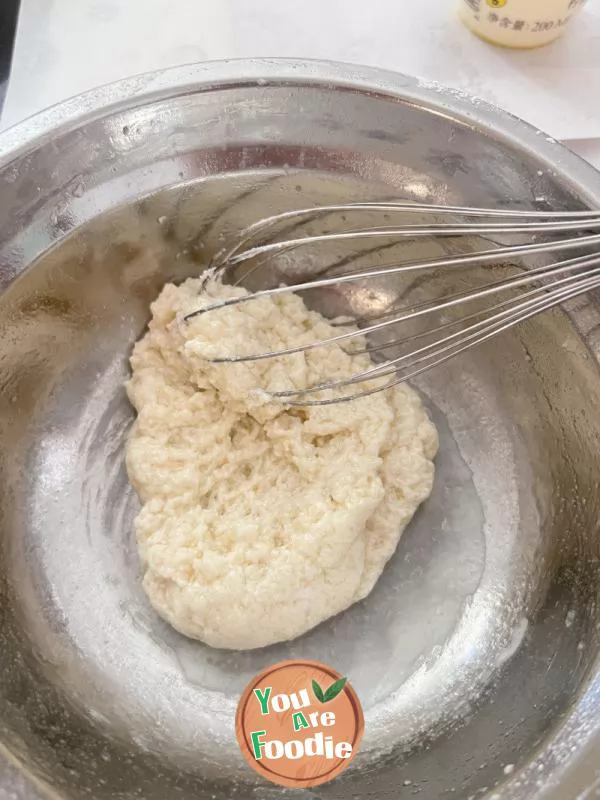
Step 6 . Draw a line and stir evenly.
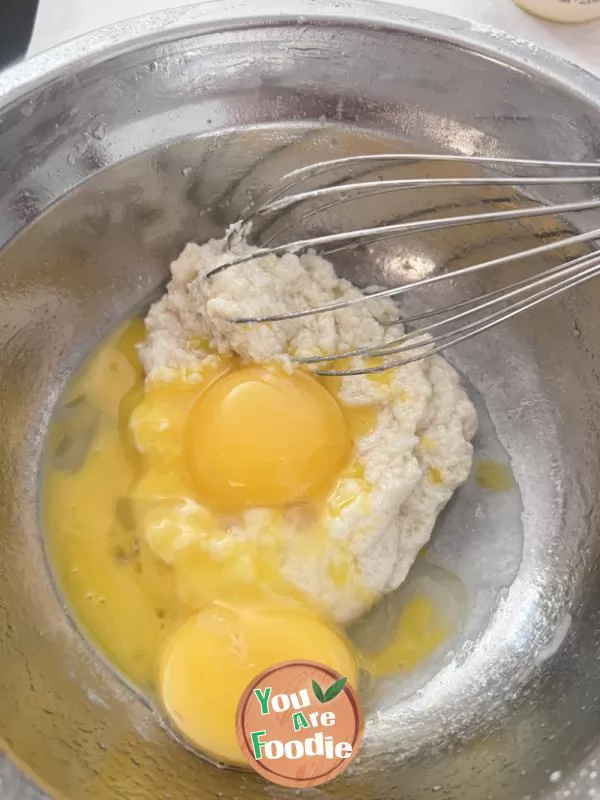
Step 7 . Add egg yolk and continue to draw the Z shape while stirring.
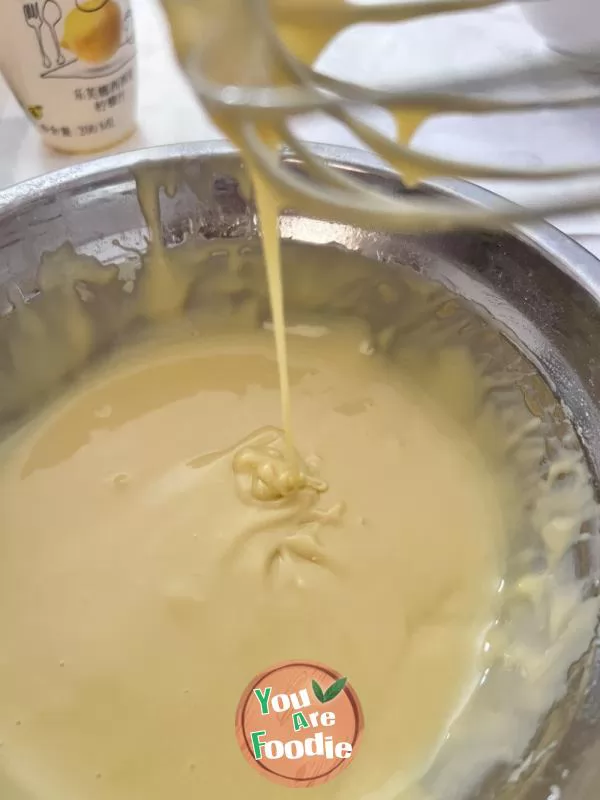
Step 8 . Stir until the egg is a paste, then preheat the oven to 130 degrees Celsius for 10 minutes.

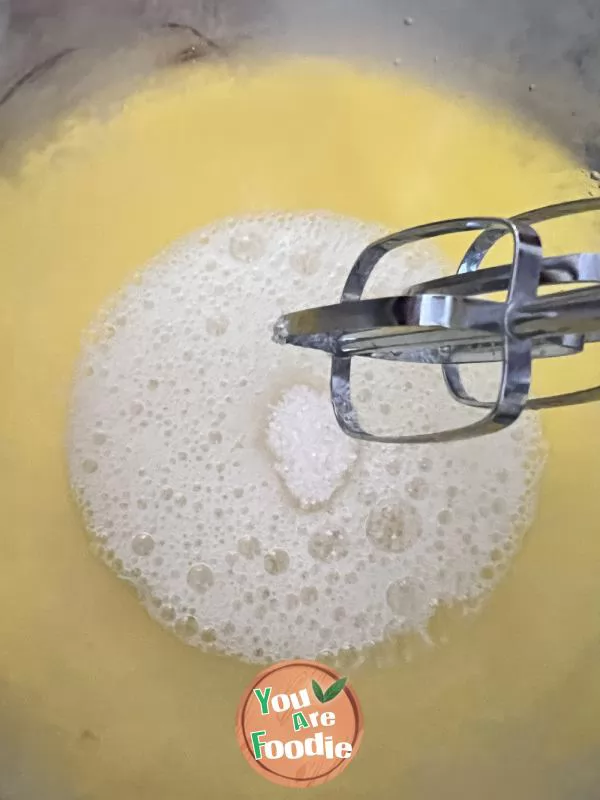
Step 9 . Add 3 grams of lemon juice to the frozen egg whites and 38 grams of white sugar in three portions.
Step 10 . Drive at medium high speed until there are obvious patterns.
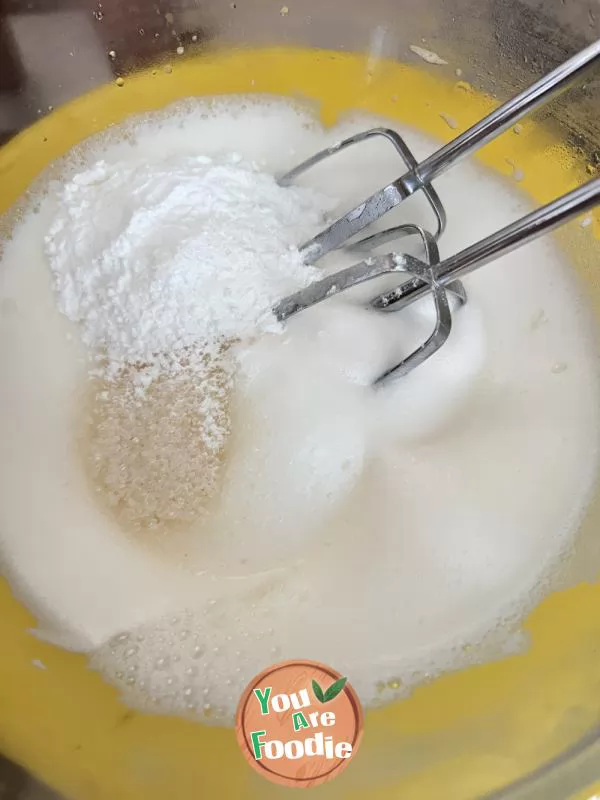
Step 11 . Add corn starch for the last time.
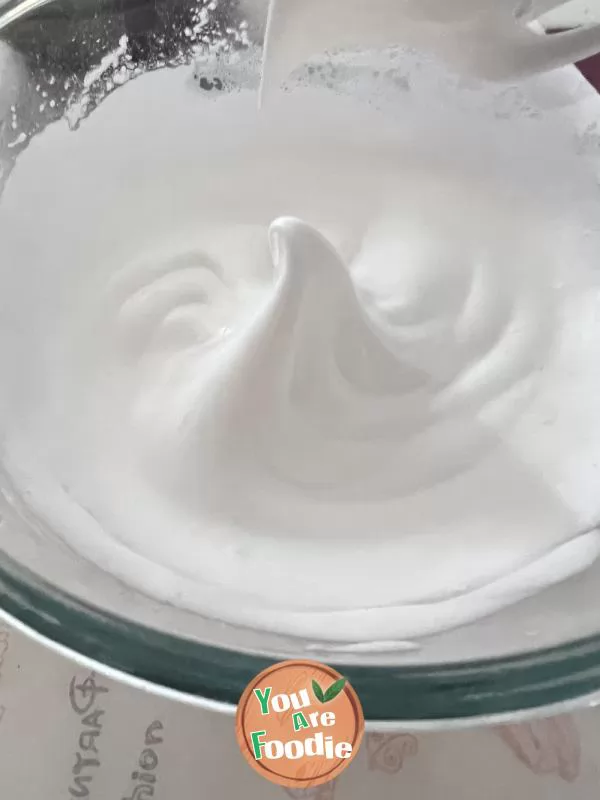
Step 12 . Rotate to low gear again until there are small sharp angles standing upright.
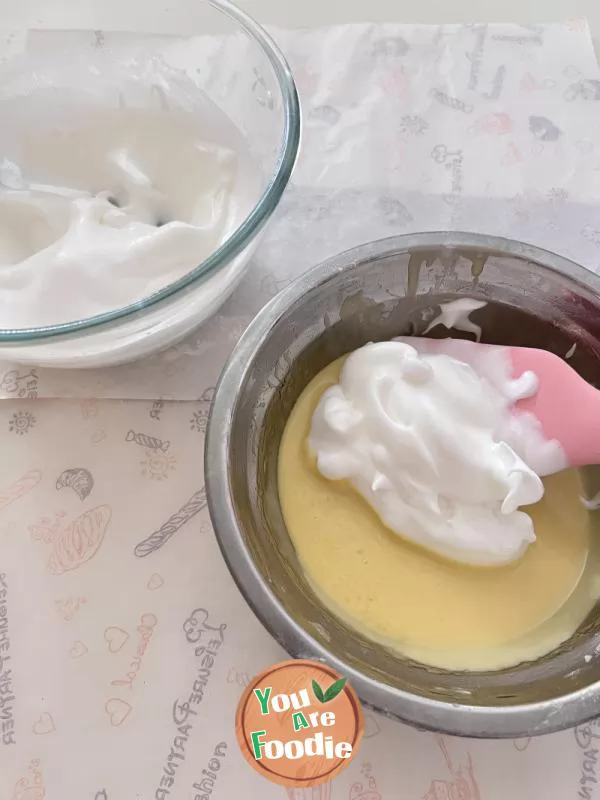
Step 13 . Mix 1/3 of the protein paste and egg yolk paste evenly.
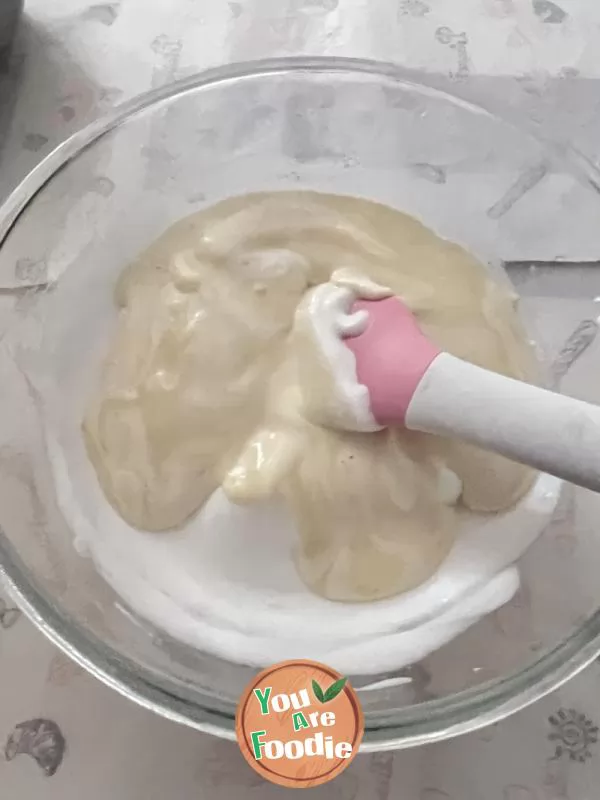
Step 14 . Pour it back into the protein paste and stir evenly.
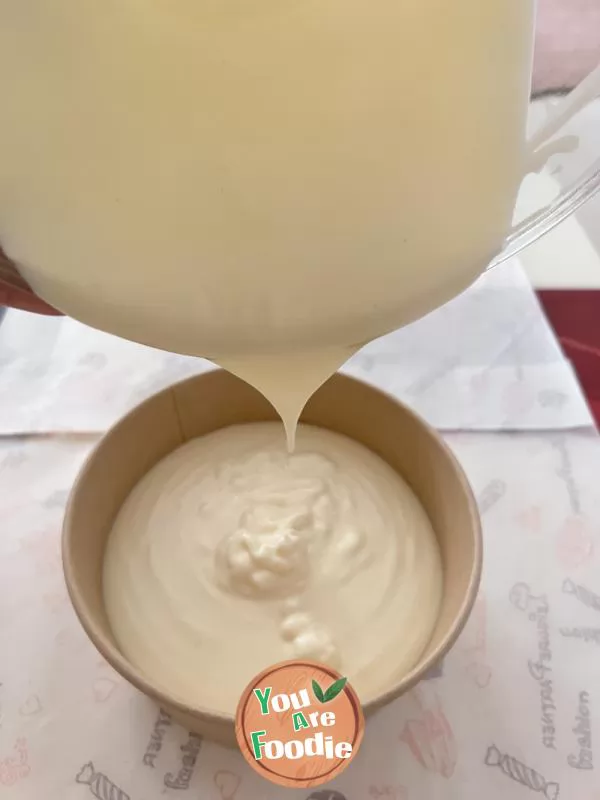
Step 15 . Pour into the mold and shake out bubbles.
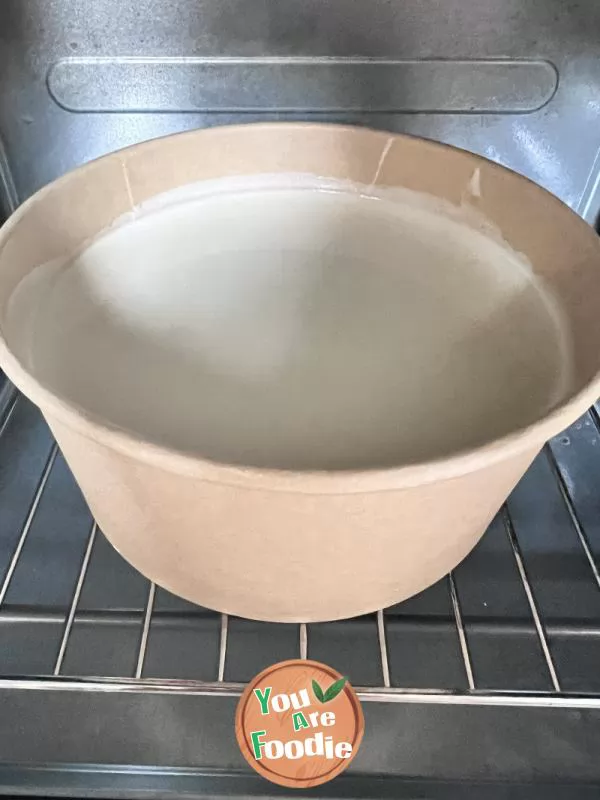
Step 16 . Put it in the lower layer of the oven.
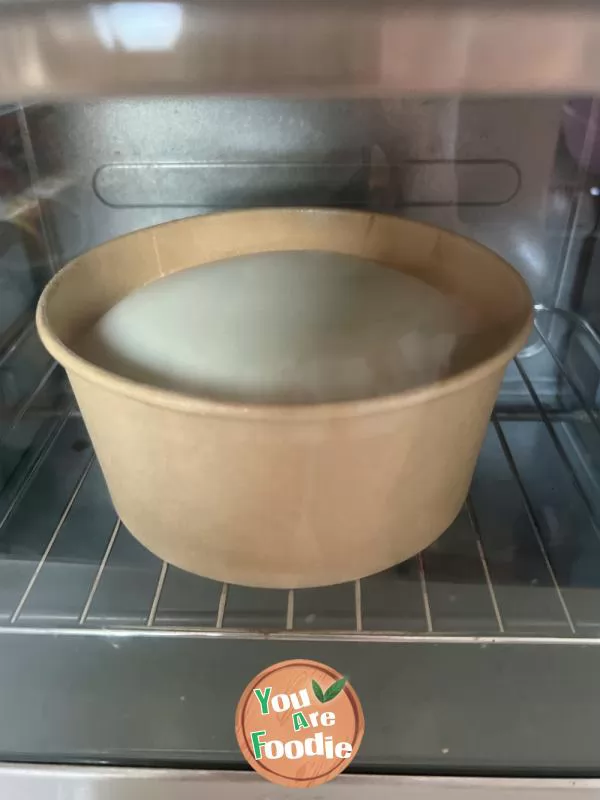
Step 17 . Bake on a flat top oven at 125 degrees Celsius for 35 minutes, then turn it to 150 degrees Celsius for 25 minutes.
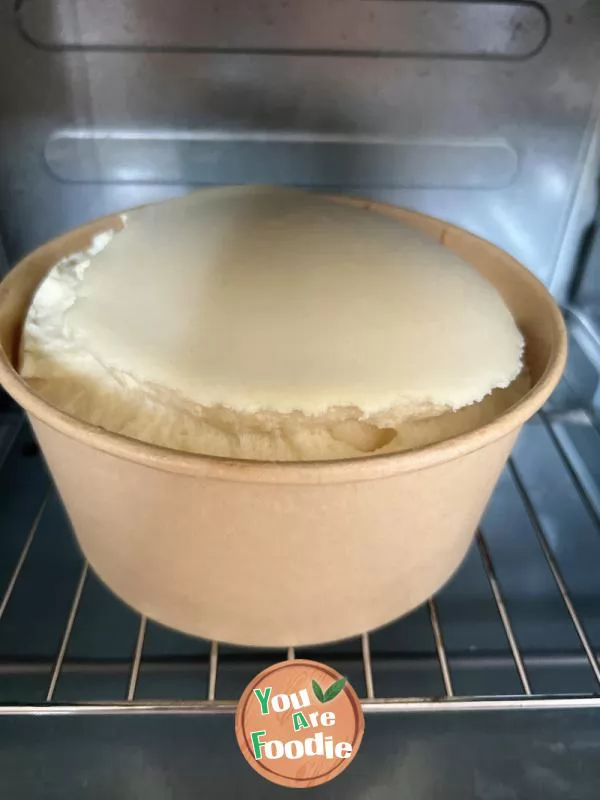
Step 18 . The cake is starting to swell.
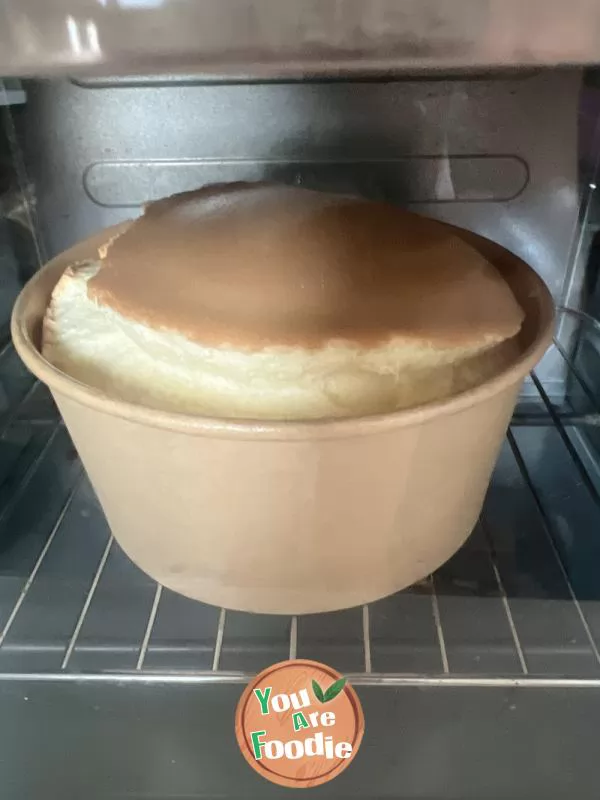
Step 19 . If you find that the expansion is too fast, adjust the temperature to a lower point.
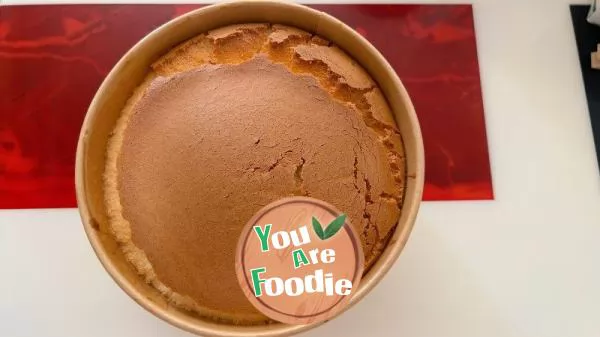
Step 20 . After baking, the Qi Feng cake is placed upside down on the drying rack.
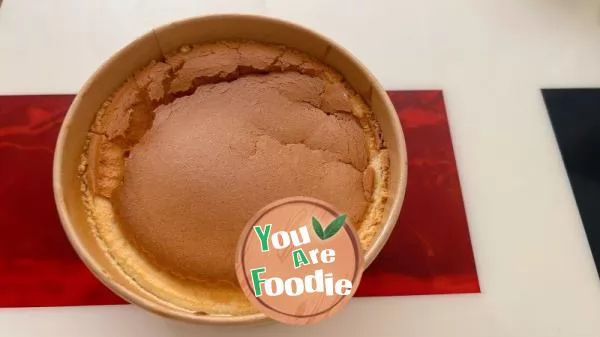
Step 21 . The cake will shrink slightly, which is a normal phenomenon.
Step 22 . Retraction and cracking are normal, there is no need to worry.
* Information is provided from the Internet, If there is a copyright infringement, Please contact administratoryouarefoodie.com, We will deal with as soon as possible, Thank you!