
Basket Cherry Cake
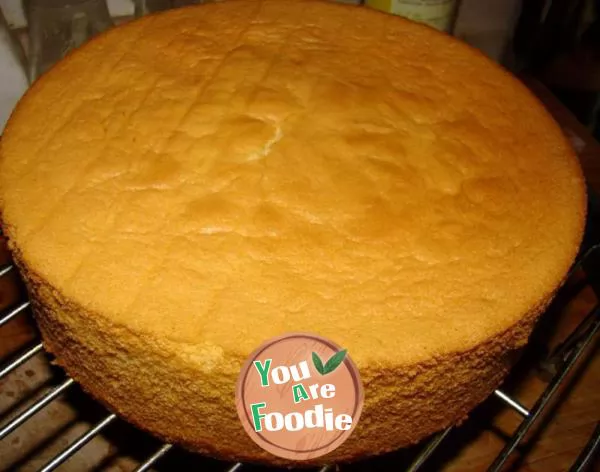
Step 1 . First, bake an 8-inch chiffon cake.
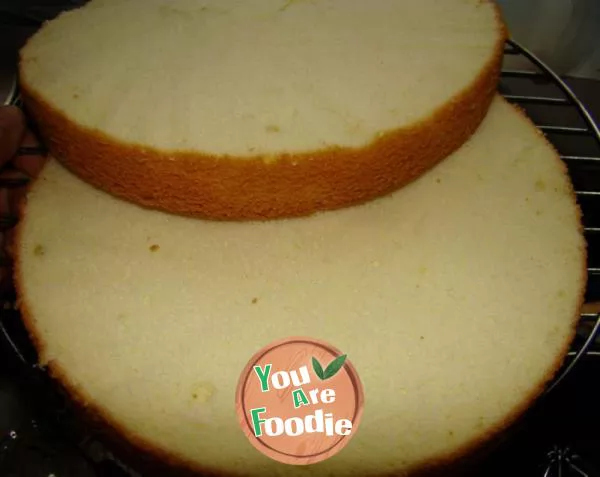
Step 2 . 2. Cut the cake into two pieces for later use.
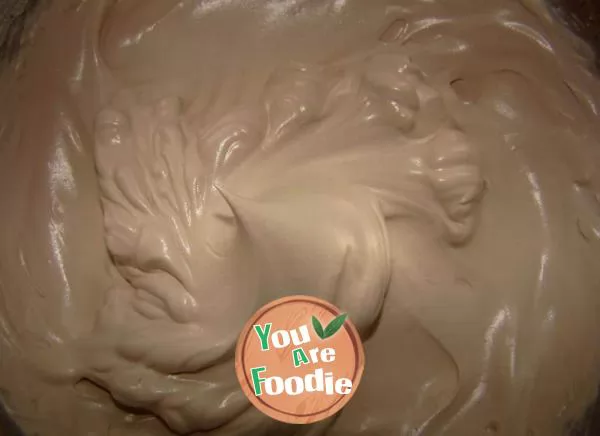
Step 3 . 3. Beat the fresh cream with three teaspoons of cocoa powder.
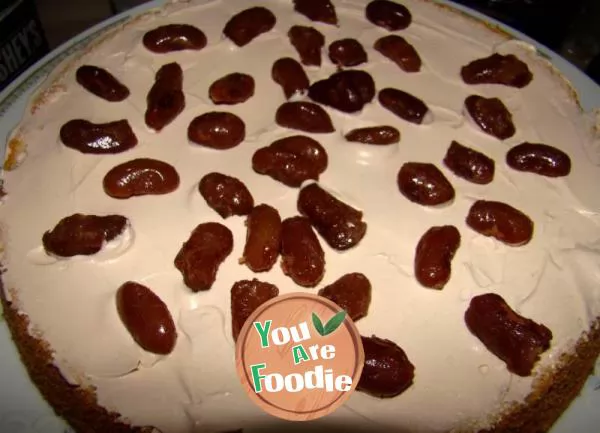
Step 4 . 4. Spread whipped cream on a slice of cake and sprinkle some honey beans or other ingredients.
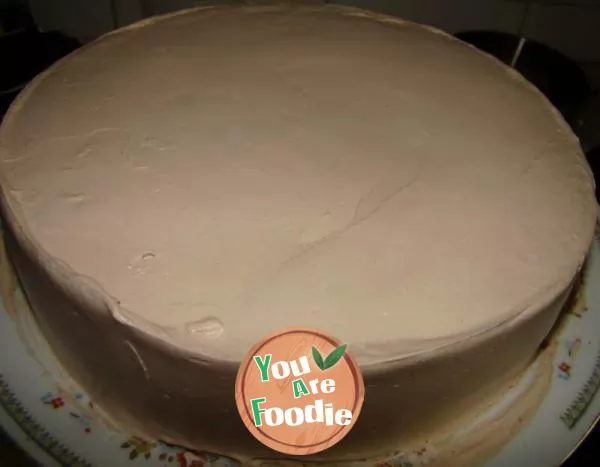
Step 5 . 5. Spread another slice of cake and spread fresh cream evenly. Hehe, I didn't apply it very well, just ignore it. You don't need to be too neat on the surface, you'll have to squeeze patterns later.
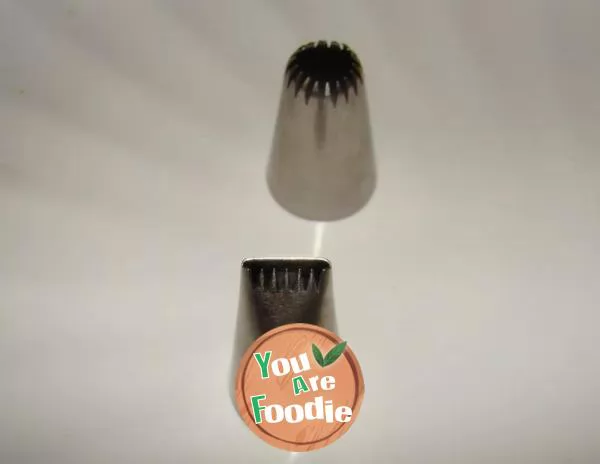
Step 6 . 6. Flower buds that need to be used.
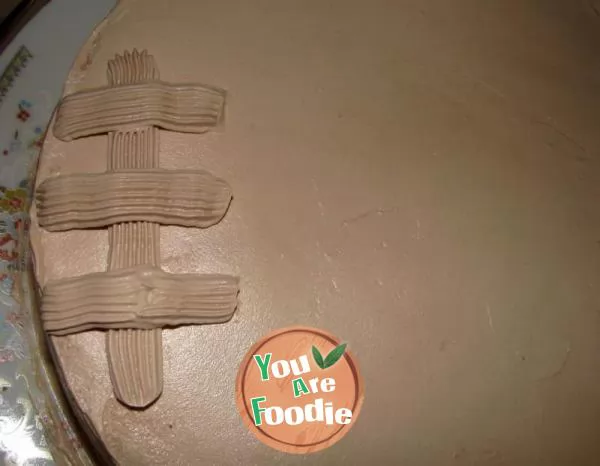
Step 7 . 7. Put fresh cream into the piping tape, install the piping nozzle (the one below), and then squeeze out the pattern as shown in the picture.

Step 8 . Step 2, as shown in the figure.
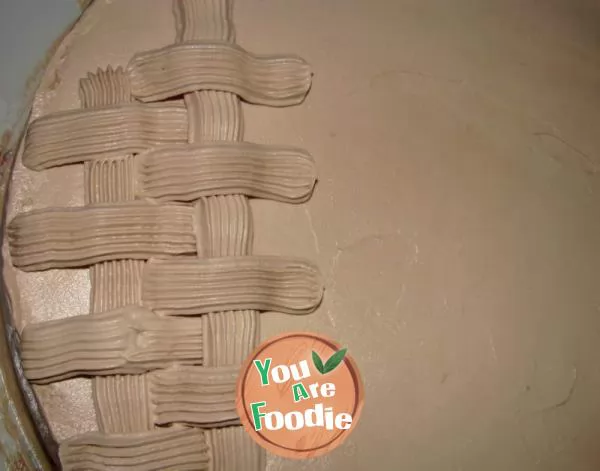
Step 9 . Step 9, as shown in the figure, is the third step
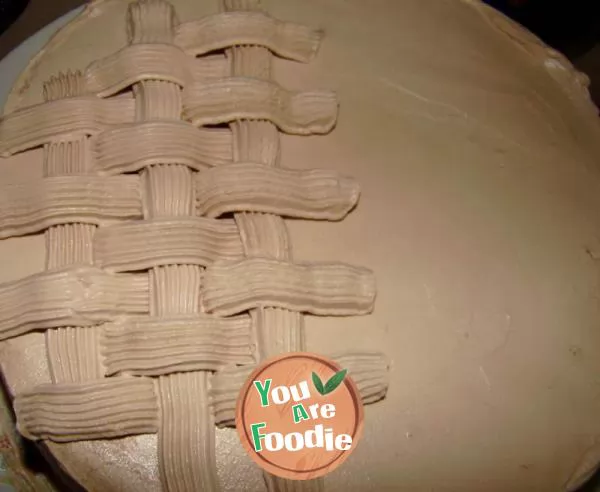
Step 10 . Step 10, as shown in the figure, is the fourth step
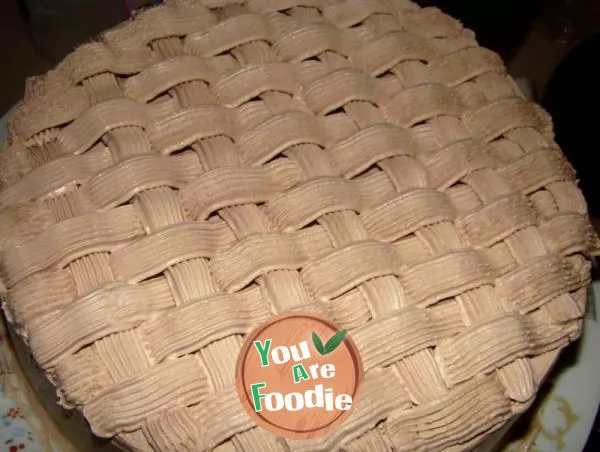
Step 11 . 11, and so on, until the entire cake surface is covered.
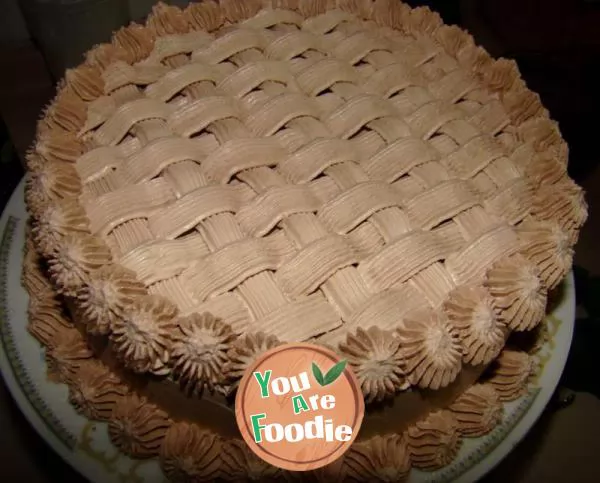
Step 12 . 12. Use the eighteen toothed flower mouth to squeeze out the flowers and wrap them all around.
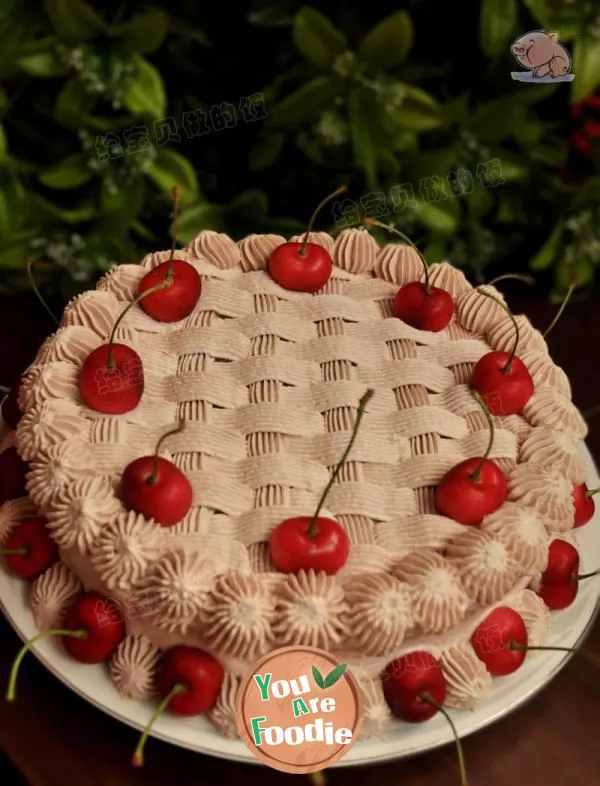
Step 13 . 13. Just decorate it with some cherries.
* Information is provided from the Internet, If there is a copyright infringement, Please contact administratoryouarefoodie.com, We will deal with as soon as possible, Thank you!

![[home style version] fried pork slices](/update/images/foods/31/8031/8031/1653369189_856491.jpg_s.jpg.webp)

![[Tianjin] two kinds of Chinese chives with vegetable stuffing - corn noodle dumplings + vegetarian zygotes](/update/images/foods/23/1423/81423/1653440117_876376.jpg_s.jpg.webp)