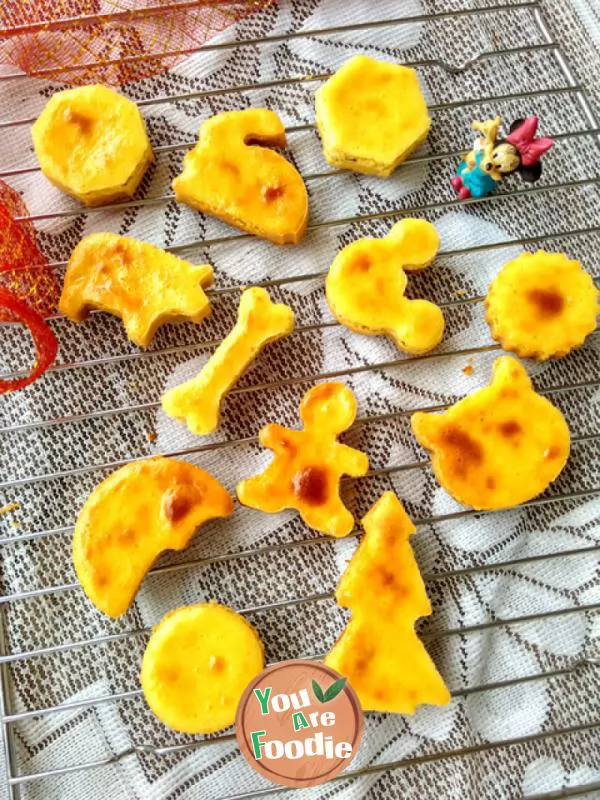
Golden cheese moon cake
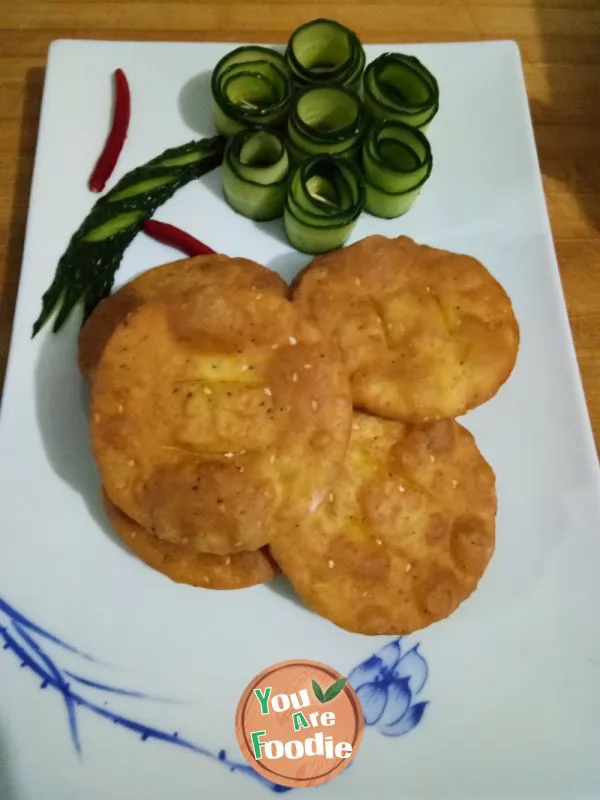
Mr. Wang Sen's golden cheese moon cakes are golden in color and attractive. A few words, it seems very simple.Although there is no square mold, the set of biscuit mold at hand should be competent. It just can't be made into a neat square, but can only be cartoon images of different shapes. It doesn't matter. It was originally intended to send a small pot friend.The batter is very soft and must be refrigerated and hardened before it can be easily molded. Even the mold was put into the oven for baking. Originally, I thought, should I add stuffing to bake after the bottom of the cake is cooled, or add stuffing to bake immediately after baking? When the baking at the bottom of the cake was over, the cake and the mold had separated into a seam, which made it a little misty. The filling was so thin that it could not flow out of that seam? Don't wait for it to cool down. Pour the filling directly. Maybe the heat can make the filling solidify a little, so as to prevent / slow down the overflow. Pour the filling as quickly as possible and send it to the oven. Overflow is inevitable, but it is not too bad. After entering the oven, the effect of temperature stops the overflow of stuffing. The cartoon image of the golden moon cake looks like a model.Cool down, refrigerate again, carefully demould, but it is still impossible to avoid the edge friction damage after all....There is no need to beat butter when making a cake base.The powder must be sieved before use.Do not stir the stuffing until it is well mixed.The ratio of filling and cake bottom can be adjusted according to your preference.
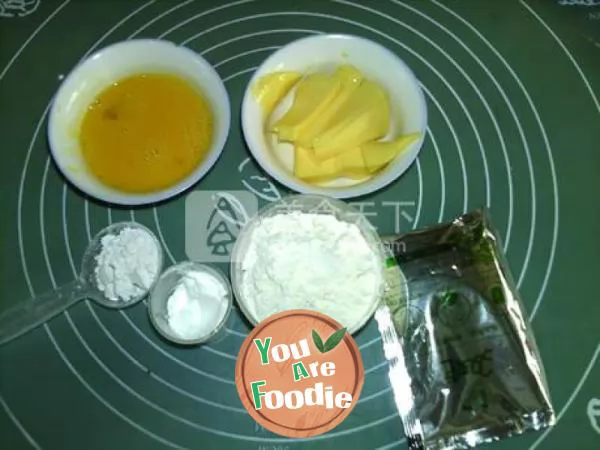
Step 1 . Cake bottom: 41g butter, 47g low gluten flour, 7g powdered sugar, 12g eggs, 5g corn starch and 4G milk powder
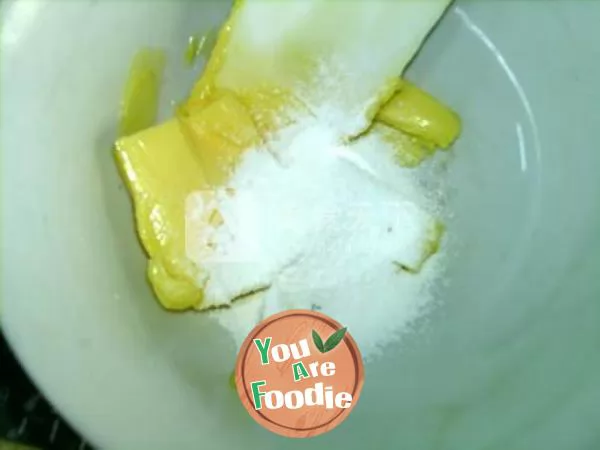
Step 2 . Soften the butter, add powdered sugar and stir well.

Step 3 . Add egg liquid in several times and stir,

Step 4 . Into a uniform smooth paste.
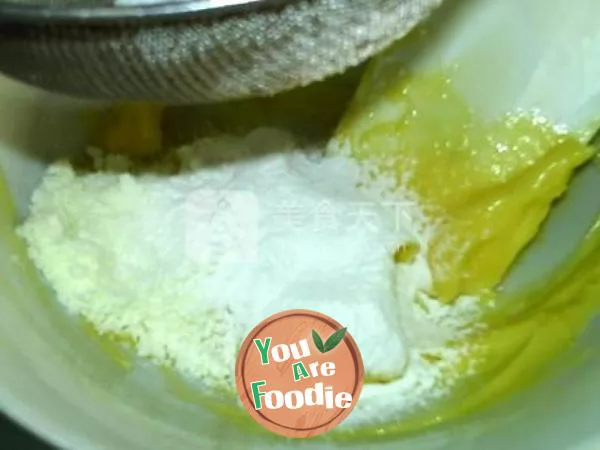
Step 5 . Sift in low gluten flour, corn starch, milk powder,
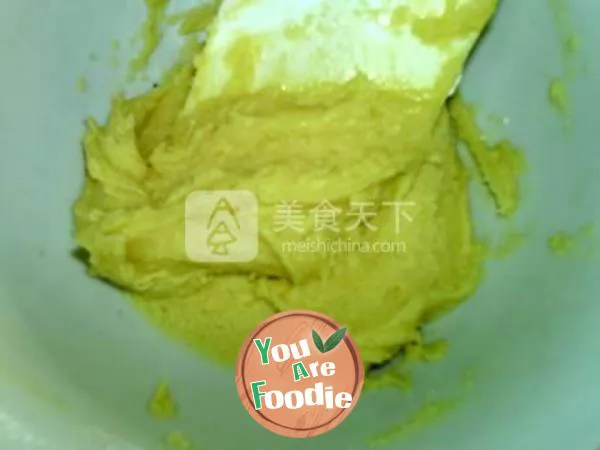
Step 6 . Mix it into a uniform batter,

Step 7 . Wrap it in plastic wrap and put it in the refrigerator for 20 minutes.
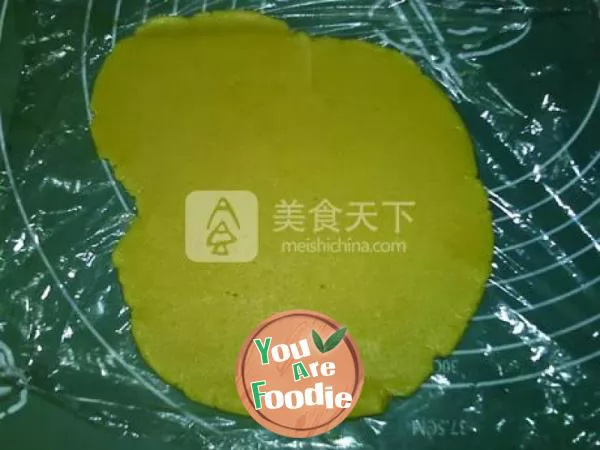
Step 8 . Take it out and roll it into large pieces about 0.4 cm thick.
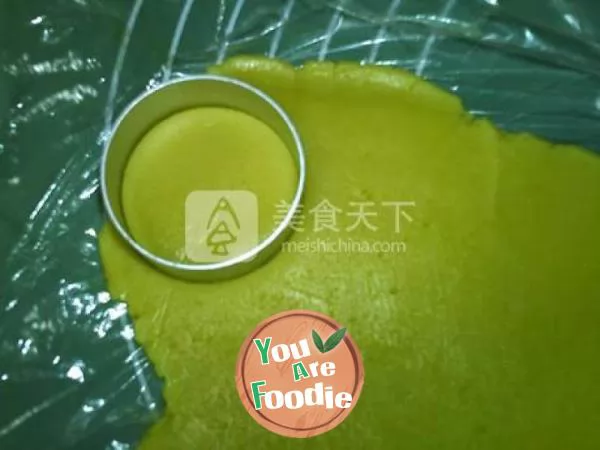
Step 9 . Mold printing.
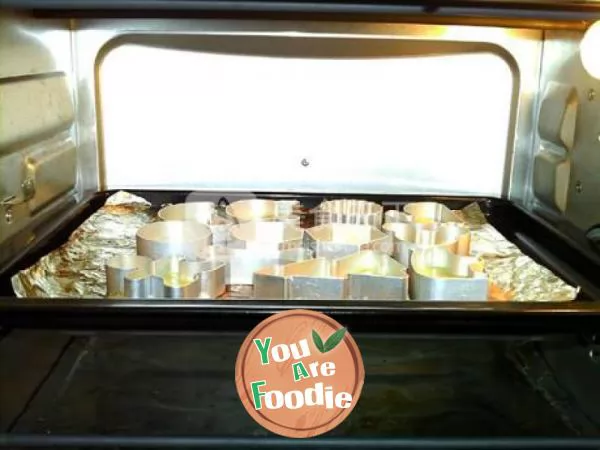
Step 10 . Together with the mold, put it into the oven, middle layer, heat 180 degrees, heat 140 degrees, bake for about 18 minutes.
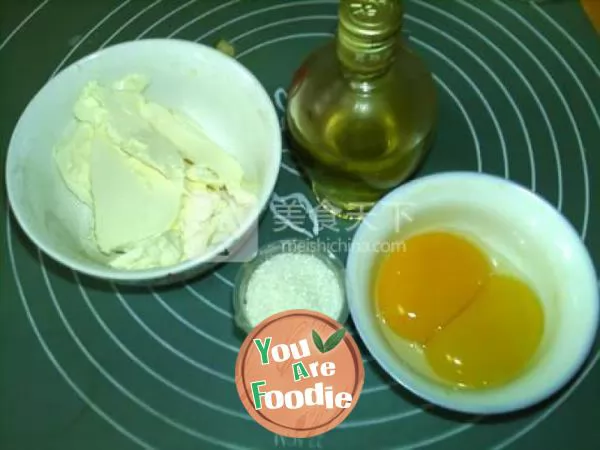
Step 11 . Filling: 82G cream cheese, 32g fine granulated sugar, 40g egg yolk, 1g brandy
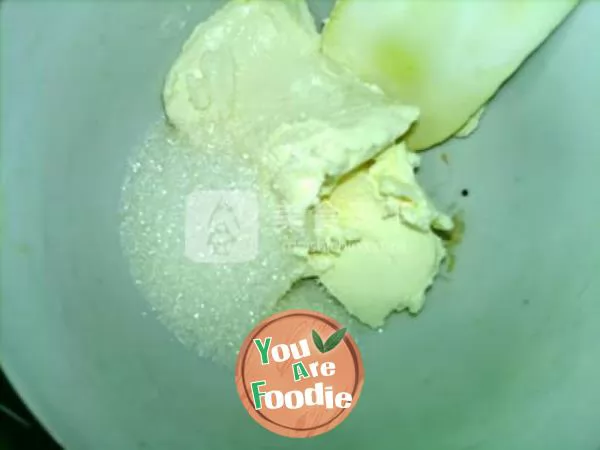
Step 12 . Add sugar to the softened cream cheese and stir until smooth and granule free.
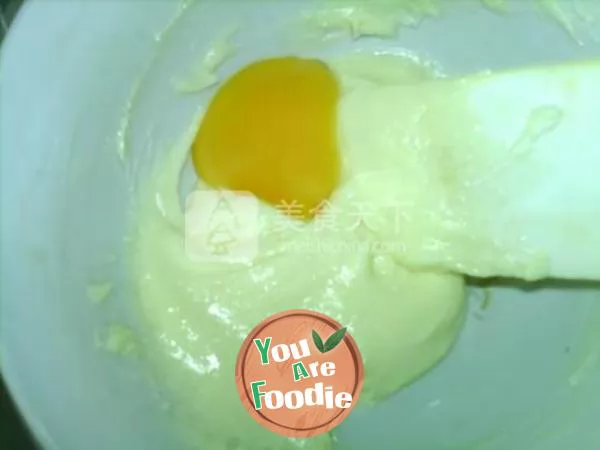
Step 13 . Add egg yolk in several times and stir well.

Step 14 . Add brandy.

Step 15 . Stir to make it mixed evenly.
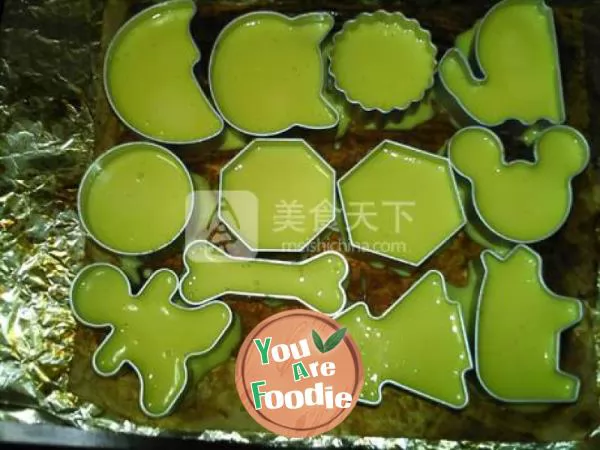
Step 16 . Pour into the baked cake bottom,

Step 17 . Put it in the oven, in the middle layer, heat it at 210 degrees, heat it at 120 degrees, and bake it for about 35 minutes.
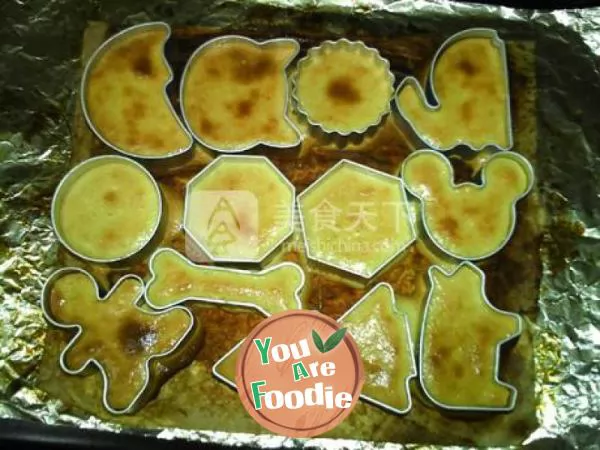
Step 18 . The surface is golden yellow and comes out of the furnace.
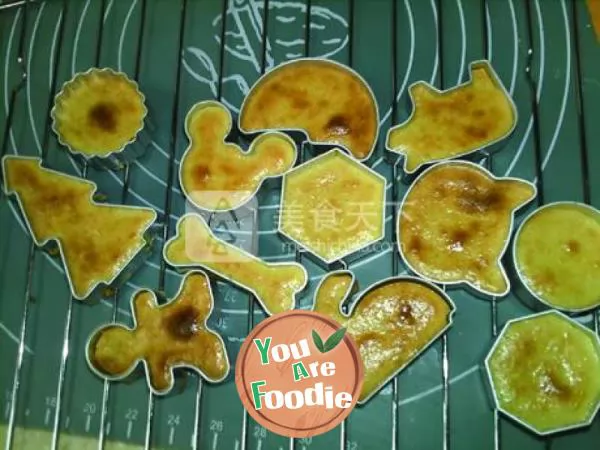
Step 19 . Put it on the drying rack to dry to room temperature, and then put it together with the mold into the refrigerator to refrigerate for about 70 minutes.
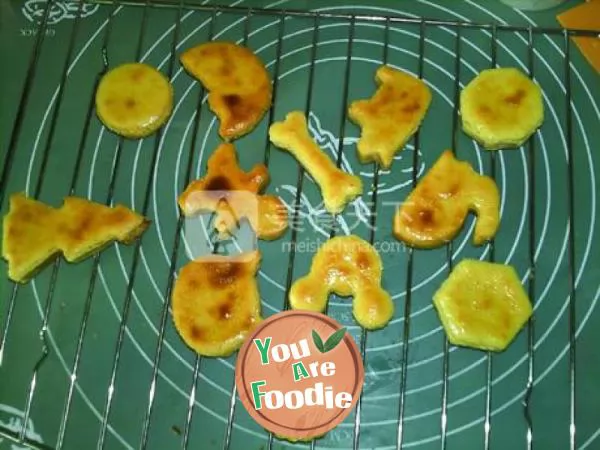
Step 20 . Take out and demould.
* Information is provided from the Internet, If there is a copyright infringement, Please contact administratoryouarefoodie.com, We will deal with as soon as possible, Thank you!
