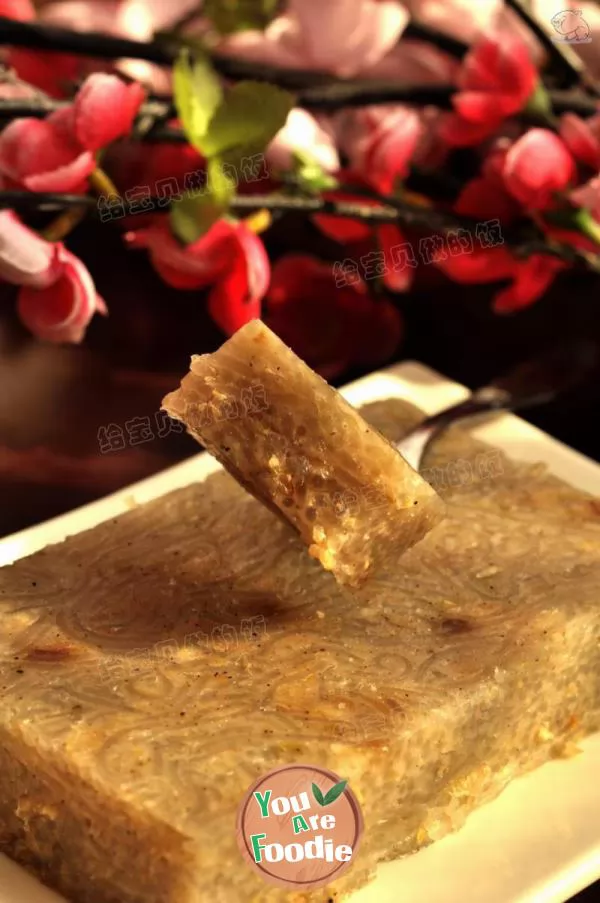
Coarse grain flax cake
It's really the flavor of childhood. It's very crisp, very crisp sesame cake! It reminds me of my father's hands when I was a child. He carefully held the jute paper wrapped with jute cakes and was not willing to take a bite. It reminds me of the scene that my younger brothers and sisters enjoyed eating around the jute cakes in the jute paper. After eating, they used their fingers to dip the remaining white sesame seeds on the paper into their mouths and refused to leave for a long time. Now that life is better, I still like the taste of missing you. The coarse grain used in the recipe is 50% corn flour, as well as the medium gluten flour and corn starch commonly used in my family. The auxiliary materials are sugar flour containing corn starch. The finished product made of so much flour mixed with corn oil and eggs is more crisp. It tastes better the next day than it just came out of the oven. Let's share the recipe with you!The sugar content in our recipe is already very low. In order not to affect the taste, please don't reduce the sugar content. You can add more sugar if you like the sweet taste. I like this antique sesame cake to be light in color and crisp after baking. I like dark color. My relatives can adjust the oven temperature according to their own temper.

Step 1 . Add 120g corn oil and 80g powdered sugar and stir well;

Step 2 . Add 2 eggs and stir well to form egg oil paste;

Step 3 . 120 grams of medium gluten flour, 30 grams of corn starch, 150 grams of corn flour, 0.5 grams of baking soda and 3 grams of baking powder are mixed and sieved;
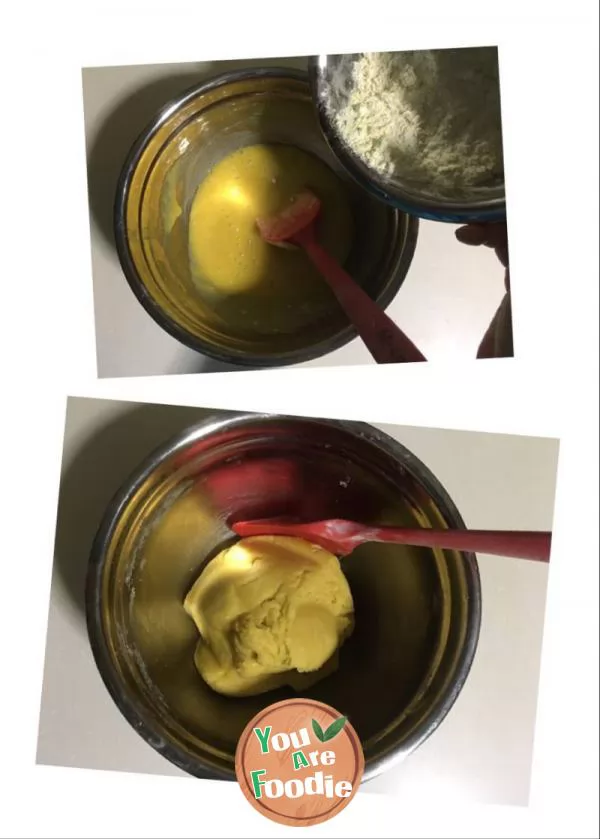
Step 4 . The sifted flour is added into the egg oil paste three times, and each time, it is mixed with a scraper until there is no dry powder, but there is no need to over mix;

Step 5 . Dig out a small rim of about 33 grams with a spoon;

Step 6 . Flatten it in your hand and dip it with sesame seeds;

Step 7 . The side stained with white sesame faces up, complete each one in turn, and discharge it into the baking pan, leaving space in the middle to avoid adhesion;

Step 8 . Put it into the middle layer of the preheated 175 ℃ oven, and heat it up and down for 20 minutes;

Step 9 . Finished product drawing

Step 10 . Finished product drawing

Step 11 . Finished product drawing
* Information is provided from the Internet, If there is a copyright infringement, Please contact administratoryouarefoodie.com, We will deal with as soon as possible, Thank you!
