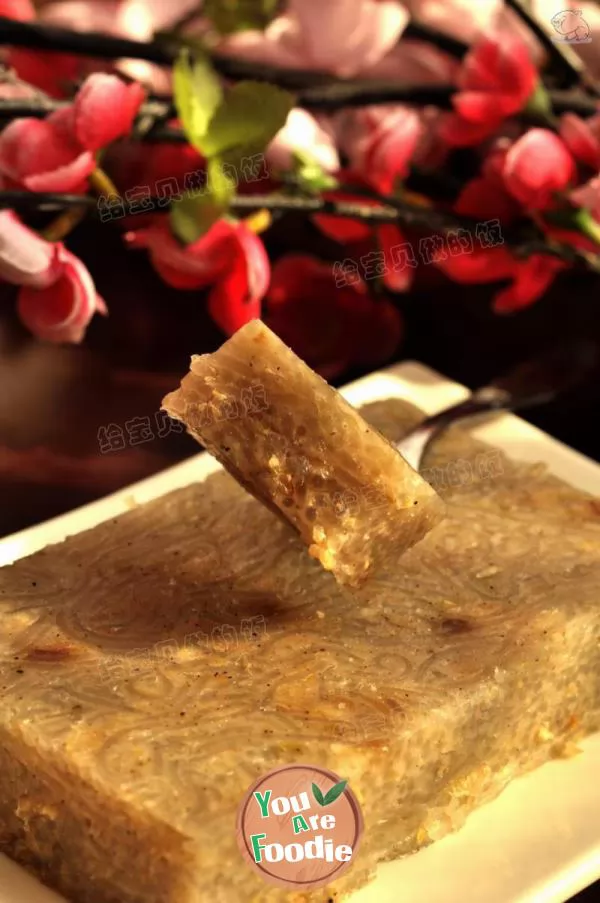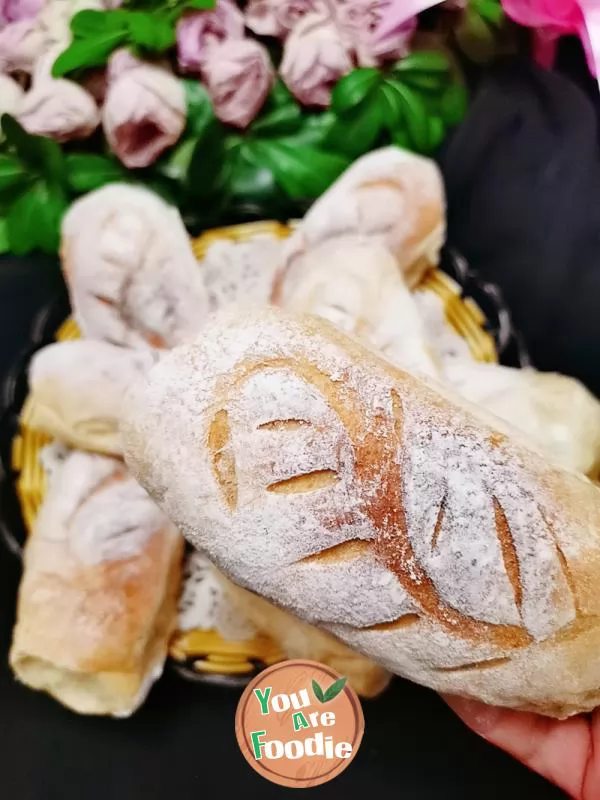
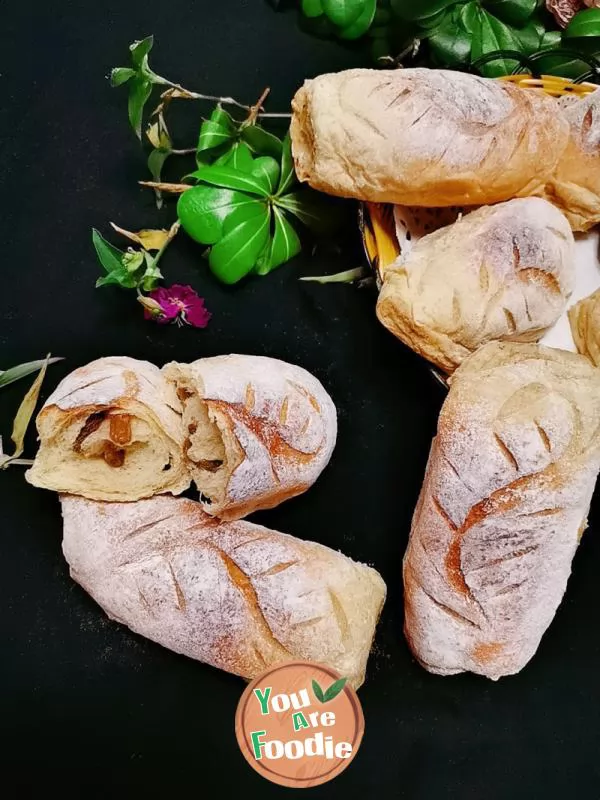
Whole wheat snack bag
Whole wheat flour refers to the whole grain of wheat that is only ground without the process of removing bran. It is the whole grain of wheat that contains all the bran and germ. Therefore, whole wheat flour has higher health and nutrition functions. The bread made of whole wheat flour tastes good and chewy. The more you eat, the more mellow it will be. It gives you endless aftertaste. The most important thing is the bread that is healthy and can be eaten for weight loss 😊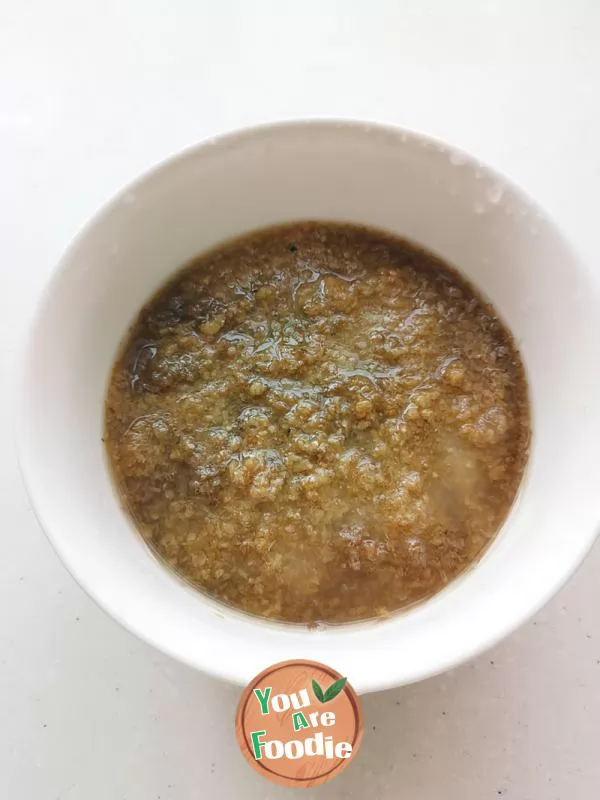
Step 1 . Soak 80 grams of whole wheat flour and 100 grams of water in advance, put it in the refrigerator for one night, and soak it thoroughly
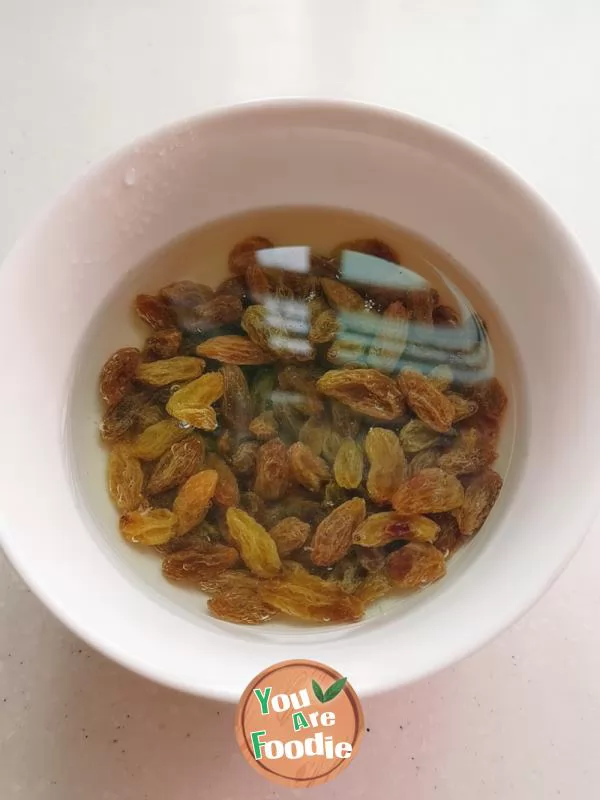
Step 2 . Raisins also bubble in advance (one hour is enough)

Step 3 . In the morning of the next day, take out the soaked whole wheat flour paste in the refrigerator, and don't warm it up
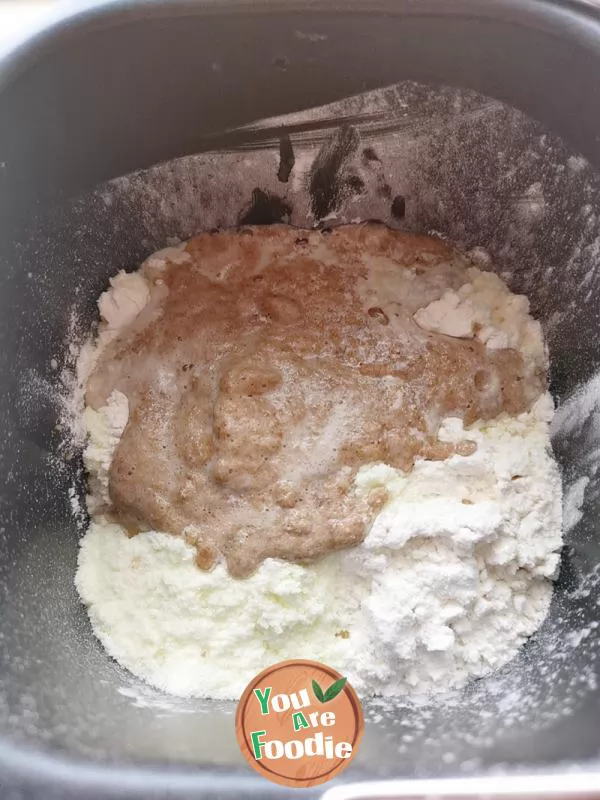
Step 4 . Put all the materials except butter into the bucket of the toaster, open the cover of the toaster and knead the dough all the way
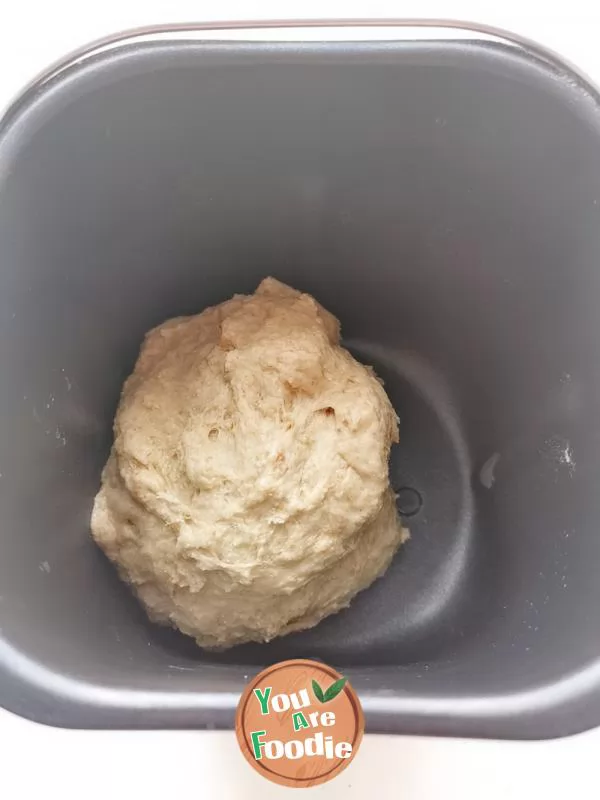
Step 5 . The toaster selects the "dough" program, opens the lid, and the time is set to 15 minutes
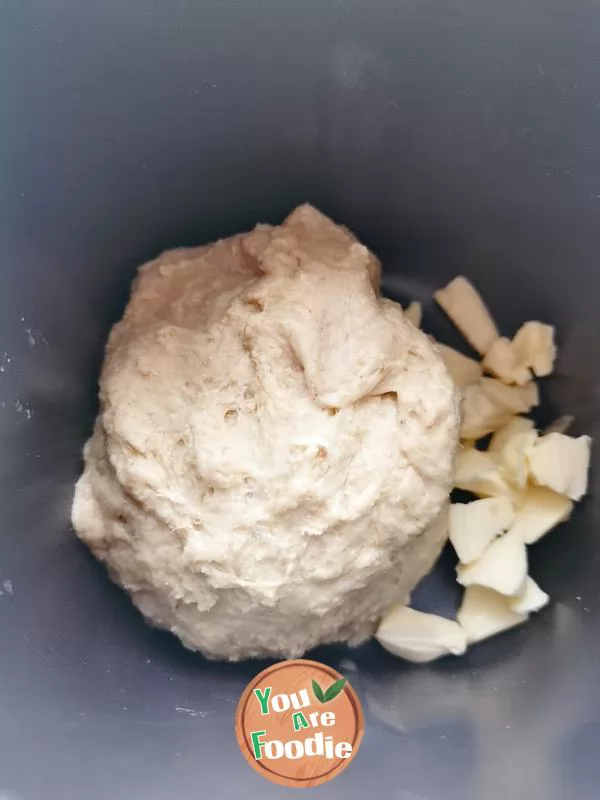
Step 6 . When the time is over, add softened butter
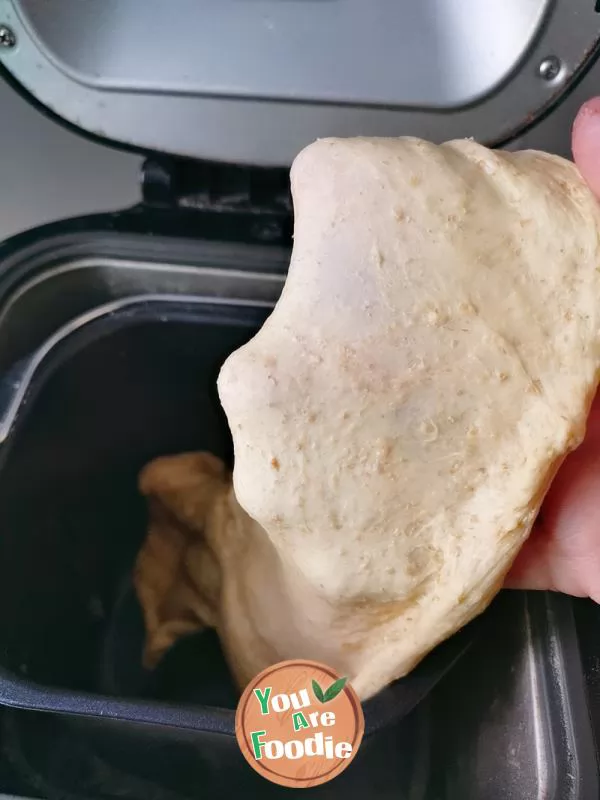
Step 7 . The toaster selects the "dough mixing" program again, and the time is set to 15 minutes. The dough is kneaded smooth again. This step is repeated twice. The whole kneading program is 4 times (plus the previous time of putting butter). The kneading times are determined according to the film state of the dough. After the program is finished, take out the dough and check the state, Until the dough can be pulled out of the thin and elastic glove film (the whole kneading process should open the cover of the toaster to knead the dough to avoid the temperature rise)
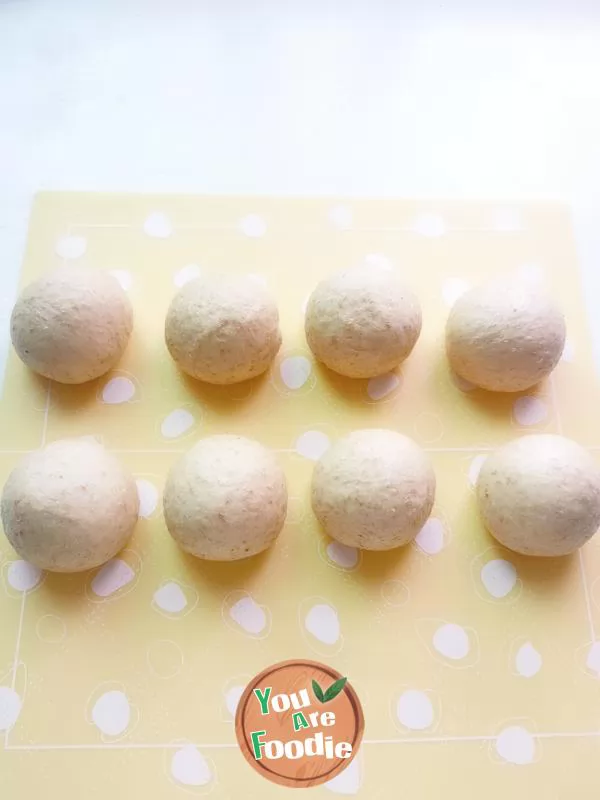
Step 8 . Knead the dough smooth without fermentation. Take out the dough directly, divide it into 70 grams of a uniform small dosage, roll it round respectively, cover it with fresh-keeping film, and let it stand at room temperature for 20 minutes
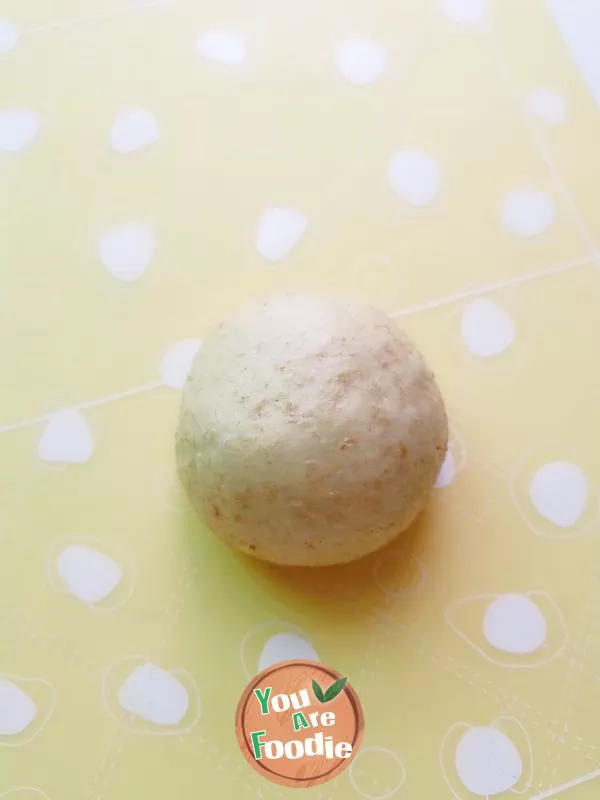
Step 9 . After the standing time is completed, take out a dough
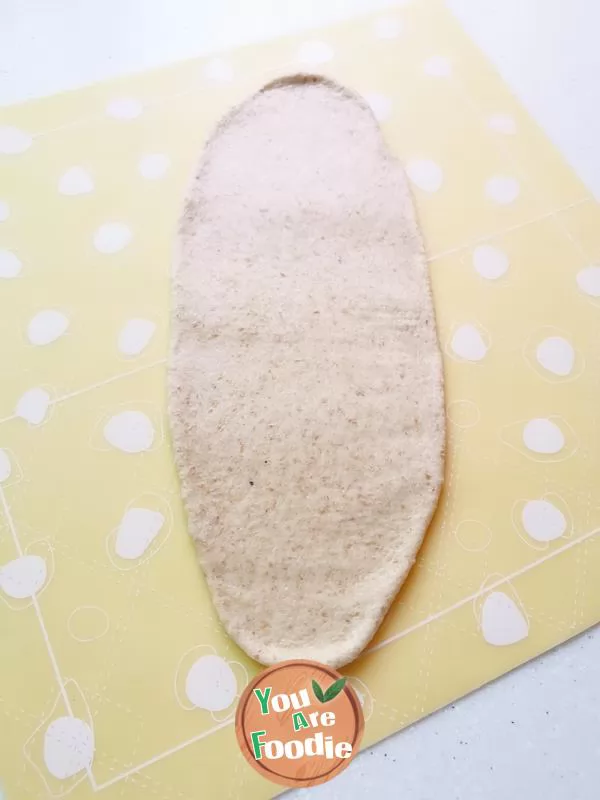
Step 10 . "Long tongue shaped"
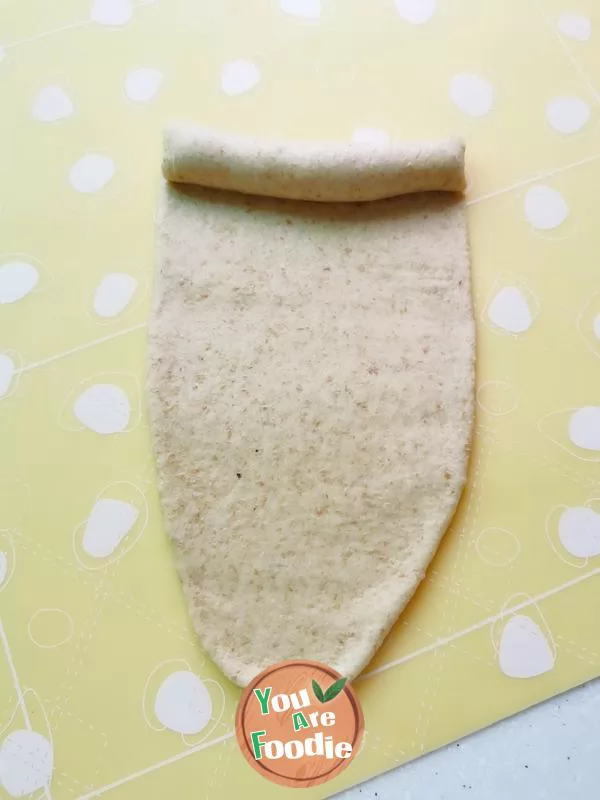
Step 11 . Turn over, tidy up the shape, and roll it up from top to bottom
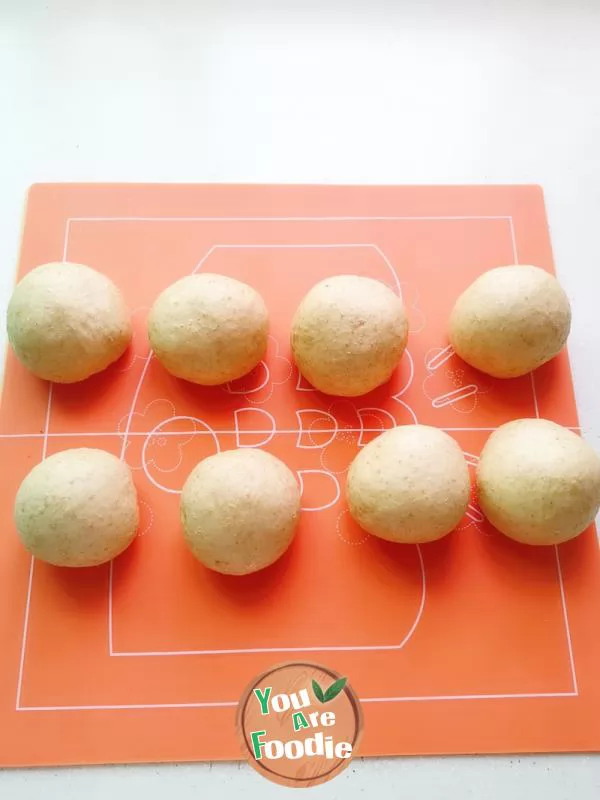
Step 12 . Round again, cover with fresh-keeping film and let it stand at room temperature for 15 minutes
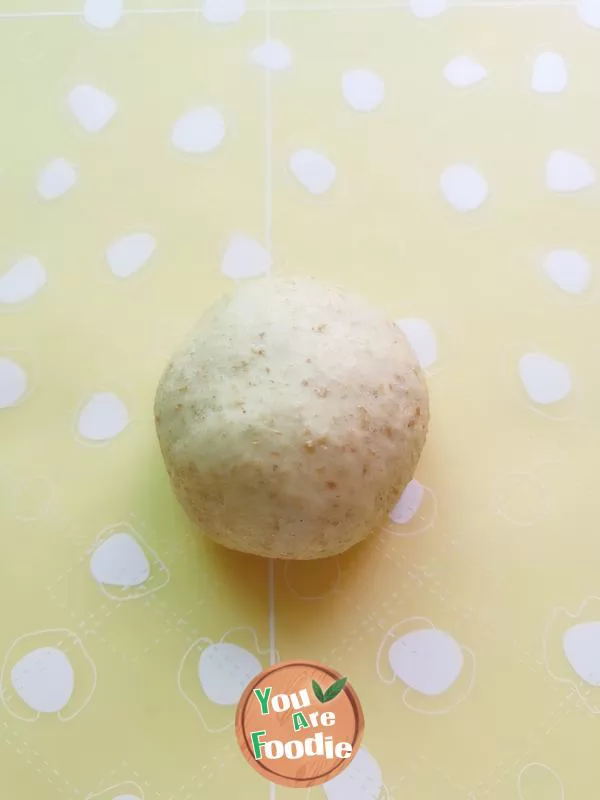
Step 13 . After standing, take out the dough
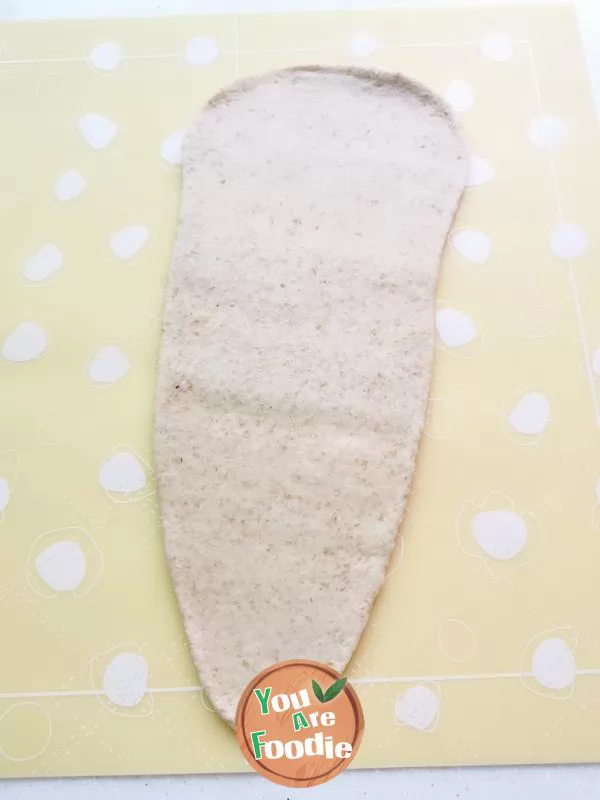
Step 14 . Roll the dough into a dripping shape, roll the wide end as thin as possible, turn it over and tidy up the shape
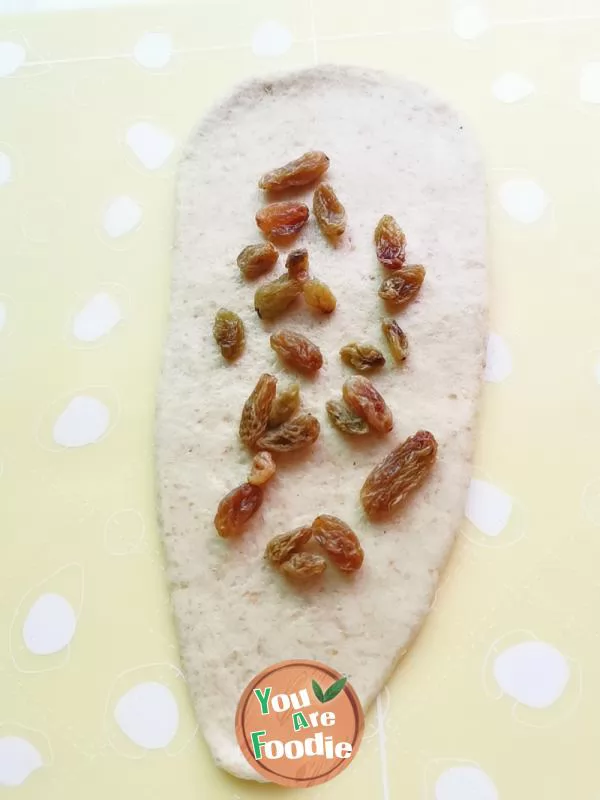
Step 15 . Spread with raisins
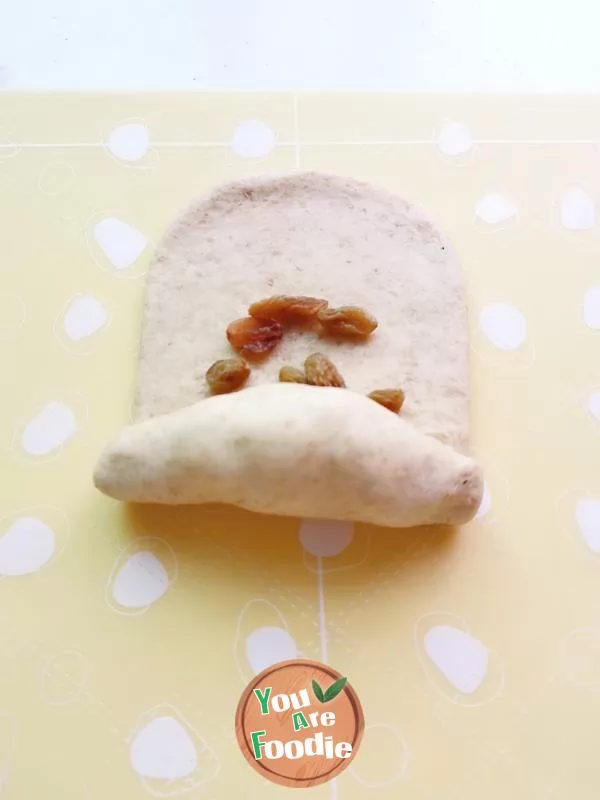
Step 16 . Roll up from the sharp end to the wide end, roll both sides tightly with your hand while curling, and the dough is spindle shaped oval (8-9cm long)
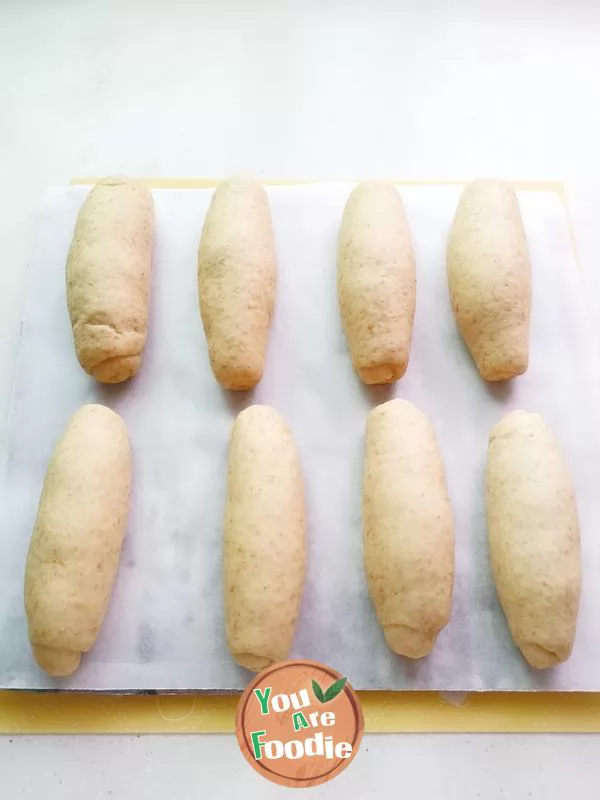
Step 17 . Finish all the bread and embryo in turn, put it into the baking tray in turn (oil paper), and leave a gap in the middle
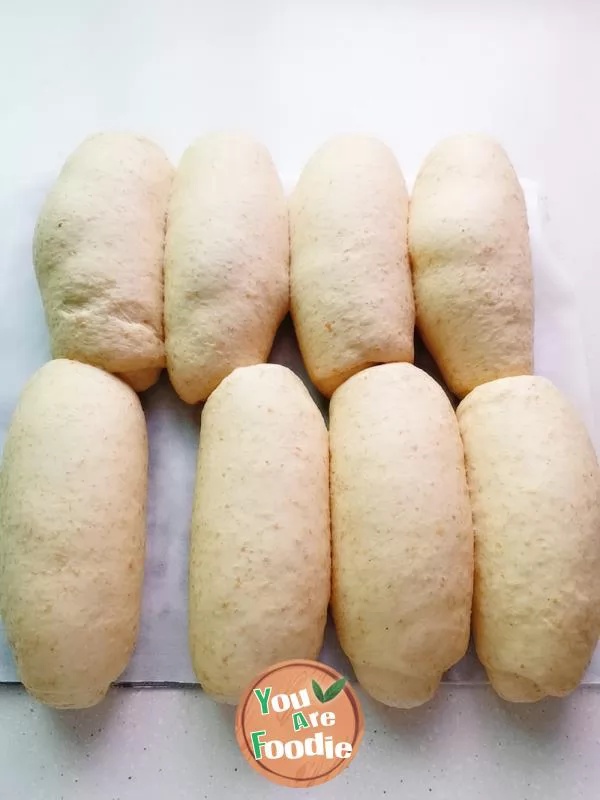
Step 18 . Put the bread germ into the unopened oven, and put a bowl of 100 ℃ boiling water in the oven at the same time to help fermentation (the temperature is kept at 35 ℃, and the humidity is 85%). The fermentation time is 60 minutes, and the dough is fermented to twice the size (the top is the fermented bread body)
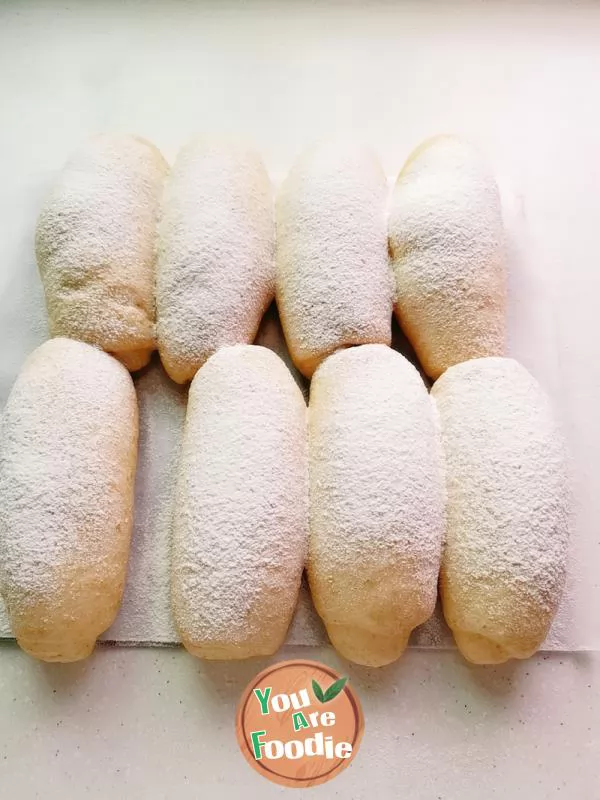
Step 19 . Fermented dough, sun a little high flour
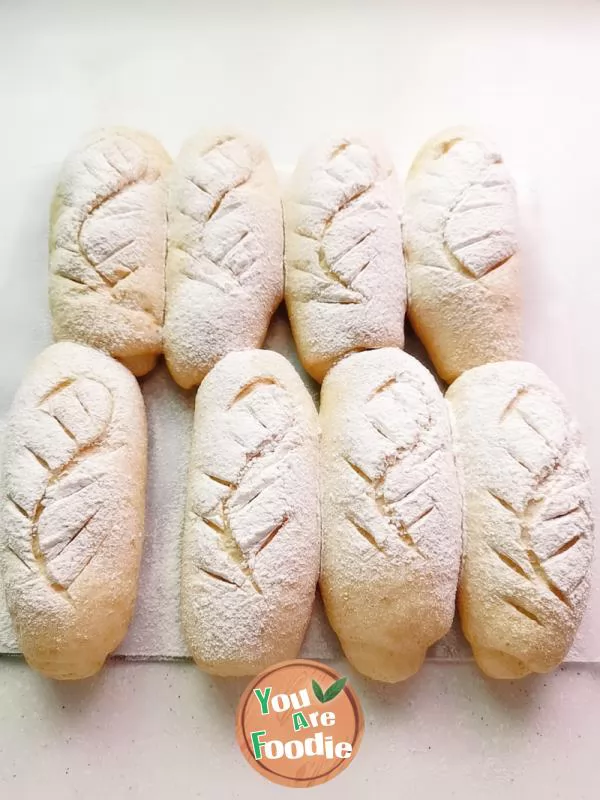
Step 20 . Draw your favorite patterns with a blade
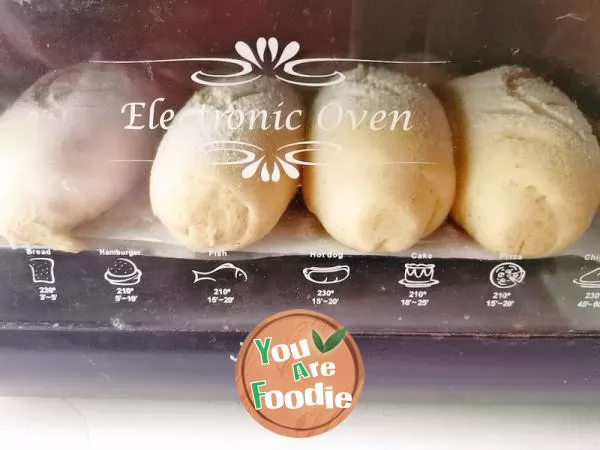
Step 21 . Preheat the oven for 5 minutes (180 degrees), put the bread germ into the oven, 180 degrees, middle layer, bake for 25 minutes (the setting of time and temperature can be slightly adjusted according to your own oven)
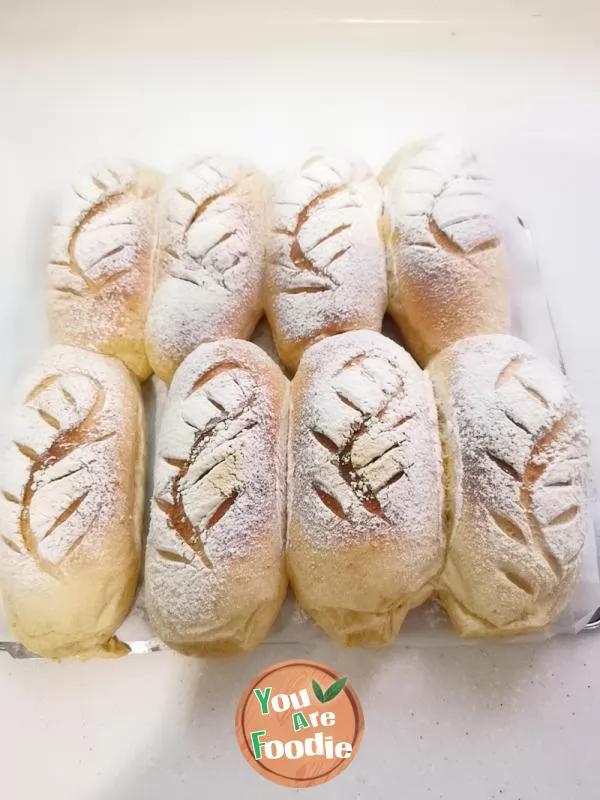
Step 22 . It's out
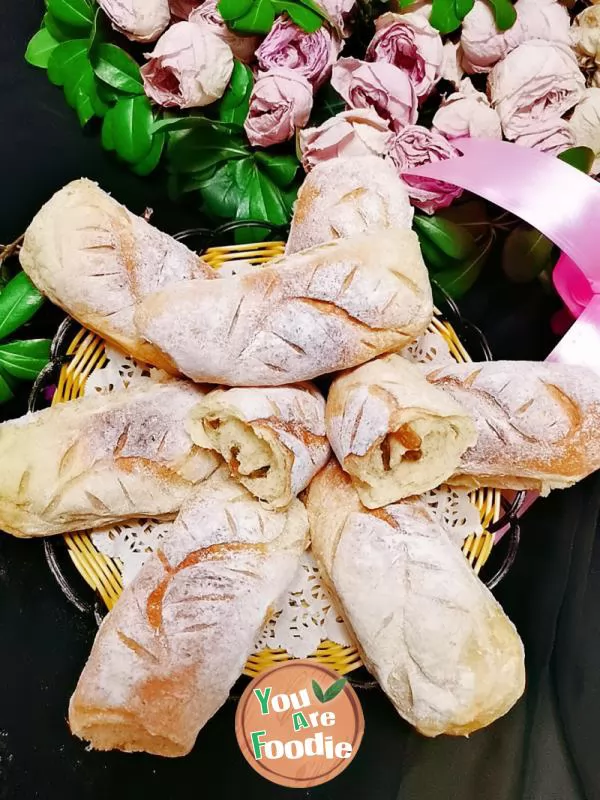
Step 23 . Finished product drawing
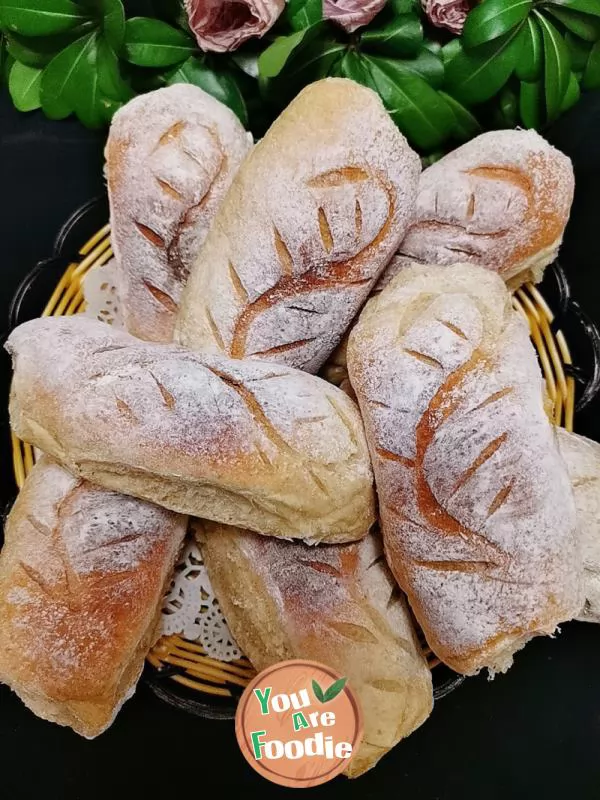
Step 24 . Finished product drawing
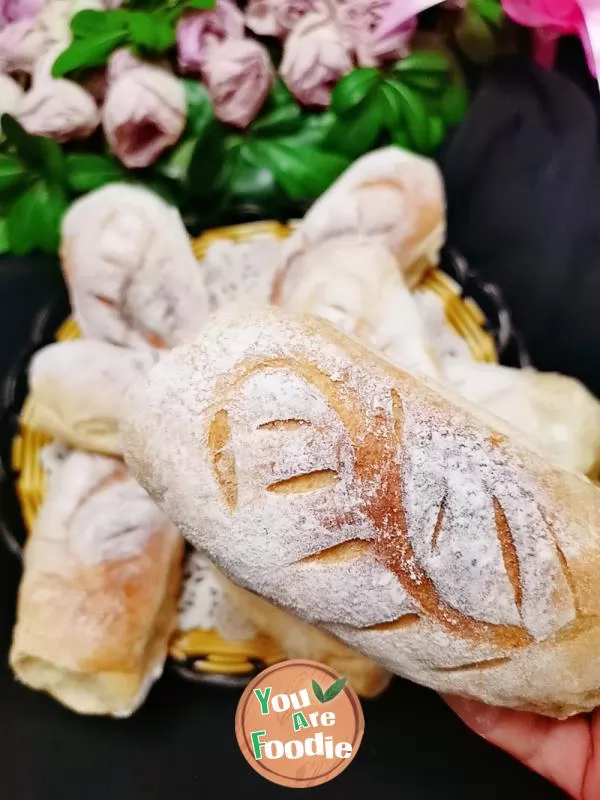
Step 25 . a little distance 😀
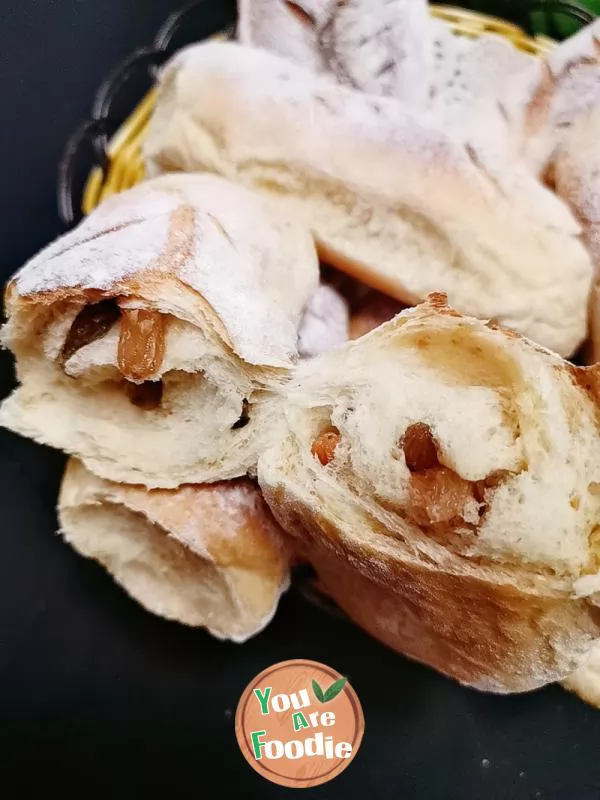
Step 26 . Open it and have a look. It's soft and brushed, and it's sweet with raisins
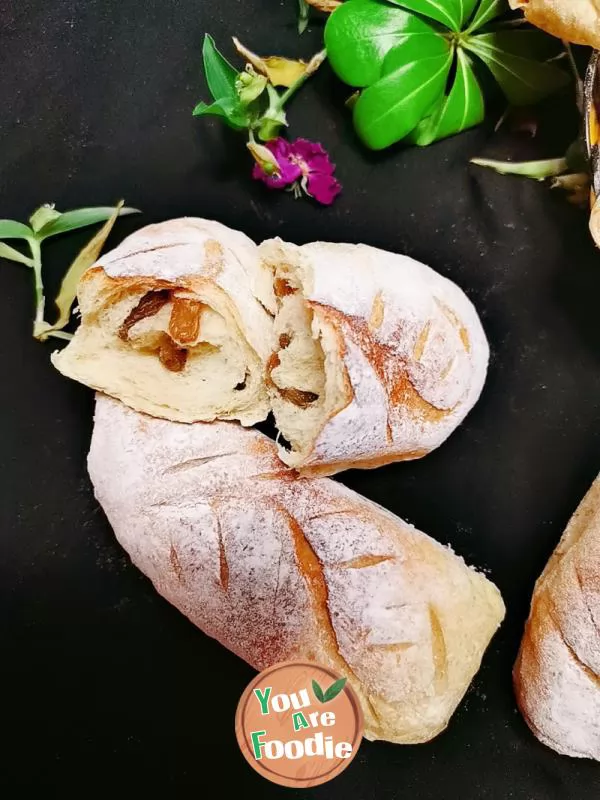
Step 27 . Not bad 😀
Step 28 . 😀

Step 29 . 😀

Step 30 . 😀 Two beautiful pictures.
* Information is provided from the Internet, If there is a copyright infringement, Please contact administratoryouarefoodie.com, We will deal with as soon as possible, Thank you!
