Cranberry crisp biscuit
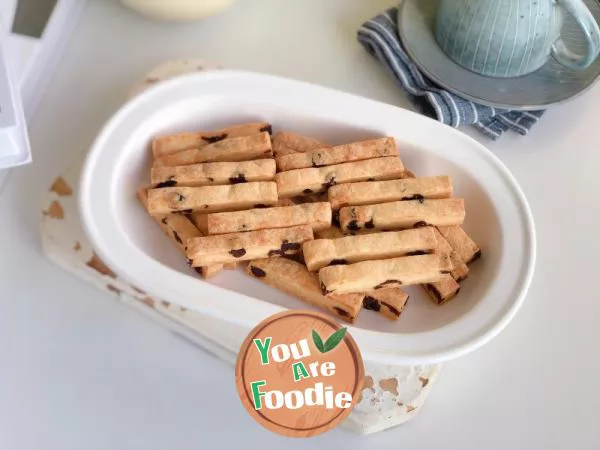
Recently, I have shared many kinds of biscuits. As the holiday is coming, I am busy making some snacks and snacks, preparing for guests to use at home, and preparing some hand gifts for relatives and friends with children at home. My son has also become a little taster. He always stares at the oven excitedly. He can't wait to taste this cranberry crisp biscuit when it is out of the oven. He is really full of praise for this cranberry crisp biscuit. His son and his father have almost eaten all the biscuits he wanted to give to his friends, so he can only do it againThe cranberry crisp biscuit shared today is a very, very simple kind of biscuit. It doesn't need to be sent or molded. Just mix the materials, cut and bake. It's completely easy. The biscuit made according to the steps will be very three-dimensional, won't collapse and crack, and is very straight and easy to eat. It tastes creamy. The sweet and sweet of the biscuit is delicious with the sweet and sour of dried cranberries. The taste is very crisp. Even if it doesn't need to be sent, the biscuit made will not be hard and very crisp. It is also a small snack for the children next door.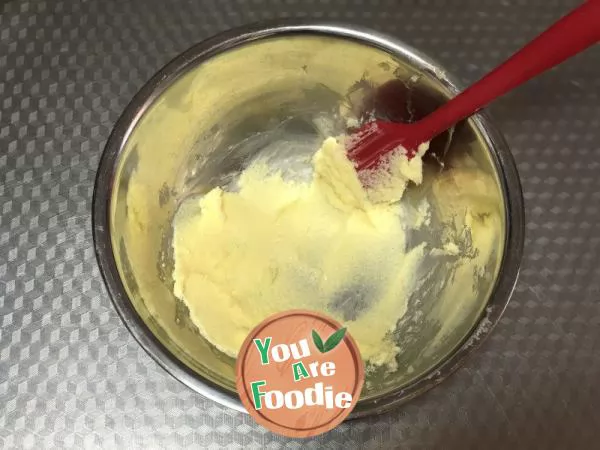
Step 1 . Soften the butter at room temperature in advance until it can be easily poked through with your fingers, and add fine granulated sugar to mix evenly.

Step 2 . Add the whole egg liquid in three times. Stir evenly each time before adding the next time.
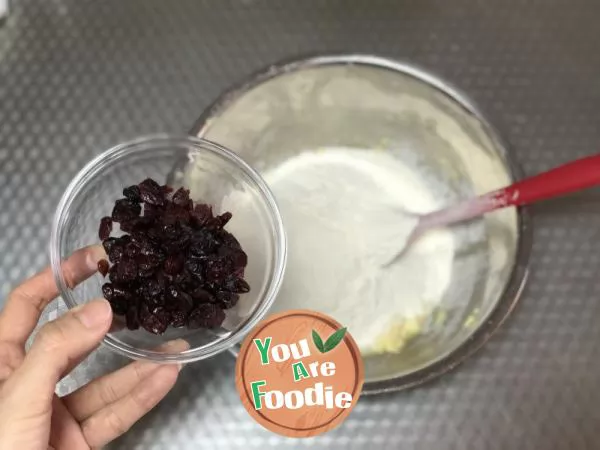
Step 3 . After sifting, add low-gluten flour and dried cranberries, and stir evenly with a scraper. The flour will form small pores in the dough and make the biscuit taste more crisp.

Step 4 . Knead your hands into a ball.
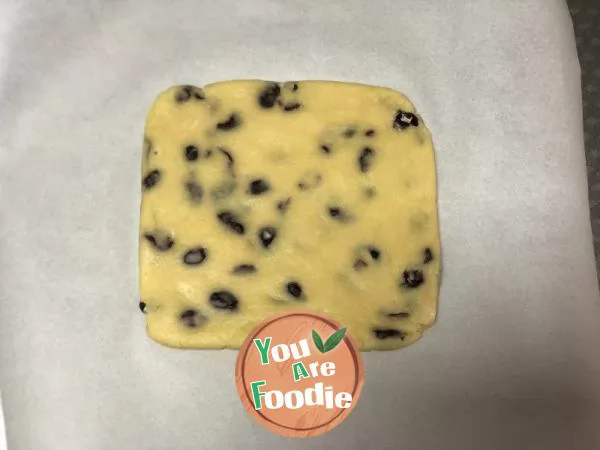
Step 5 . Put the dough on the baking oil paper, and cover it with a piece of oil paper. Press the dough flat across the oil paper, then roll it thin with a rolling pin, with a thickness of 0.5-1 cm, and arrange it into a regular shape. Put it in the refrigerator to freeze for 15 minutes. Note that it is frozen!
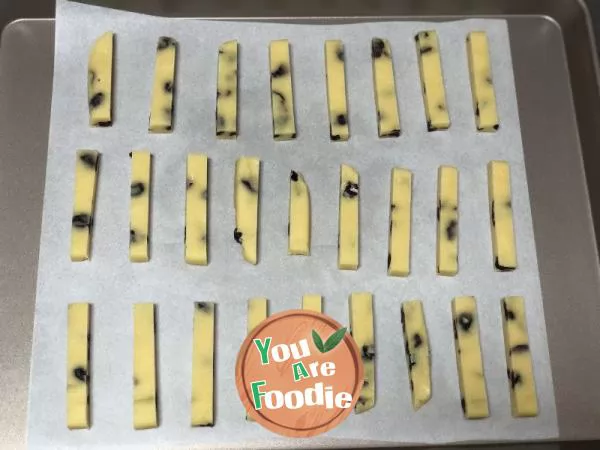
Step 6 . The frozen dough will become harder, so that it can be more easily cut into three-dimensional shapes. Cut it into strips directly with a knife, cut it into the length and width you want to make, and put it into a baking pan for baking.
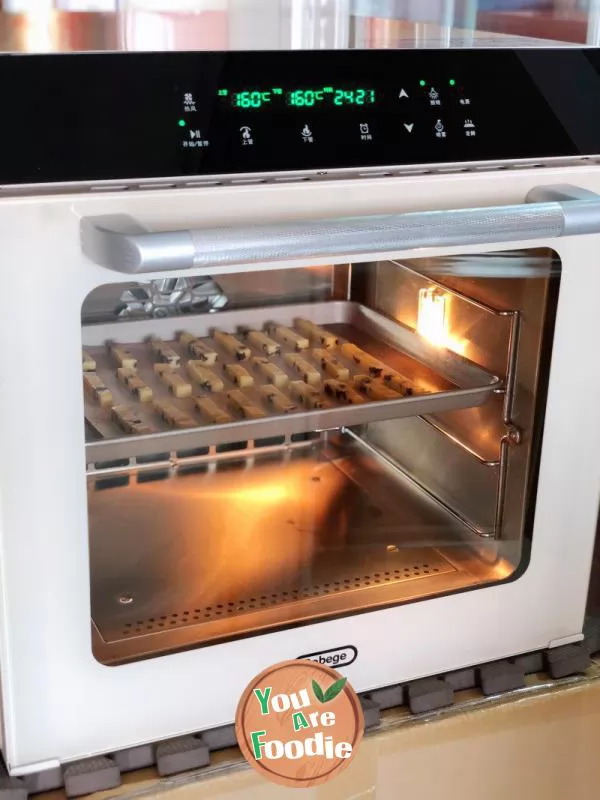
Step 7 . The oven is preheated at 165 degrees in advance, and the middle layer is baked for about 25 minutes, until the surface color is satisfactory. The Gaobike 80S air oven is an ideal household oven, which can be baked in single layer or multiple layers at the same time. It is suitable for commercial and private houses. If the amount of baking is large, you can open the air oven mode, and bake four layers at a time.
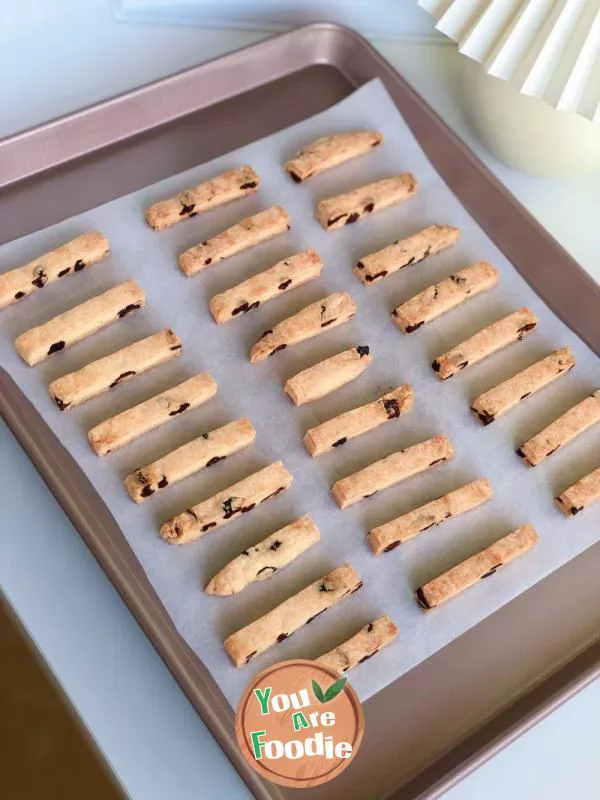
Step 8 . After being baked, it is creamy when eaten hot. It will become crisp after being cooled. It is very delicious.
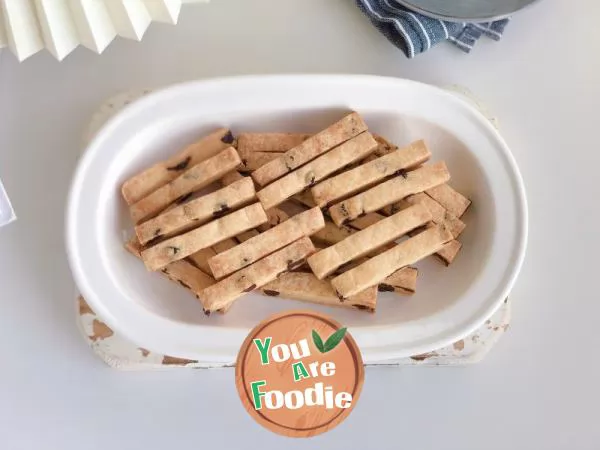
Step 9 . My son likes eating very much. He can't stop one by one. A plate will soon bottom out
* Information is provided from the Internet, If there is a copyright infringement, Please contact administratoryouarefoodie.com, We will deal with as soon as possible, Thank you!

