
Bean paste and willow leaf bun
The dough made last night and fermented at room temperature. This morning, it has been fermented very well.My husband likes to eat bean paste, so he steamed some bean paste bags by the way. It's better to wrap the willow leaves. It's simple and fast!The Golden Arowana macaroni I I bought this time is really good. It is similar to the high gluten macaroni of Jinyuan. It should be able to be used as a small meal bag!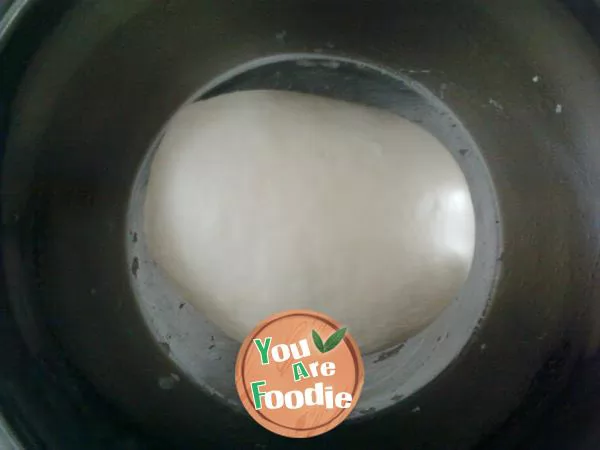
Step 1 . smooth paste
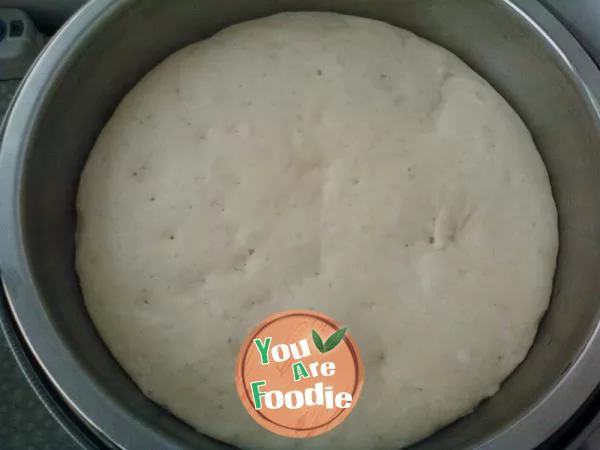
Step 2 . Fermented dough
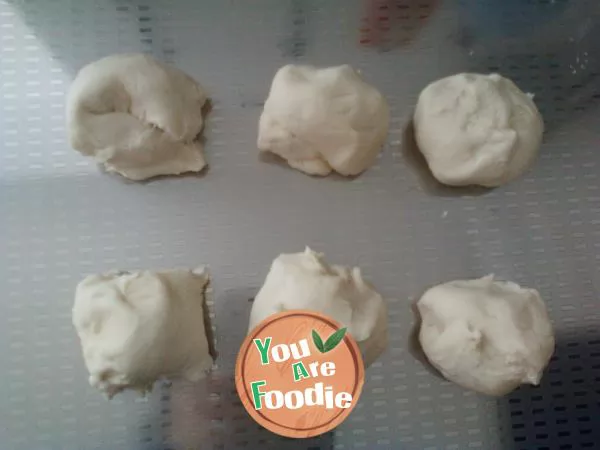
Step 3 . Evenly knead and divide into several equal parts.
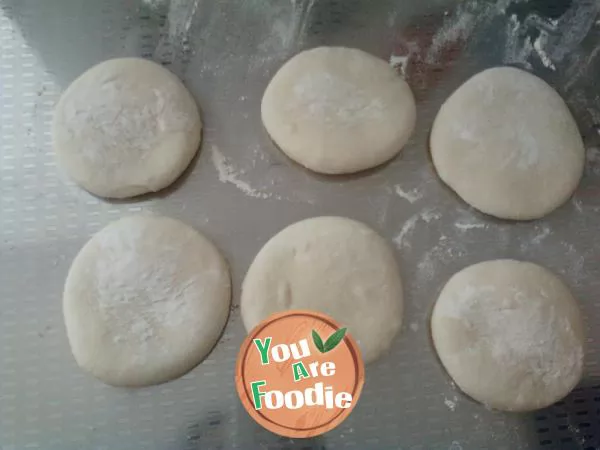
Step 4 . Rub well again and press flat.

Step 5 . Roll the dough into a round shape.

Step 6 . Red bean paste
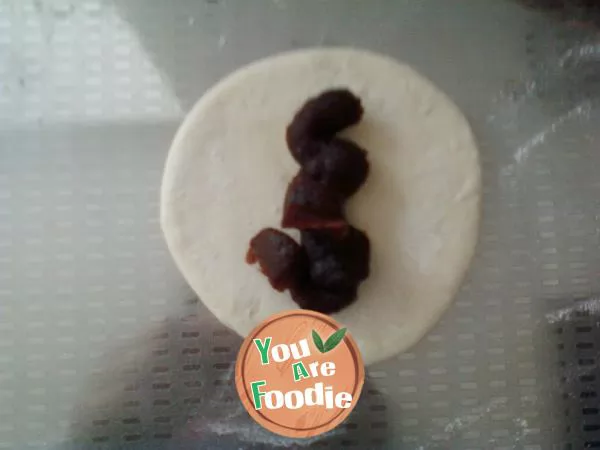
Step 7 . Squeeze in bean paste
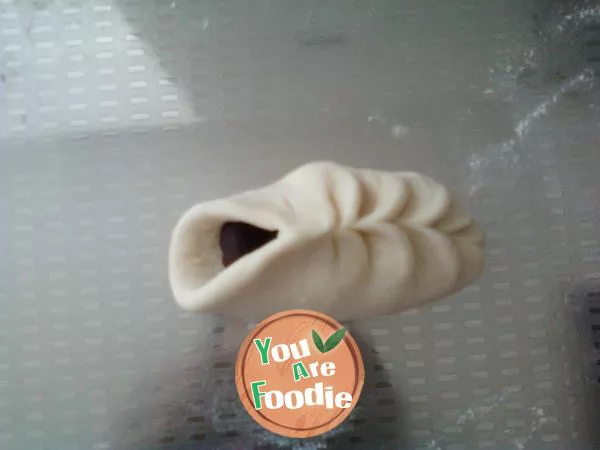
Step 8 . Pinch it into willow leaf shape
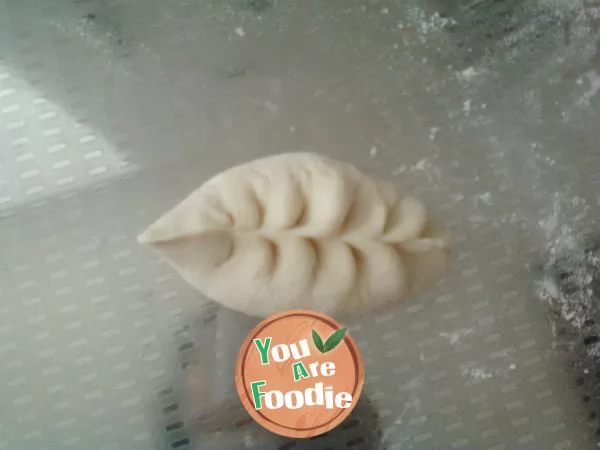
Step 9 . Pinned Willow Leaf Bun
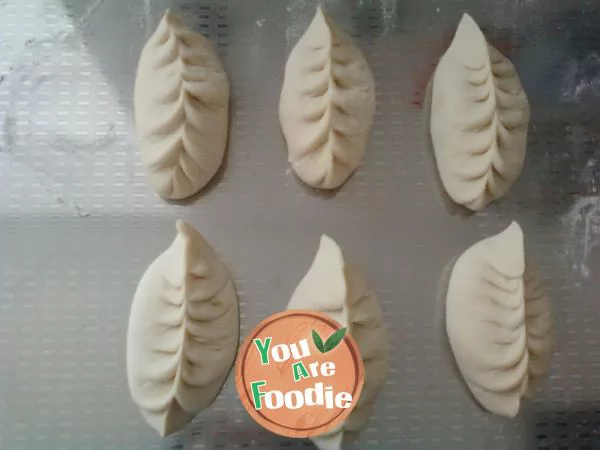
Step 10 . Pinch all
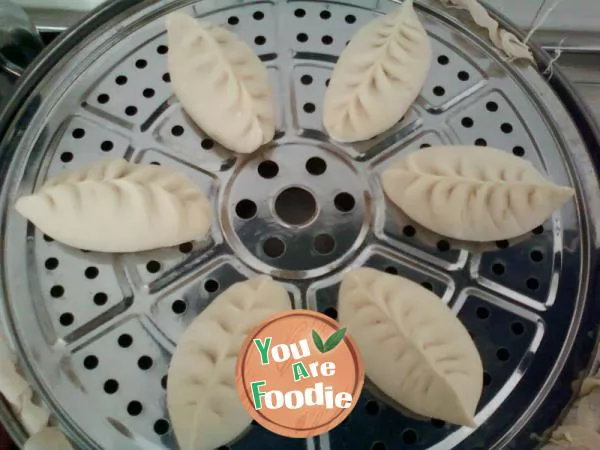
Step 11 . Wake up until the surface texture becomes mellow and put it into the steamer drawer

Step 12 . Turn the high fire to medium fire for 18min, and open the cover after 3-5min.

Step 13 . Steamed buns out of the pot
* Information is provided from the Internet, If there is a copyright infringement, Please contact administratoryouarefoodie.com, We will deal with as soon as possible, Thank you!