Pumpkin shaped bean sandbags
A pumpkin bag with long grass. I always wanted to make it, but never started! This time, I just turned on my chef's machine and tried it with the dough, but there was not enough coarse cotton thread at home. I only made five small pumpkins! It looks cute!The shape of the pumpkin should be good-looking. It should be tied with coarse cotton thread. The other four of mine are scratched with a scraper. After baking, they will become round bread!Be careful when removing the last cotton thread, because the cotton thread is already embedded in the bread
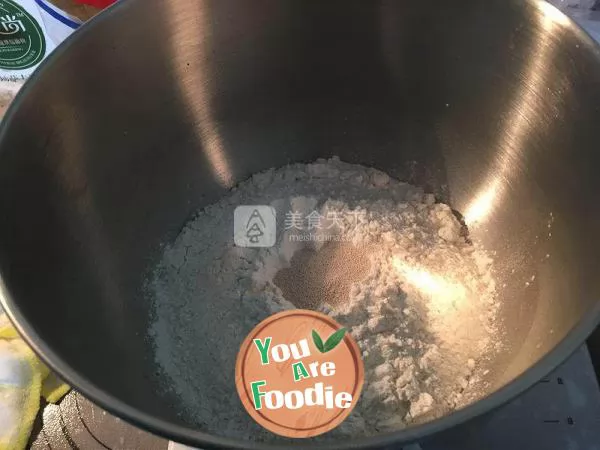
Step 1 . Put all dough ingredients except butter into the chef's machine

Step 2 . Knead into dough and add butter
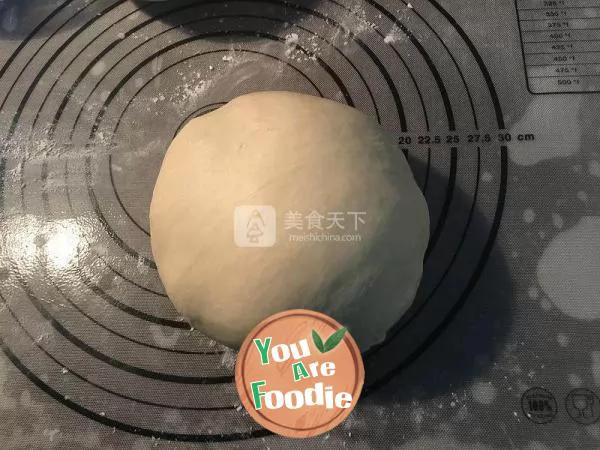
Step 3 . Knead until the dough is fully expanded

Step 4 . Basic fermentation to about twice the size
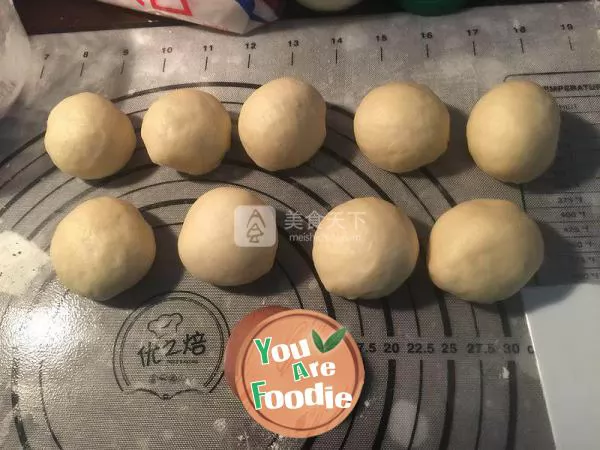
Step 5 . Take out the exhaust gas, divide it into 10 parts, each of which is about 42g, round and wake up for 15 minutes, and add some cocoa powder to one part (in fact, this cocoa powder ball can be left a little less, 20g is enough)
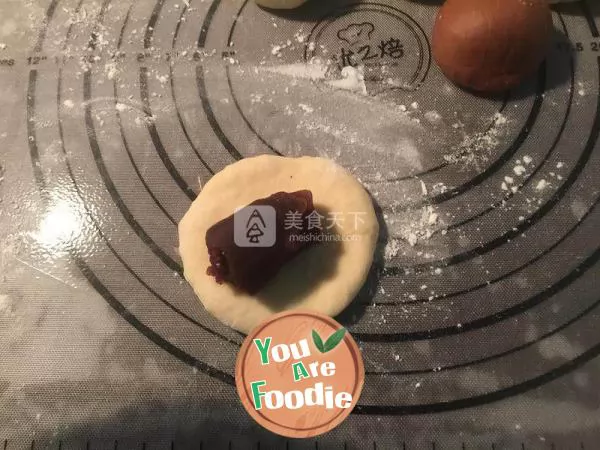
Step 6 . Take a dough, flatten it, roll it out, and wrap it with bean paste stuffing
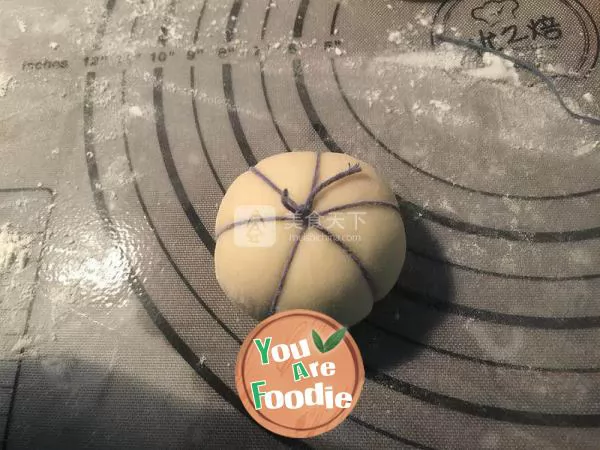
Step 7 . After wrapping it up like a bun, tie it up with coarse cotton thread. All I tie are 6 equal parts
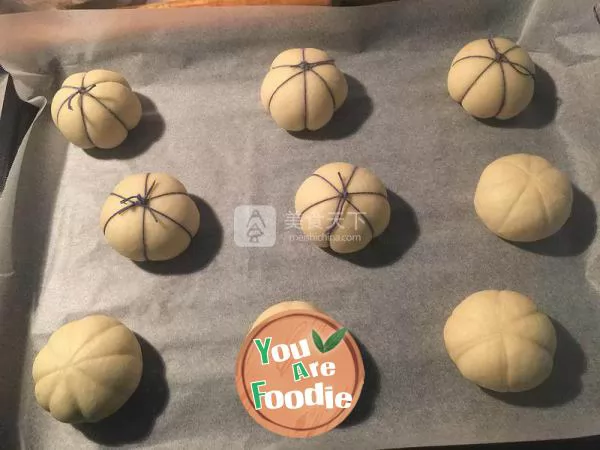
Step 8 . After bundling, put it on the baking tray. I don't have enough cotton thread, only five are bundled
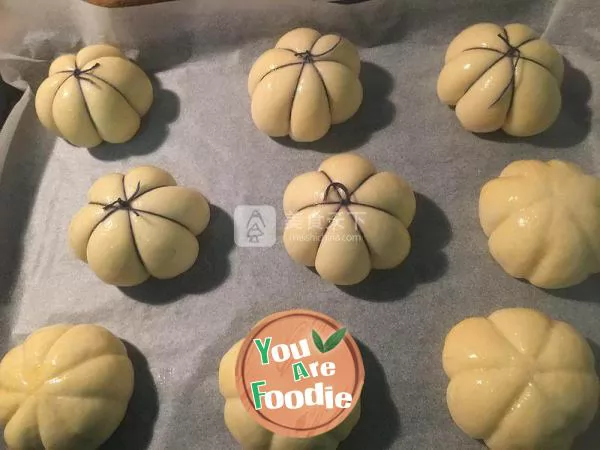
Step 9 . Put it into the oven for low-temperature fermentation for 1 hour, and brush the surface of the bread blank with egg liquid after fermentation

Step 10 . Bake in the preheated oven at 180 degrees for 12 minutes, and then the surface is golden yellow evenly
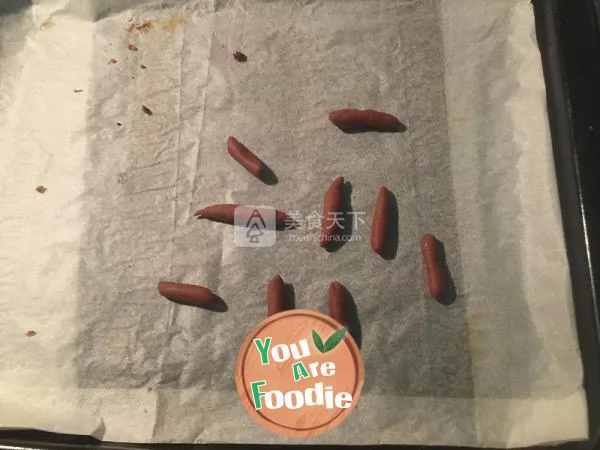
Step 11 . Roll the cocoa dough into thin strips, cut into small pieces and bake in the oven at 170 ℃ for 8 minutes
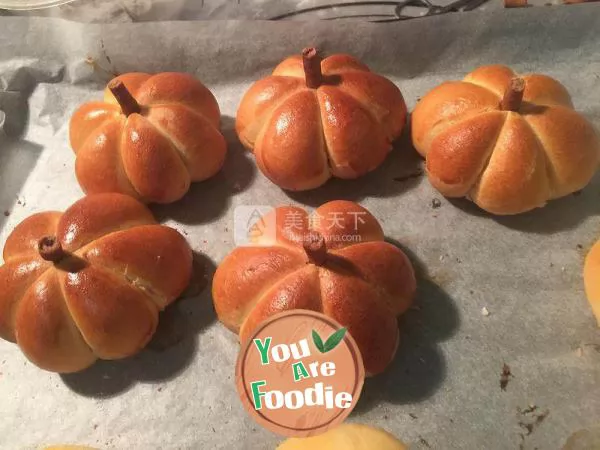
Step 12 . After the bread cools, carefully remove the rope, cut a small hole in the top, and insert the handle
* Information is provided from the Internet, If there is a copyright infringement, Please contact administratoryouarefoodie.com, We will deal with as soon as possible, Thank you!